Using configuration templates and auto-vpn to automatically deploy a full-mesh VPN with Meraki routers
Overview
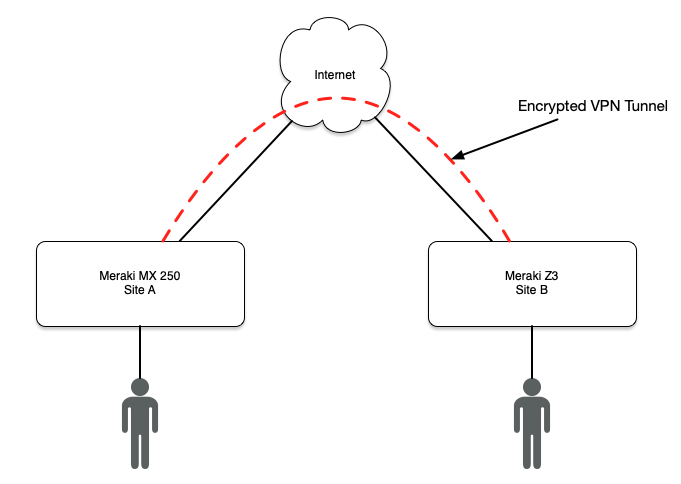
By combining Auto-VPN and Configuration Templates, Meraki routers can automatically configure and deploy full mesh site-to-site VPN tunnels with minimal user interaction.
The network diagram below is the basis of this configuration guide and lab:
Details
Template Creation
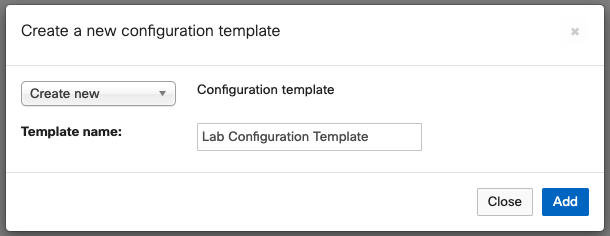
The foundation of this lab relies on deploying configurations automatically through the use of configuration templates. Configuration templates are applied to all devices in the Meraki environment.
First create a new network template:
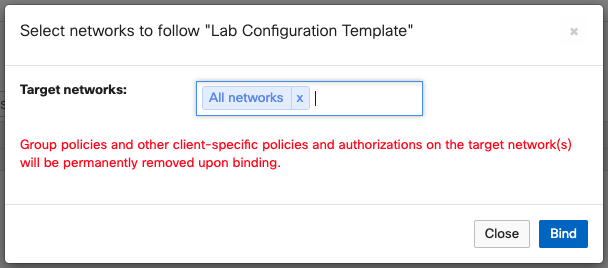
Apply the template to All networks (ie. all devices):
In my example lab, there are two networks with devices in them. One network contains a MX250 and the other network a Z3. The new template is bound to both networks:
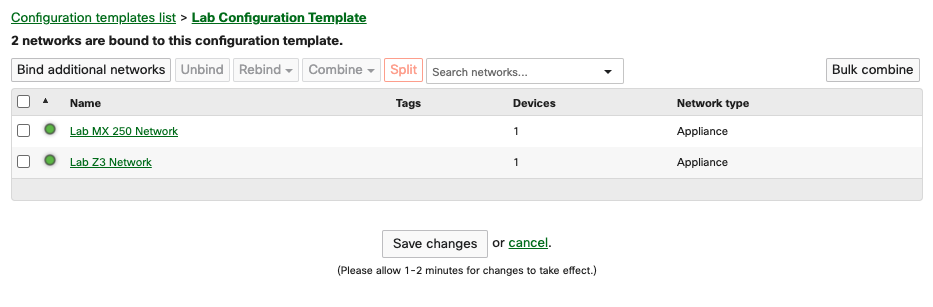
From here out, we configure the devices using templates, not individually:
Subnet Configuration
To configure auto-vpn site-to-site tunnels, all Meraki devices must have unique IP address space assigned to the layer 3 vlans. The following templates will automatically assign a unique subnet to each device.
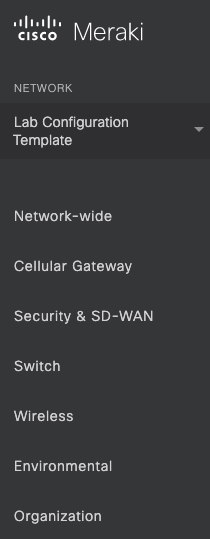
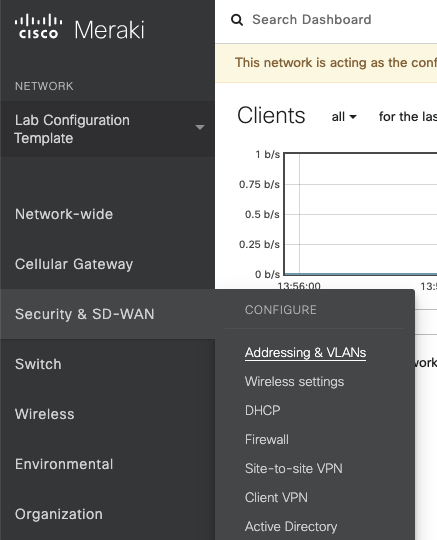
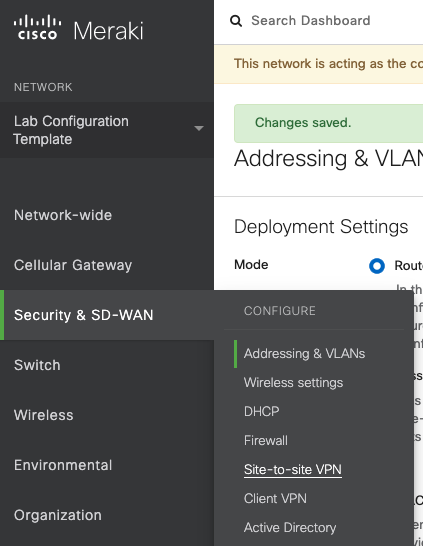
Enter the template configuration (Lab Configuration Template -> Security & SD-WAN -> Addressing & VLANS):
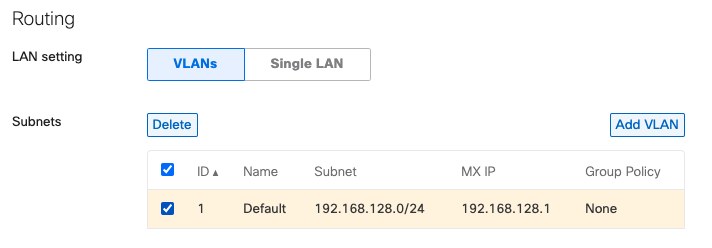
Auto-VPN requires each subnet to be unique, since the default subnets is the same on all devices it must be deleted:
The default subnet assigned to Meraki device is not unique, it must be removed before auto-vpn is configured:
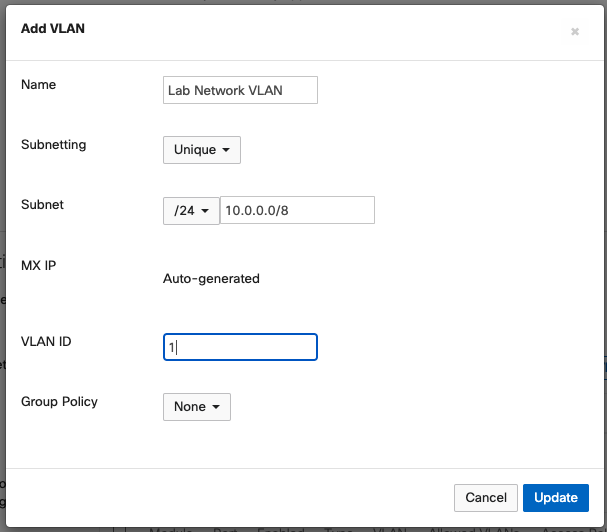
Create a new subnet using the Unique subnetting option. This will create a unique subnet out of the 10.0.0.0/8 pool:
Auto-VPN Configuration
Next, we will configure the full-mesh auto-vpn.
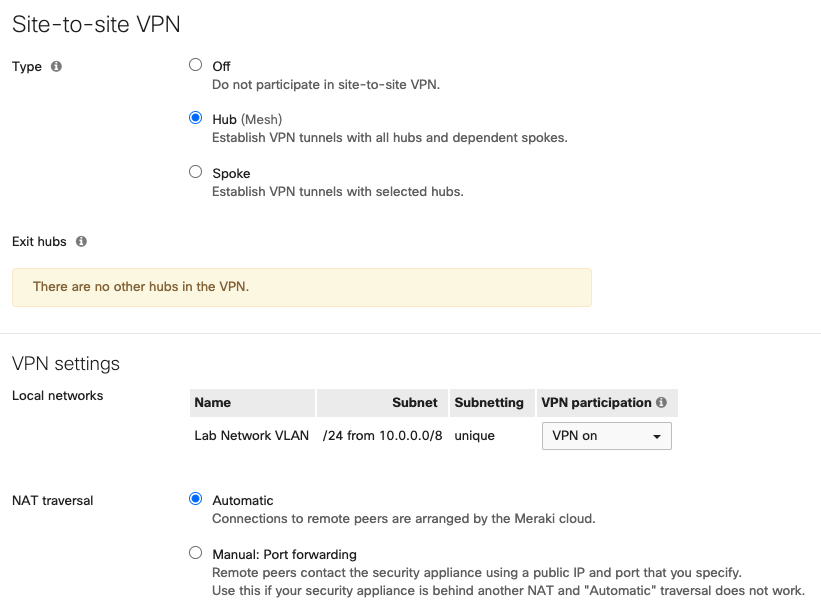
Enter the VPN configuration (Lab Configuration Template -> Security & SD-WAN -> Site-to-site VPN):
Change the following settings:
- Type:
Hub - Local networks:
VPN on
Validate Configuration
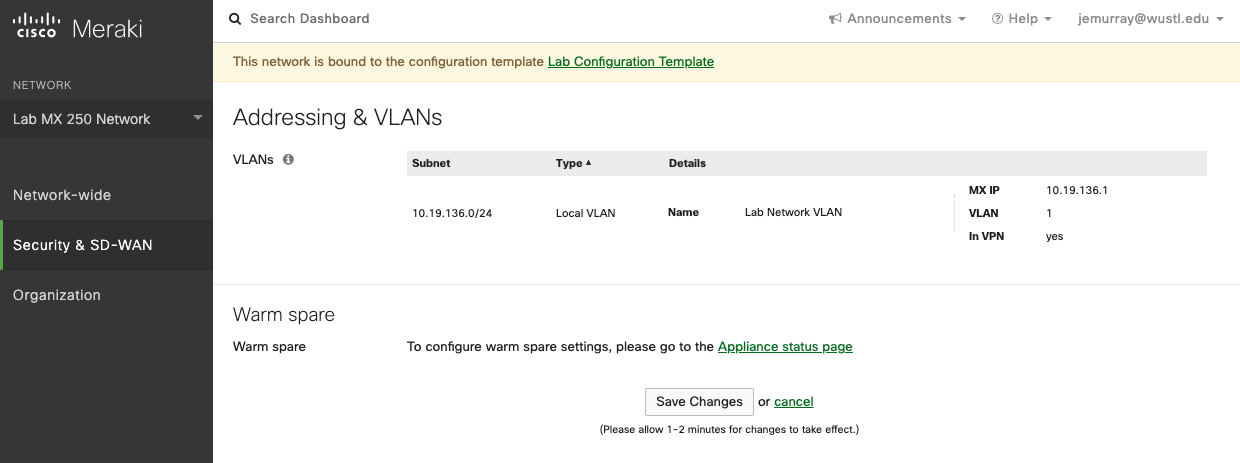
The layer 3 network is automatically configured on the MX250 with the subnet 10.19.136.0/24):
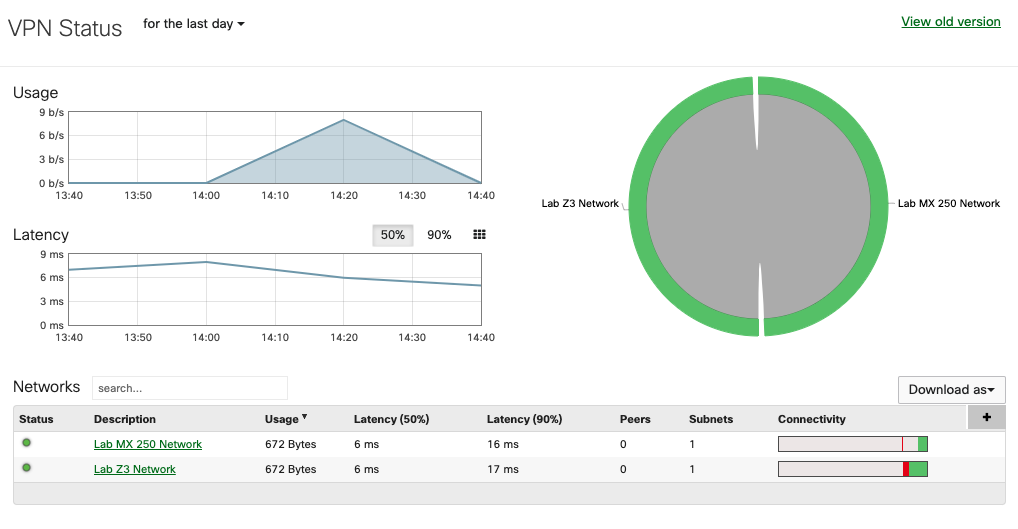
Check the VPN status between devices (Lab MX 250 -> Organization -> VPN status):
Testing
Testing with a Linux laptop connected to the MX250:
2: eth0: <BROADCAST,MULTICAST,UP,LOWER_UP> mtu 1500 qdisc pfifo_fast state UP group default qlen 1000
    link/ether f8:ca:b8:64:cb:40 brd ff:ff:ff:ff:ff:ff
    inet 10.19.136.2/24 brd 10.19.136.255 scope global dynamic noprefixroute eth0
       valid_lft 86271sec preferred_lft 86271sec
    inet6 fe80::f971:d37f:c2c8:dfdd/64 scope link noprefixroute
       valid_lft forever preferred_lft forever
Pinging from Linux host on the MX250 to a macOS laptop on the Z3:
jemurray@kali:~$ ping 10.13.186.2
PING 10.13.186.2 (10.13.186.2) 56(84) bytes of data.
64 bytes from 10.13.186.2: icmp_seq=1 ttl=63 time=7.44 ms
64 bytes from 10.13.186.2: icmp_seq=2 ttl=63 time=7.51 ms
64 bytes from 10.13.186.2: icmp_seq=3 ttl=63 time=15.8 ms
^C
--- 10.13.186.2 ping statistics ---
3 packets transmitted, 3 received, 0% packet loss, time 2004ms
rtt min/avg/max/mdev = 7.441/10.253/15.806/3.926 ms
That is it! A few clicks will automatically setup and deploy a full mesh VPN.