Installing Juniper vMX routers in GNS3
Overview
Step by step instructions for importing the Juniper vMX platform into GNS3 and creating a multi-router topology.
This guide uses the following software versions and setup:
- Juniper vMX: 19.3R1.8
- GNS3: 2.2.11 (with vmware appliance)
- GNS3 desktop running on a macOS laptop
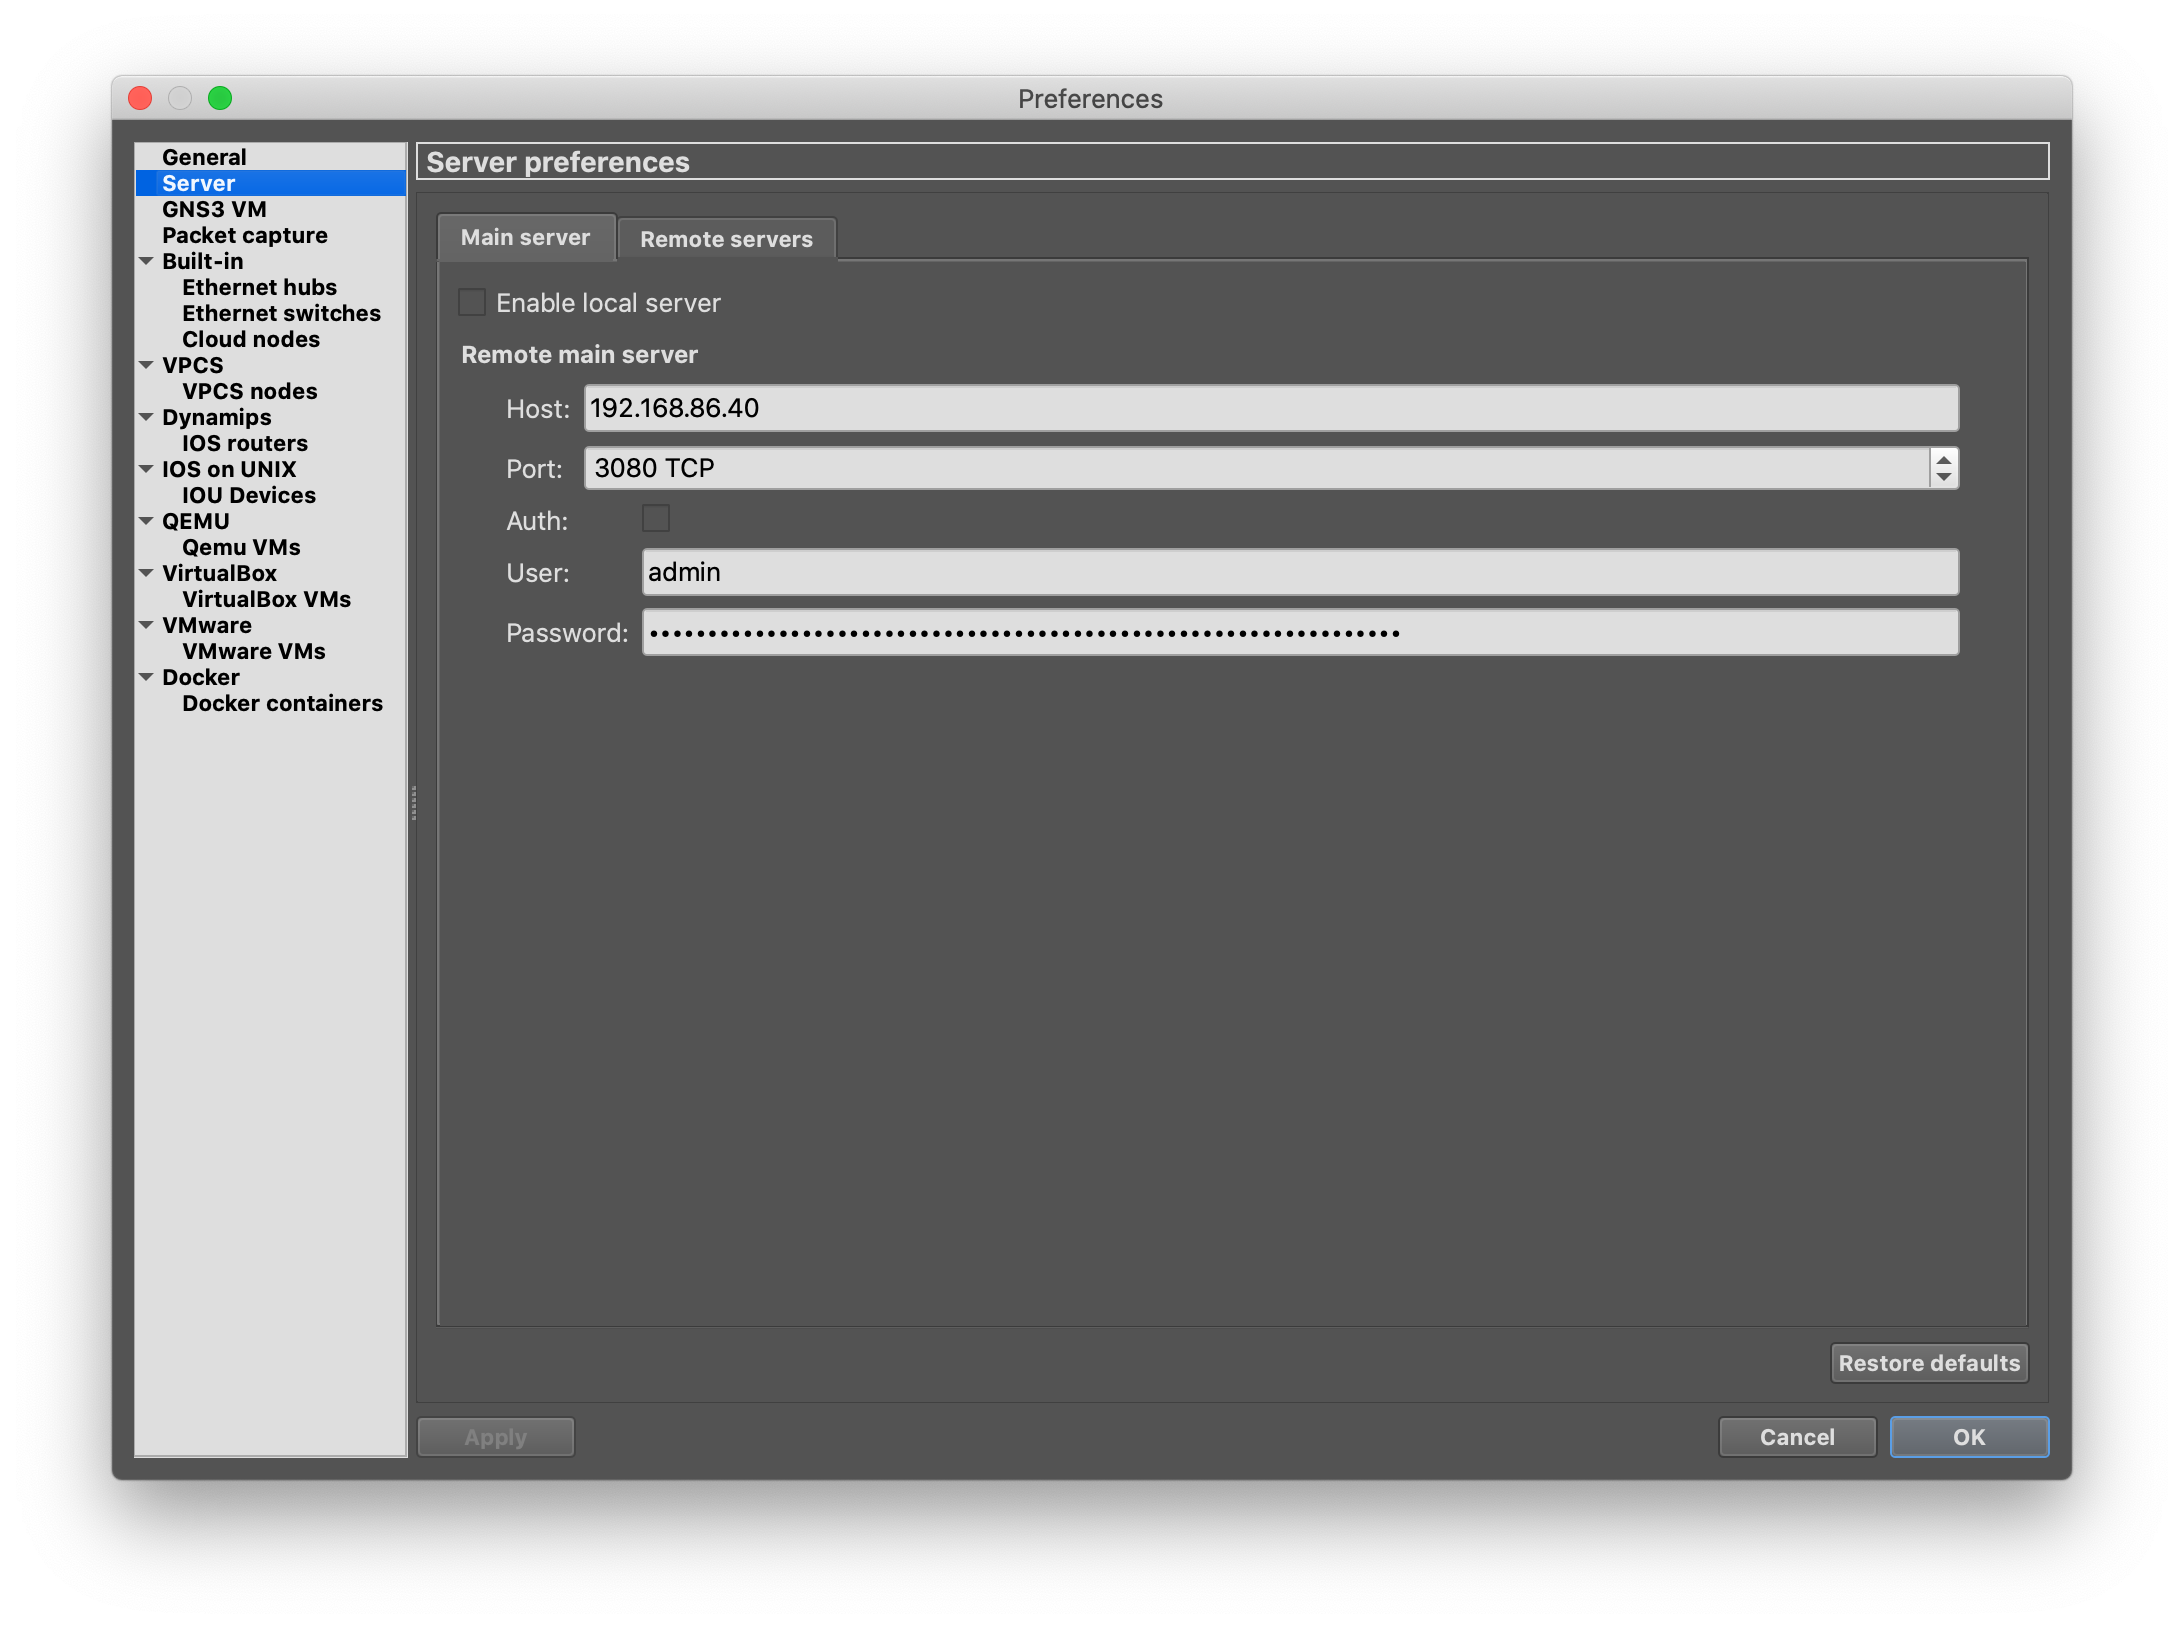
- GNS3 remote server running on vmware, configured as the ‘main server’
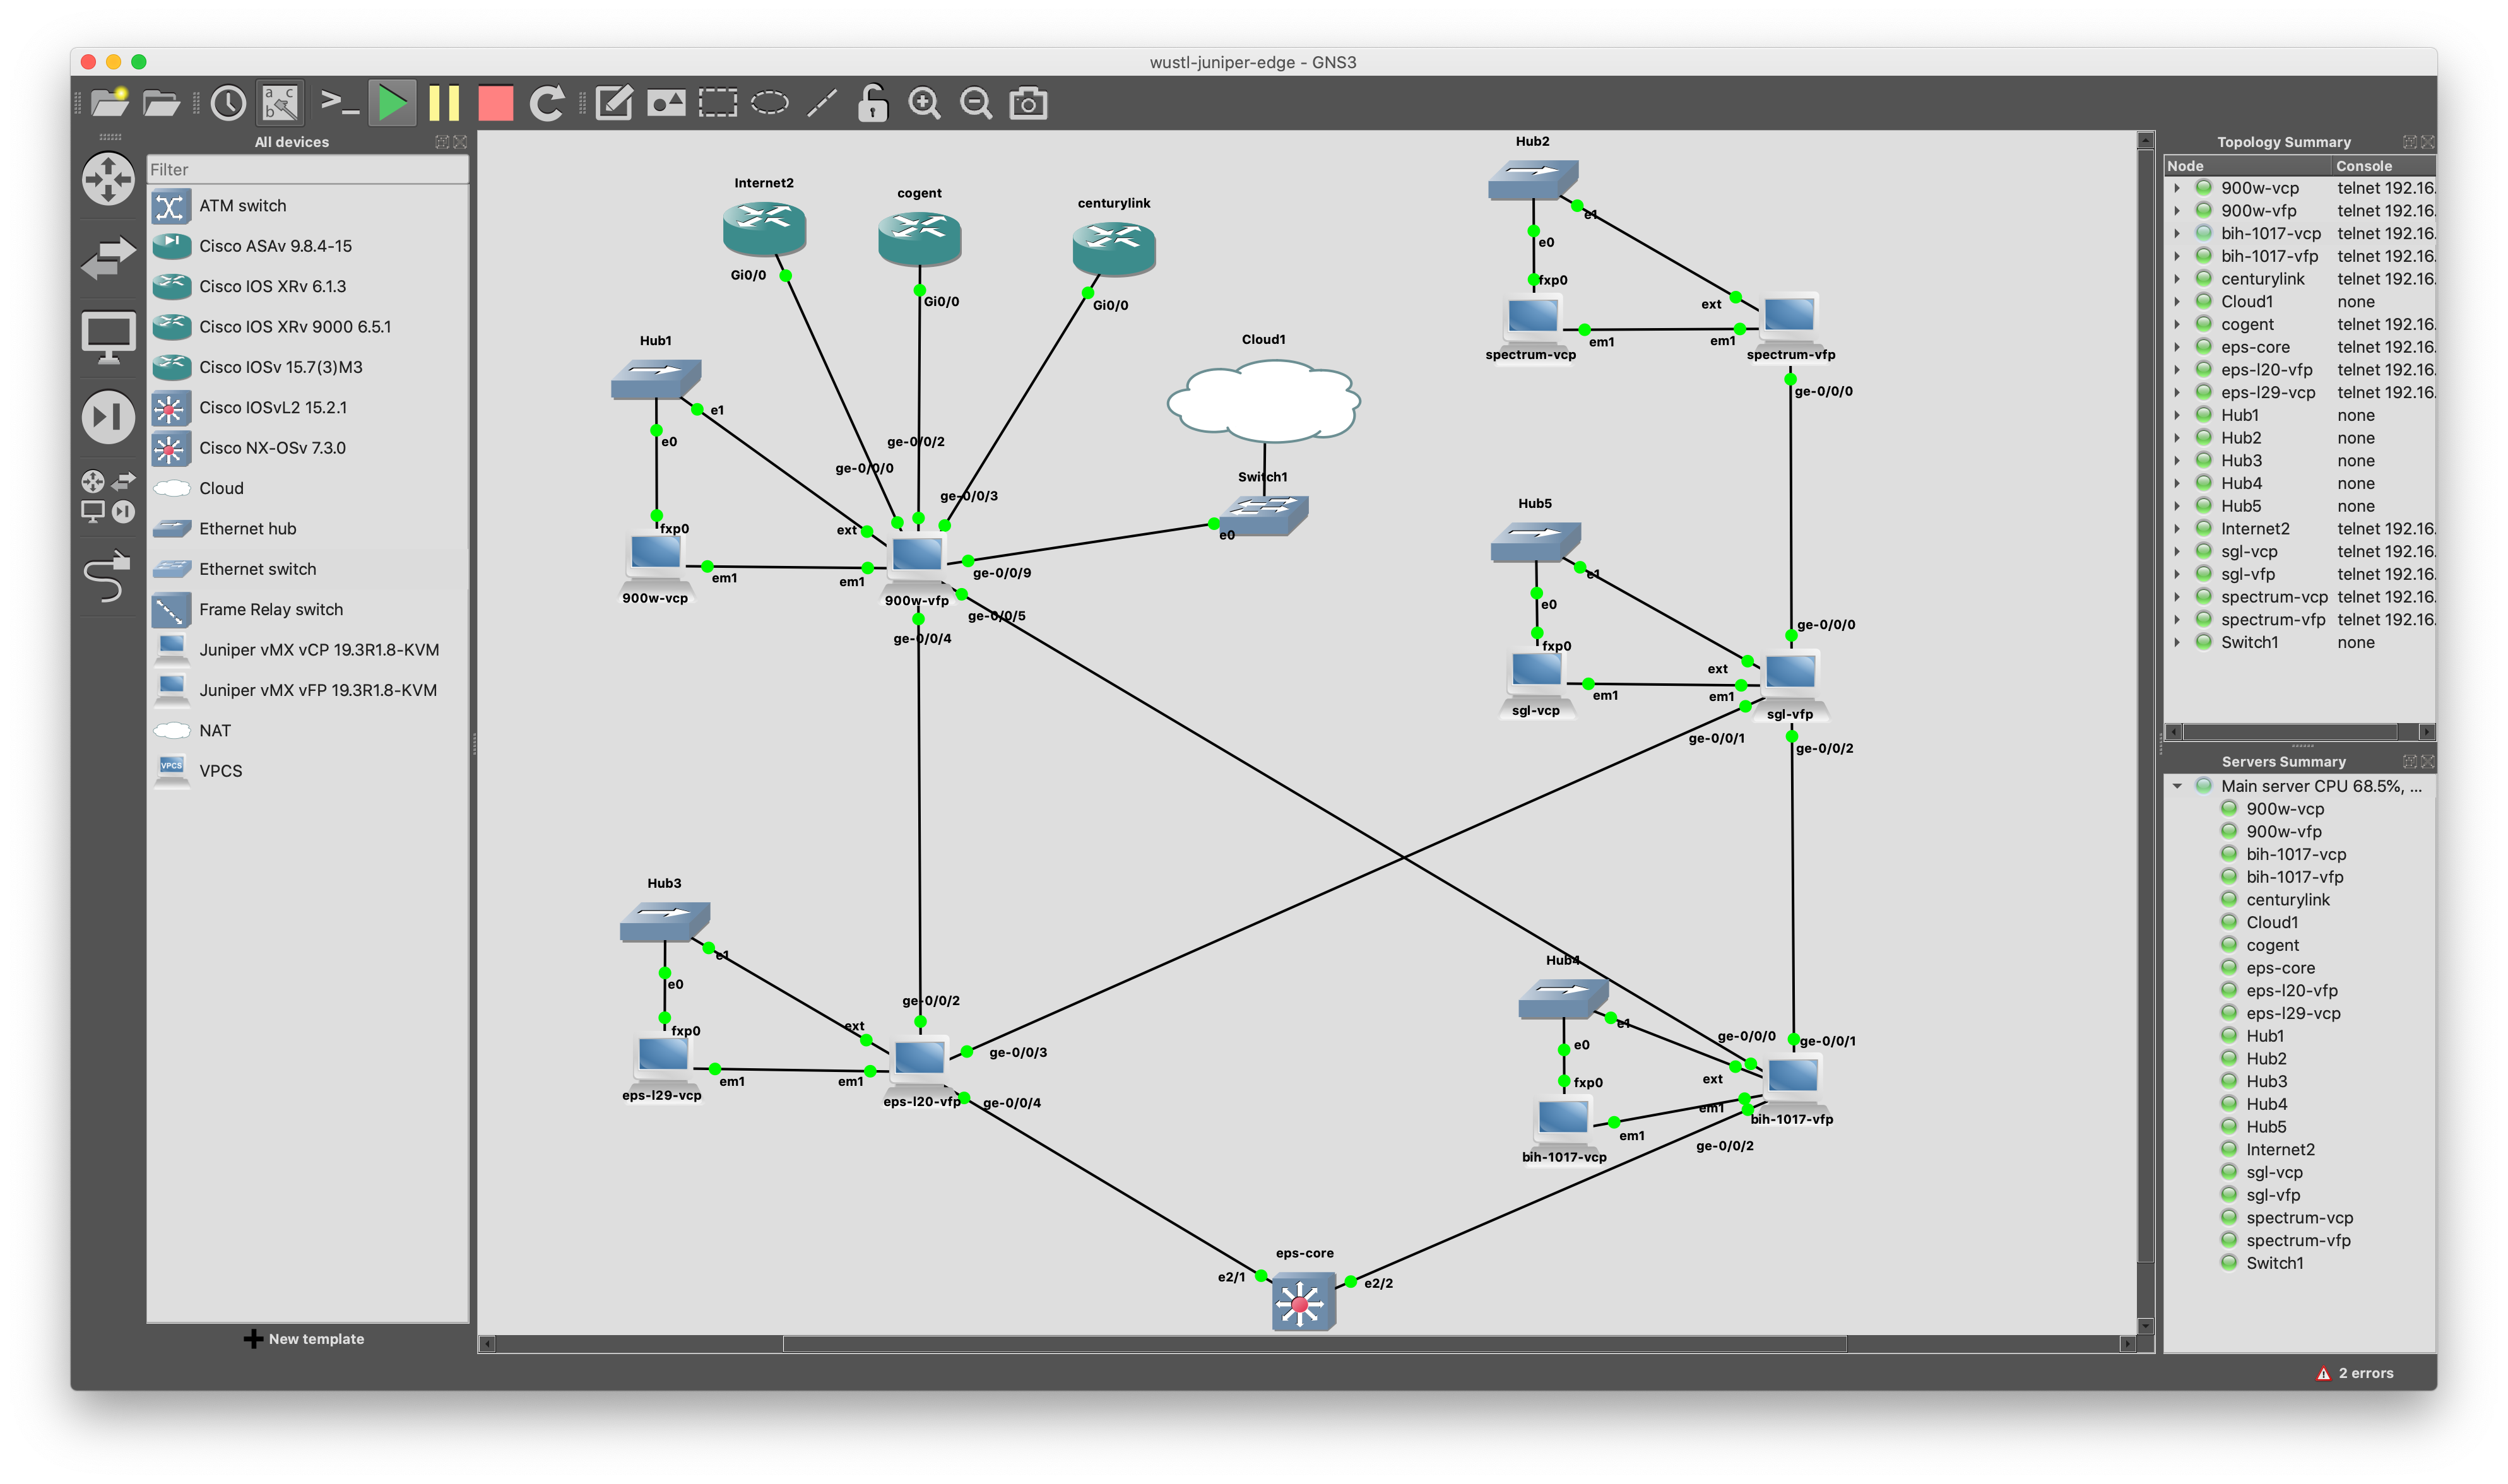
Example of a complete multi-router vMX and Cisco lab:
Details
With an active support contract, download legal images directly from Juniper.
In this example we are running GNS3 version 2.2.11 which can import the vMX 19.3R1.8 router with stock templates:
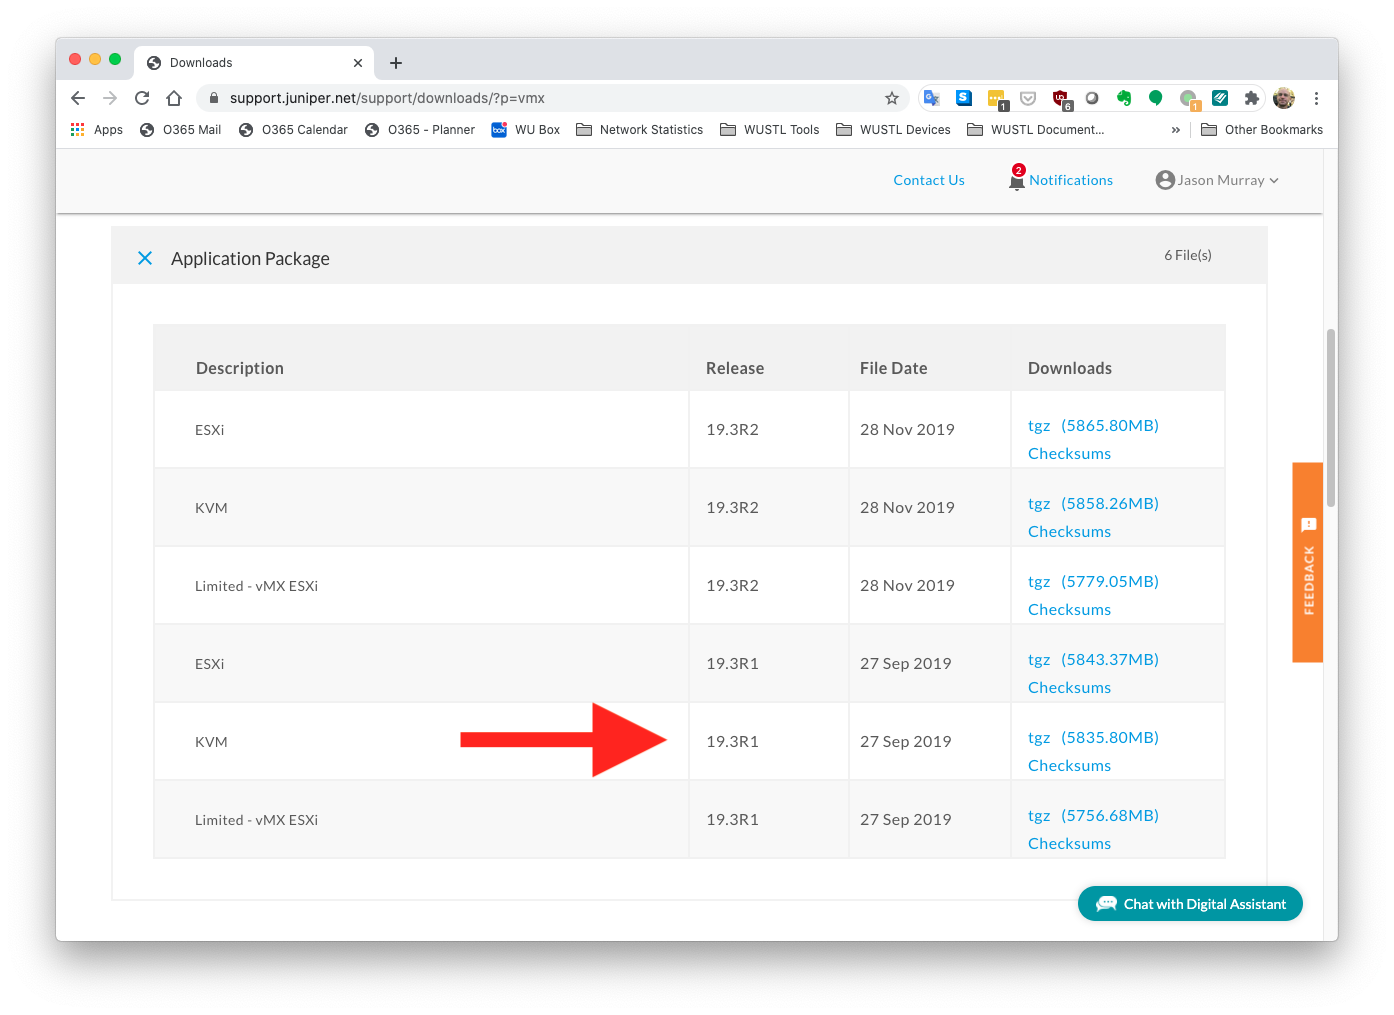
Once the download is complete, uncompress, and find the following files.
Make note of the directory location, it will be needed in later steps.
In this example the full path is ~/Downloads/vmx/vmx/images:
jemurray@mbp-2019:~/Downloads/vmx/vmx/images $ ls -al
total 17517256
drwxr-xr-x@ 24 jemurray  staff         768 Sep 20  2019 .
drwxr-xr-x@ 10 jemurray  staff         320 Sep 20  2019 ..
-rw-r--r--@  1 jemurray  staff  1435238400 Sep 20  2019 junos-vmx-x86-64-19.3R1.8.qcow2
-rw-r--r--@  1 jemurray  staff  4890945403 Sep 20  2019 junos-vmx-x86-64-19.3R1.8.tgz
-rw-r--r--@  1 jemurray  staff    10485760 Aug 19  2019 metadata-usb-fpc0.img
-rw-r--r--@  1 jemurray  staff    10485760 Aug 19  2019 metadata-usb-fpc1.img
-rw-r--r--@  1 jemurray  staff    10485760 Aug 19  2019 metadata-usb-fpc10.img
-rw-r--r--@  1 jemurray  staff    10485760 Aug 19  2019 metadata-usb-fpc11.img
-rw-r--r--@  1 jemurray  staff    10485760 Aug 19  2019 metadata-usb-fpc2.img
-rw-r--r--@  1 jemurray  staff    10485760 Aug 19  2019 metadata-usb-fpc3.img
-rw-r--r--@  1 jemurray  staff    10485760 Aug 19  2019 metadata-usb-fpc4.img
-rw-r--r--@  1 jemurray  staff    10485760 Aug 19  2019 metadata-usb-fpc5.img
-rw-r--r--@  1 jemurray  staff    10485760 Aug 19  2019 metadata-usb-fpc6.img
-rw-r--r--@  1 jemurray  staff    10485760 Aug 19  2019 metadata-usb-fpc7.img
-rw-r--r--@  1 jemurray  staff    10485760 Aug 19  2019 metadata-usb-fpc8.img
-rw-r--r--@  1 jemurray  staff    10485760 Aug 19  2019 metadata-usb-fpc9.img
-rw-r--r--@  1 jemurray  staff    10485760 Aug 19  2019 metadata-usb-re.img
-rw-r--r--@  1 jemurray  staff    10485760 Aug 19  2019 metadata-usb-re0.img
-rw-r--r--@  1 jemurray  staff    10485760 Aug 19  2019 metadata-usb-re1.img
-rw-r--r--@  1 jemurray  staff    10485760 Aug 19  2019 metadata-usb-service-pic-10g.img
-rw-r--r--@  1 jemurray  staff    10485760 Aug 19  2019 metadata-usb-service-pic-2g.img
-rw-r--r--@  1 jemurray  staff    10485760 Aug 19  2019 metadata-usb-service-pic-4g.img
-rw-r--r--@  1 jemurray  staff  2447376384 Aug 19  2019 vFPC-20190819.img
-rw-r--r--@  1 jemurray  staff      197120 Aug 19  2019 vmxhdd.img
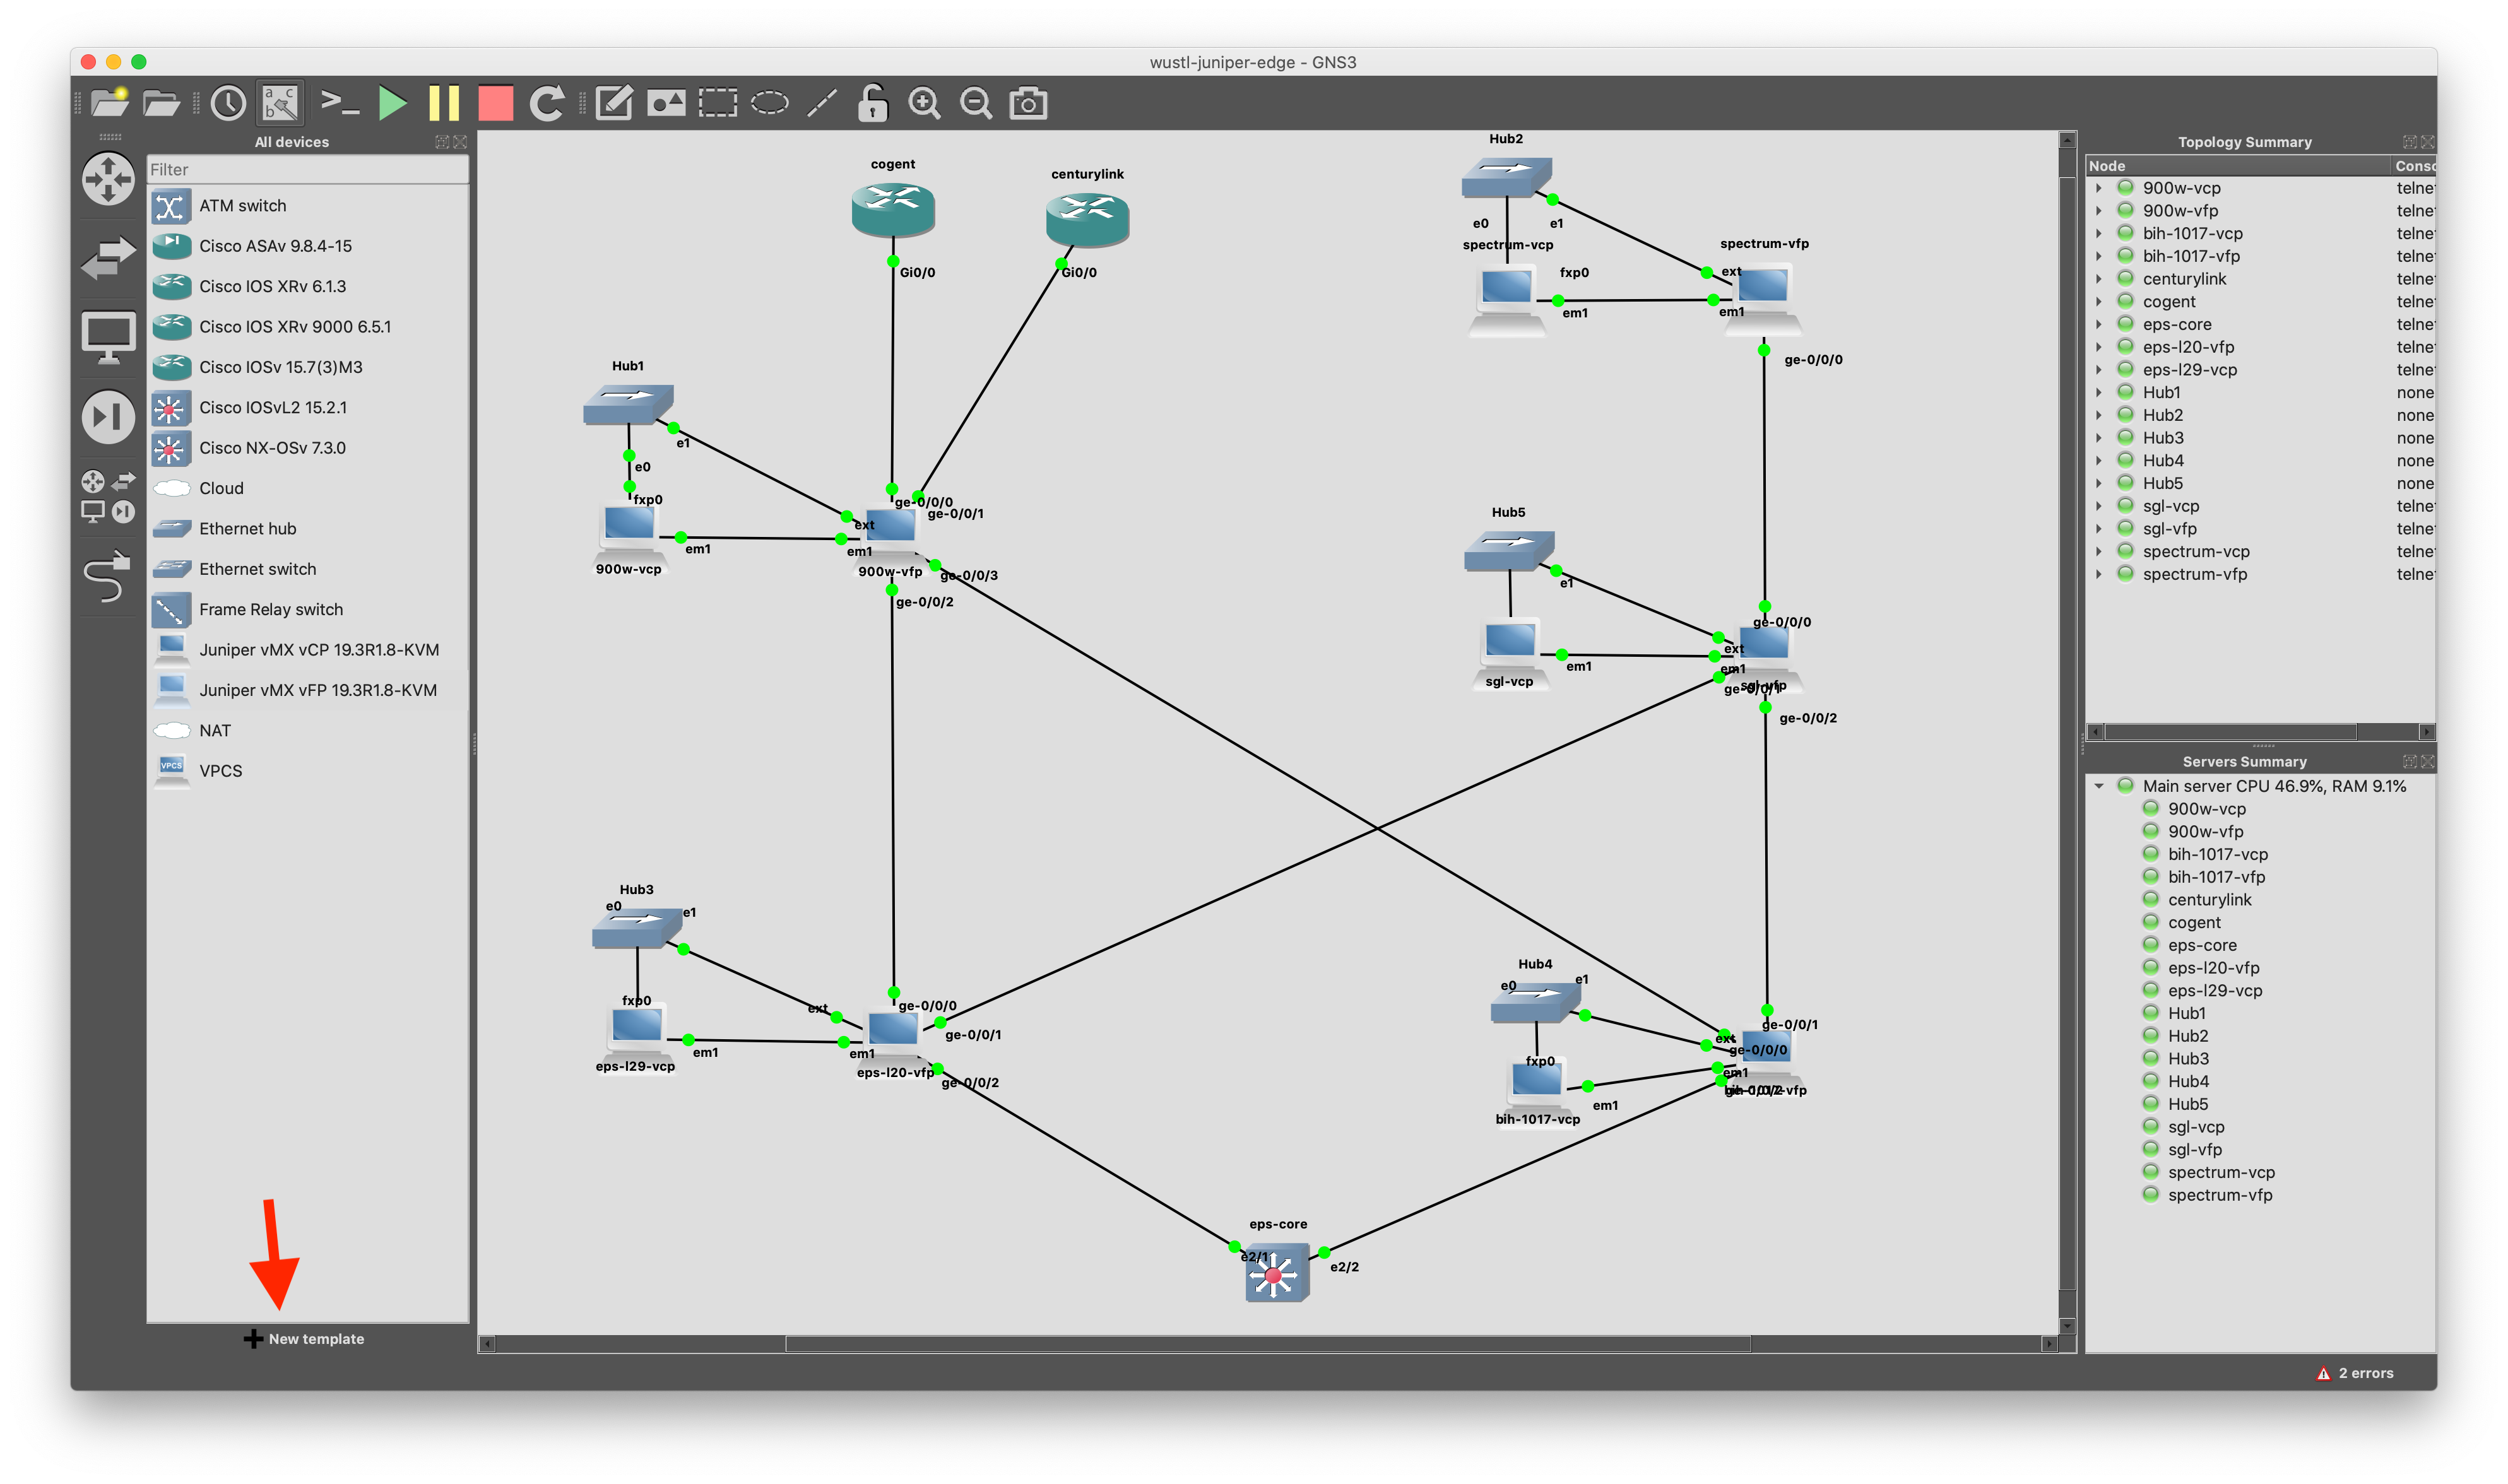
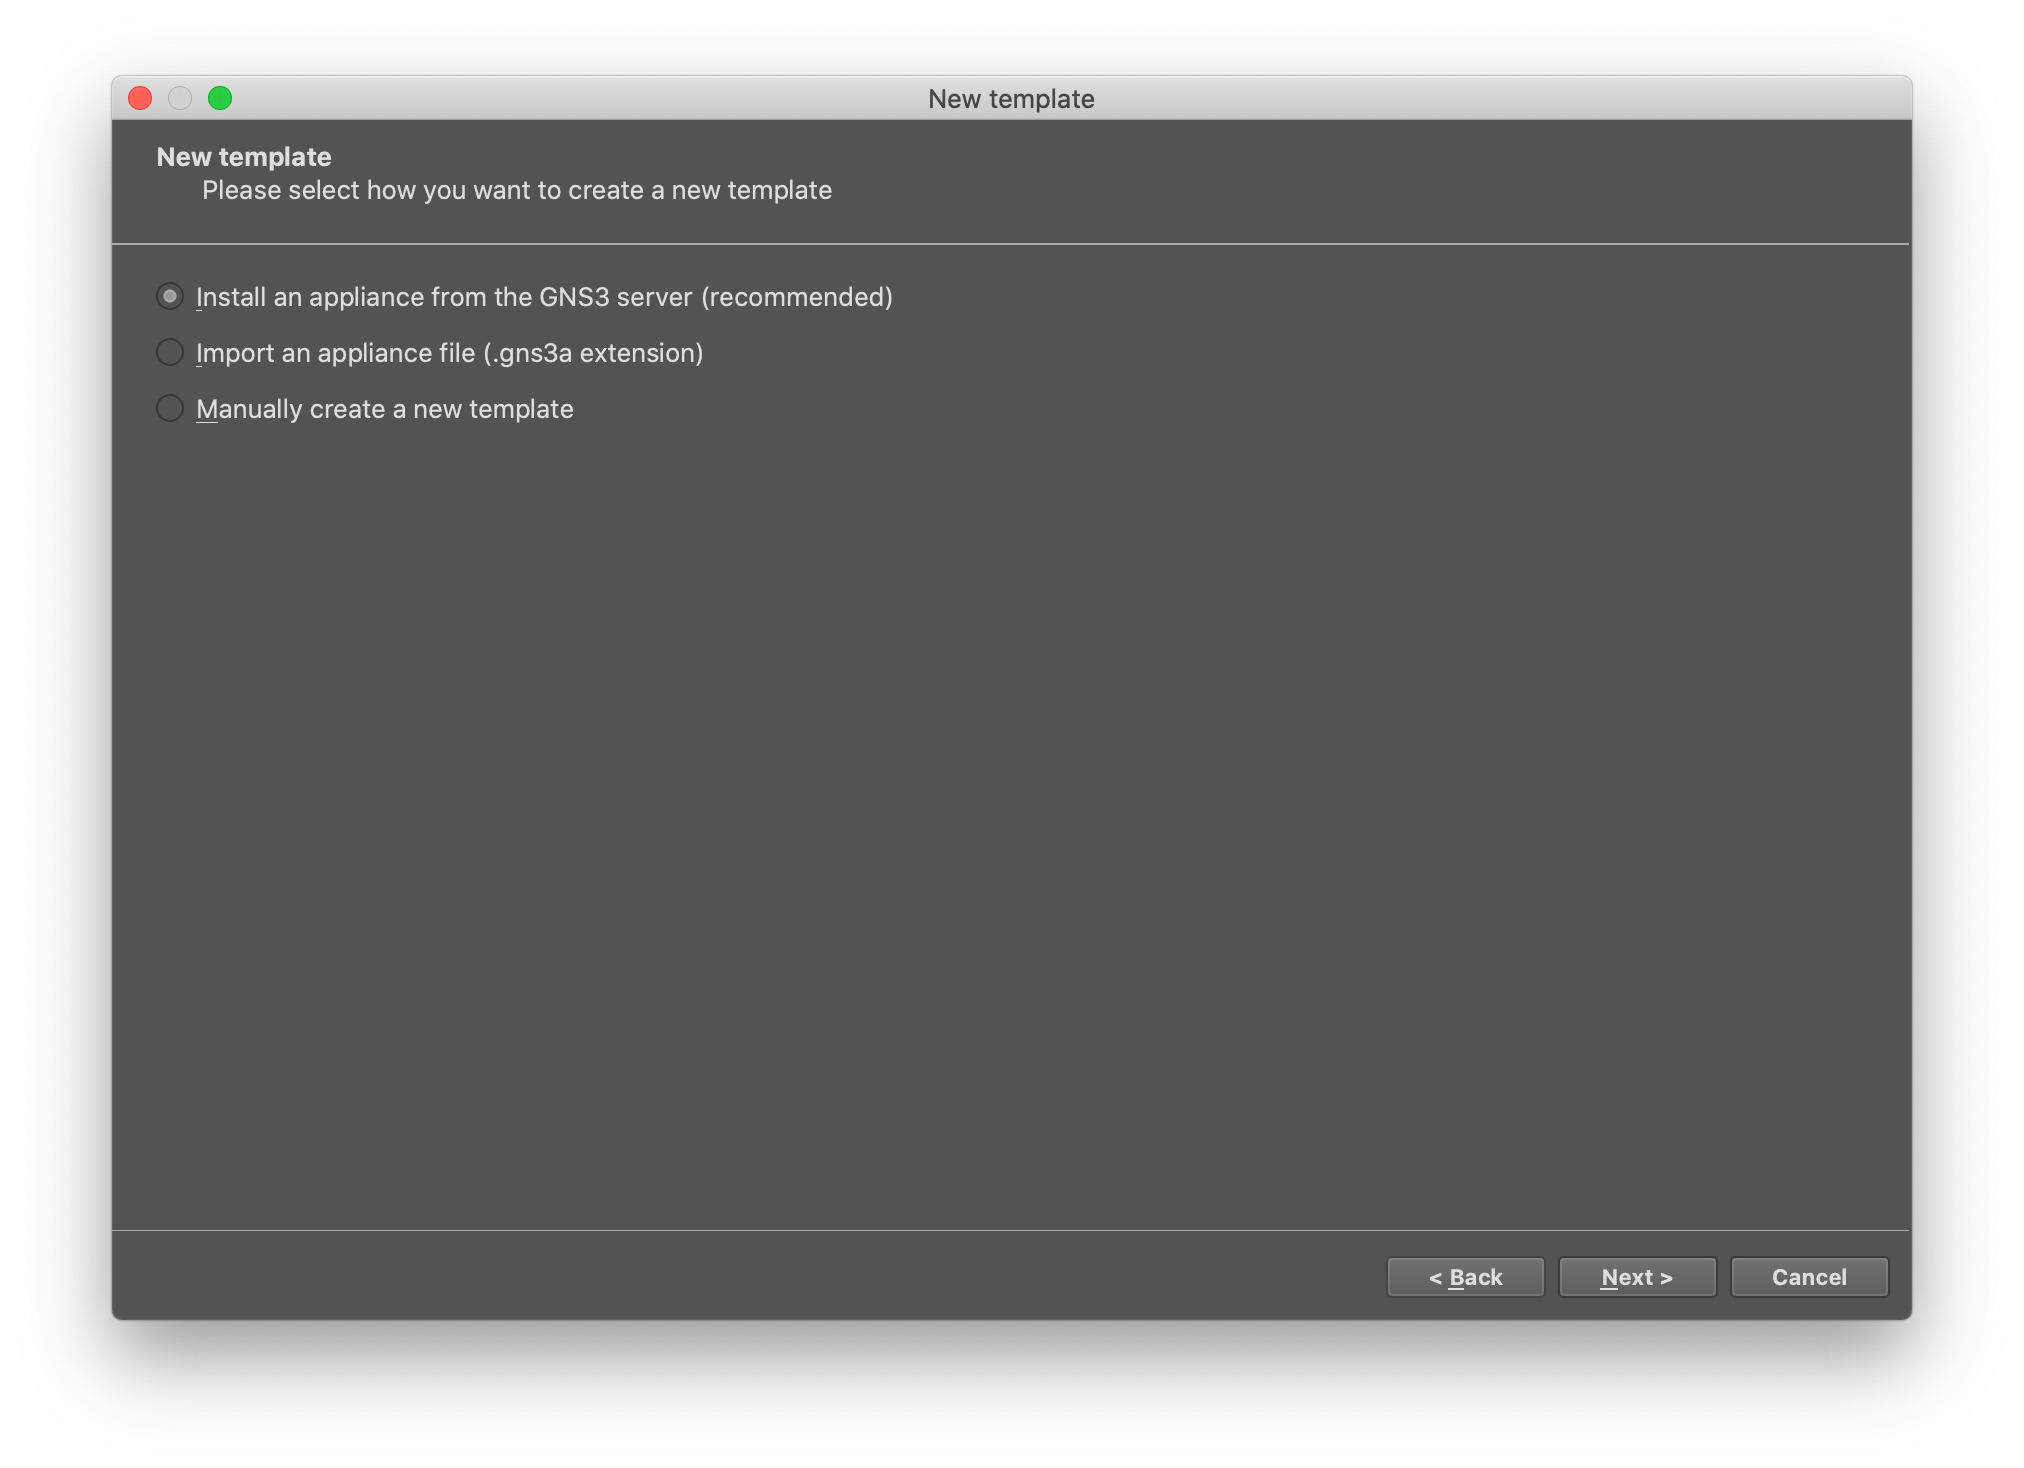
Import the vMX images by creating a new template file. Click new template in the bottom left corner:
Install an appliance from the GNS3 server:
Expand out Router and select Juniper vMX vCP:

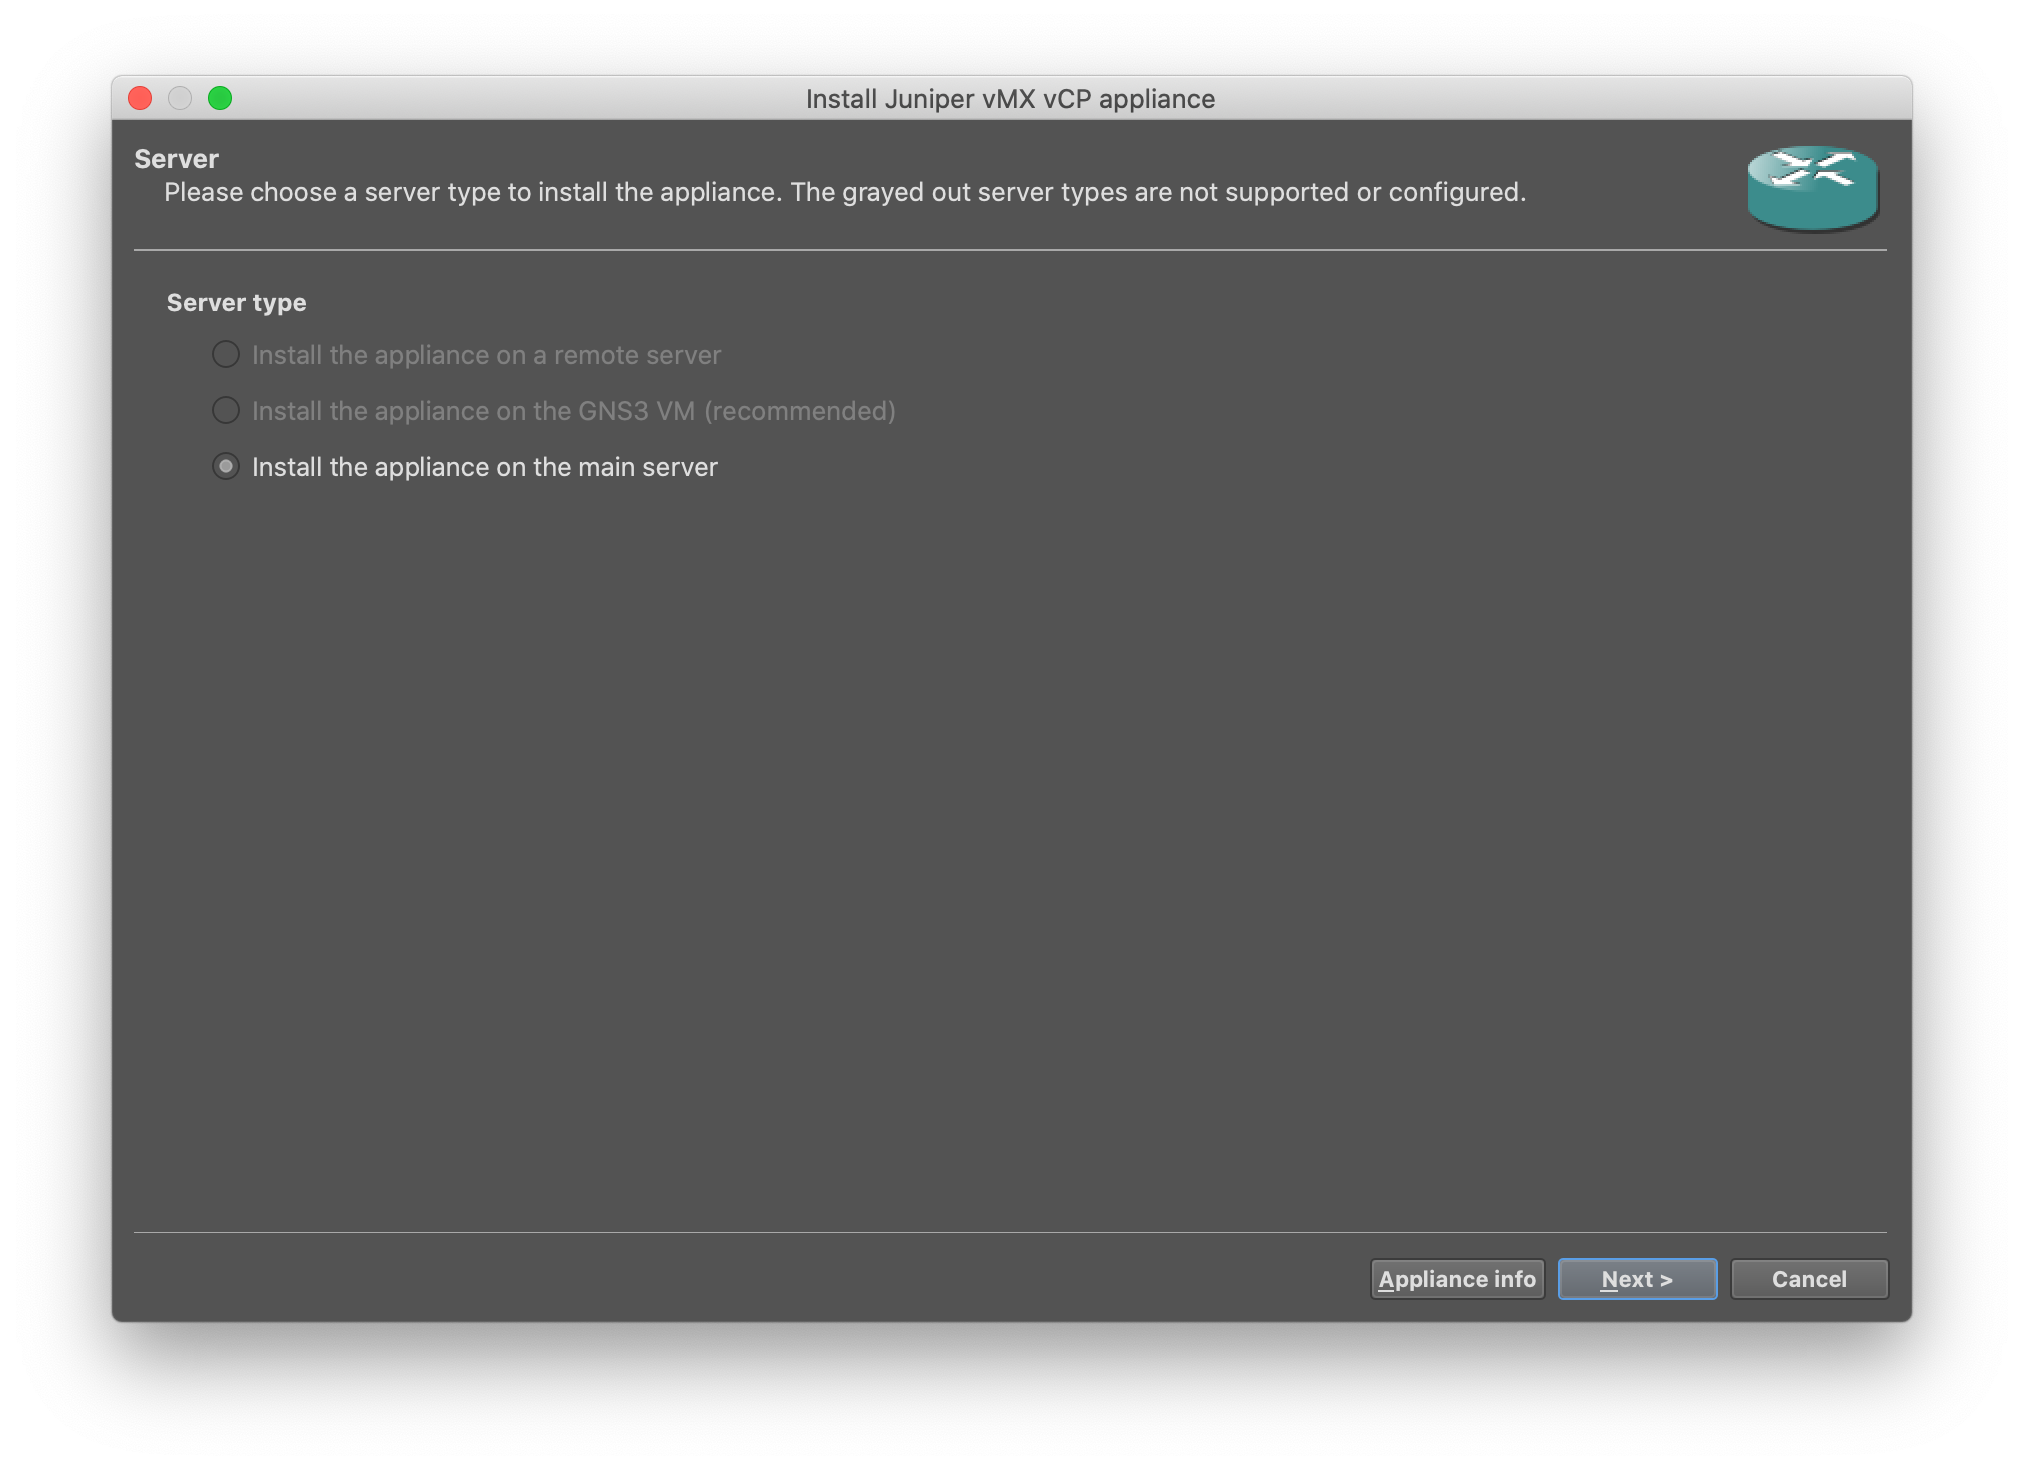
Install the appliance on the main server, this may be different depending on how the GNS3 remote server is configured:
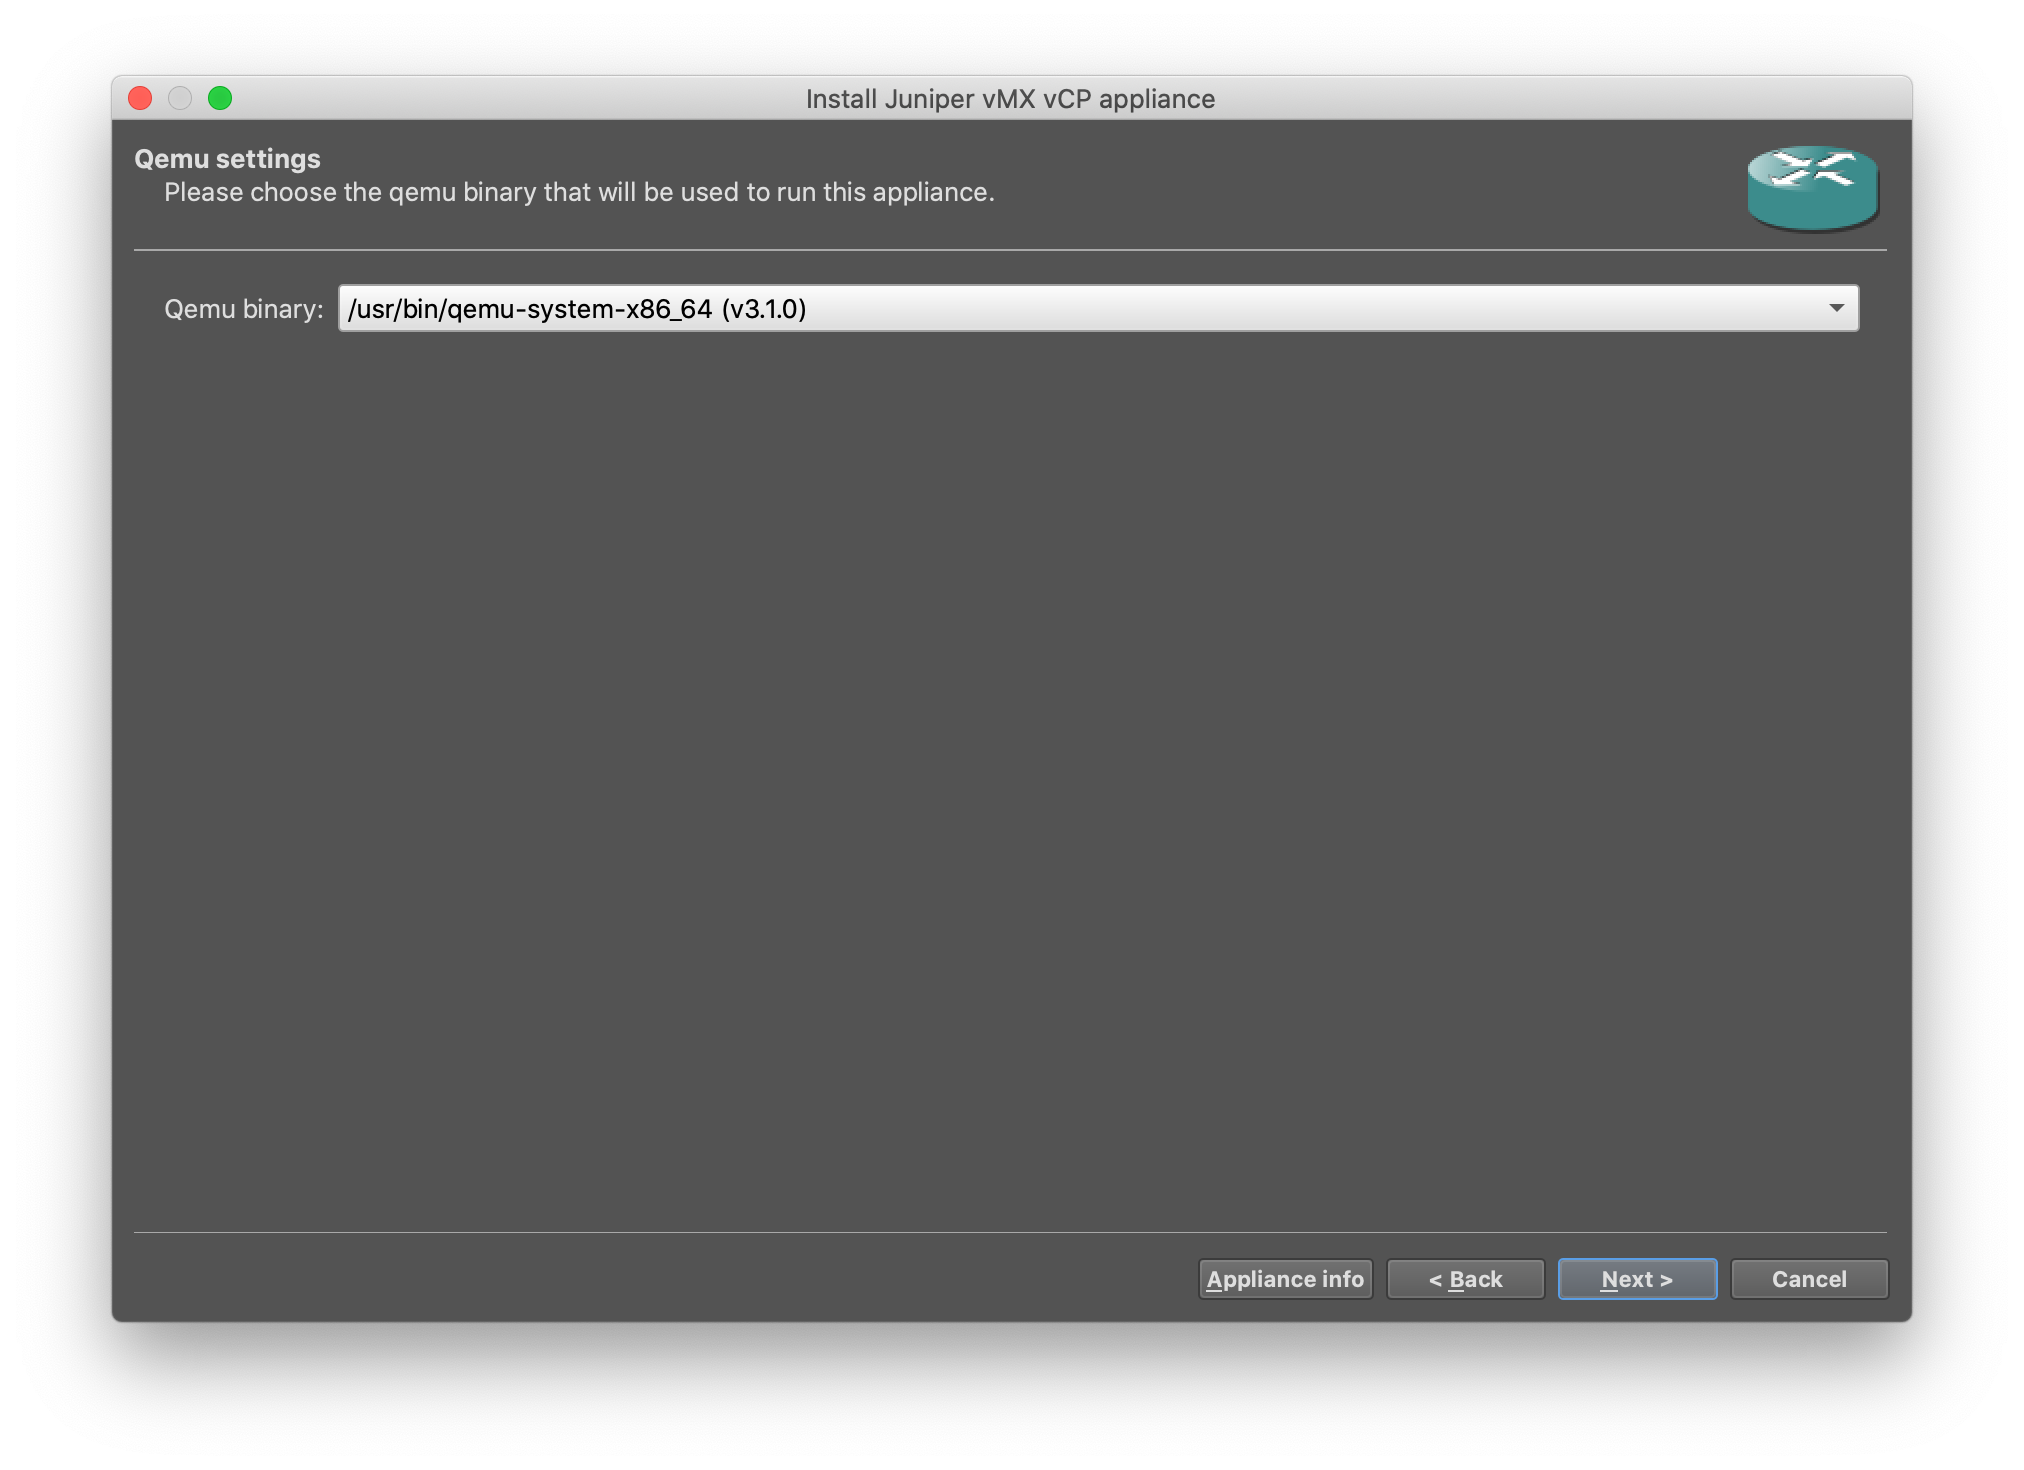
Use the default Qemu binary:
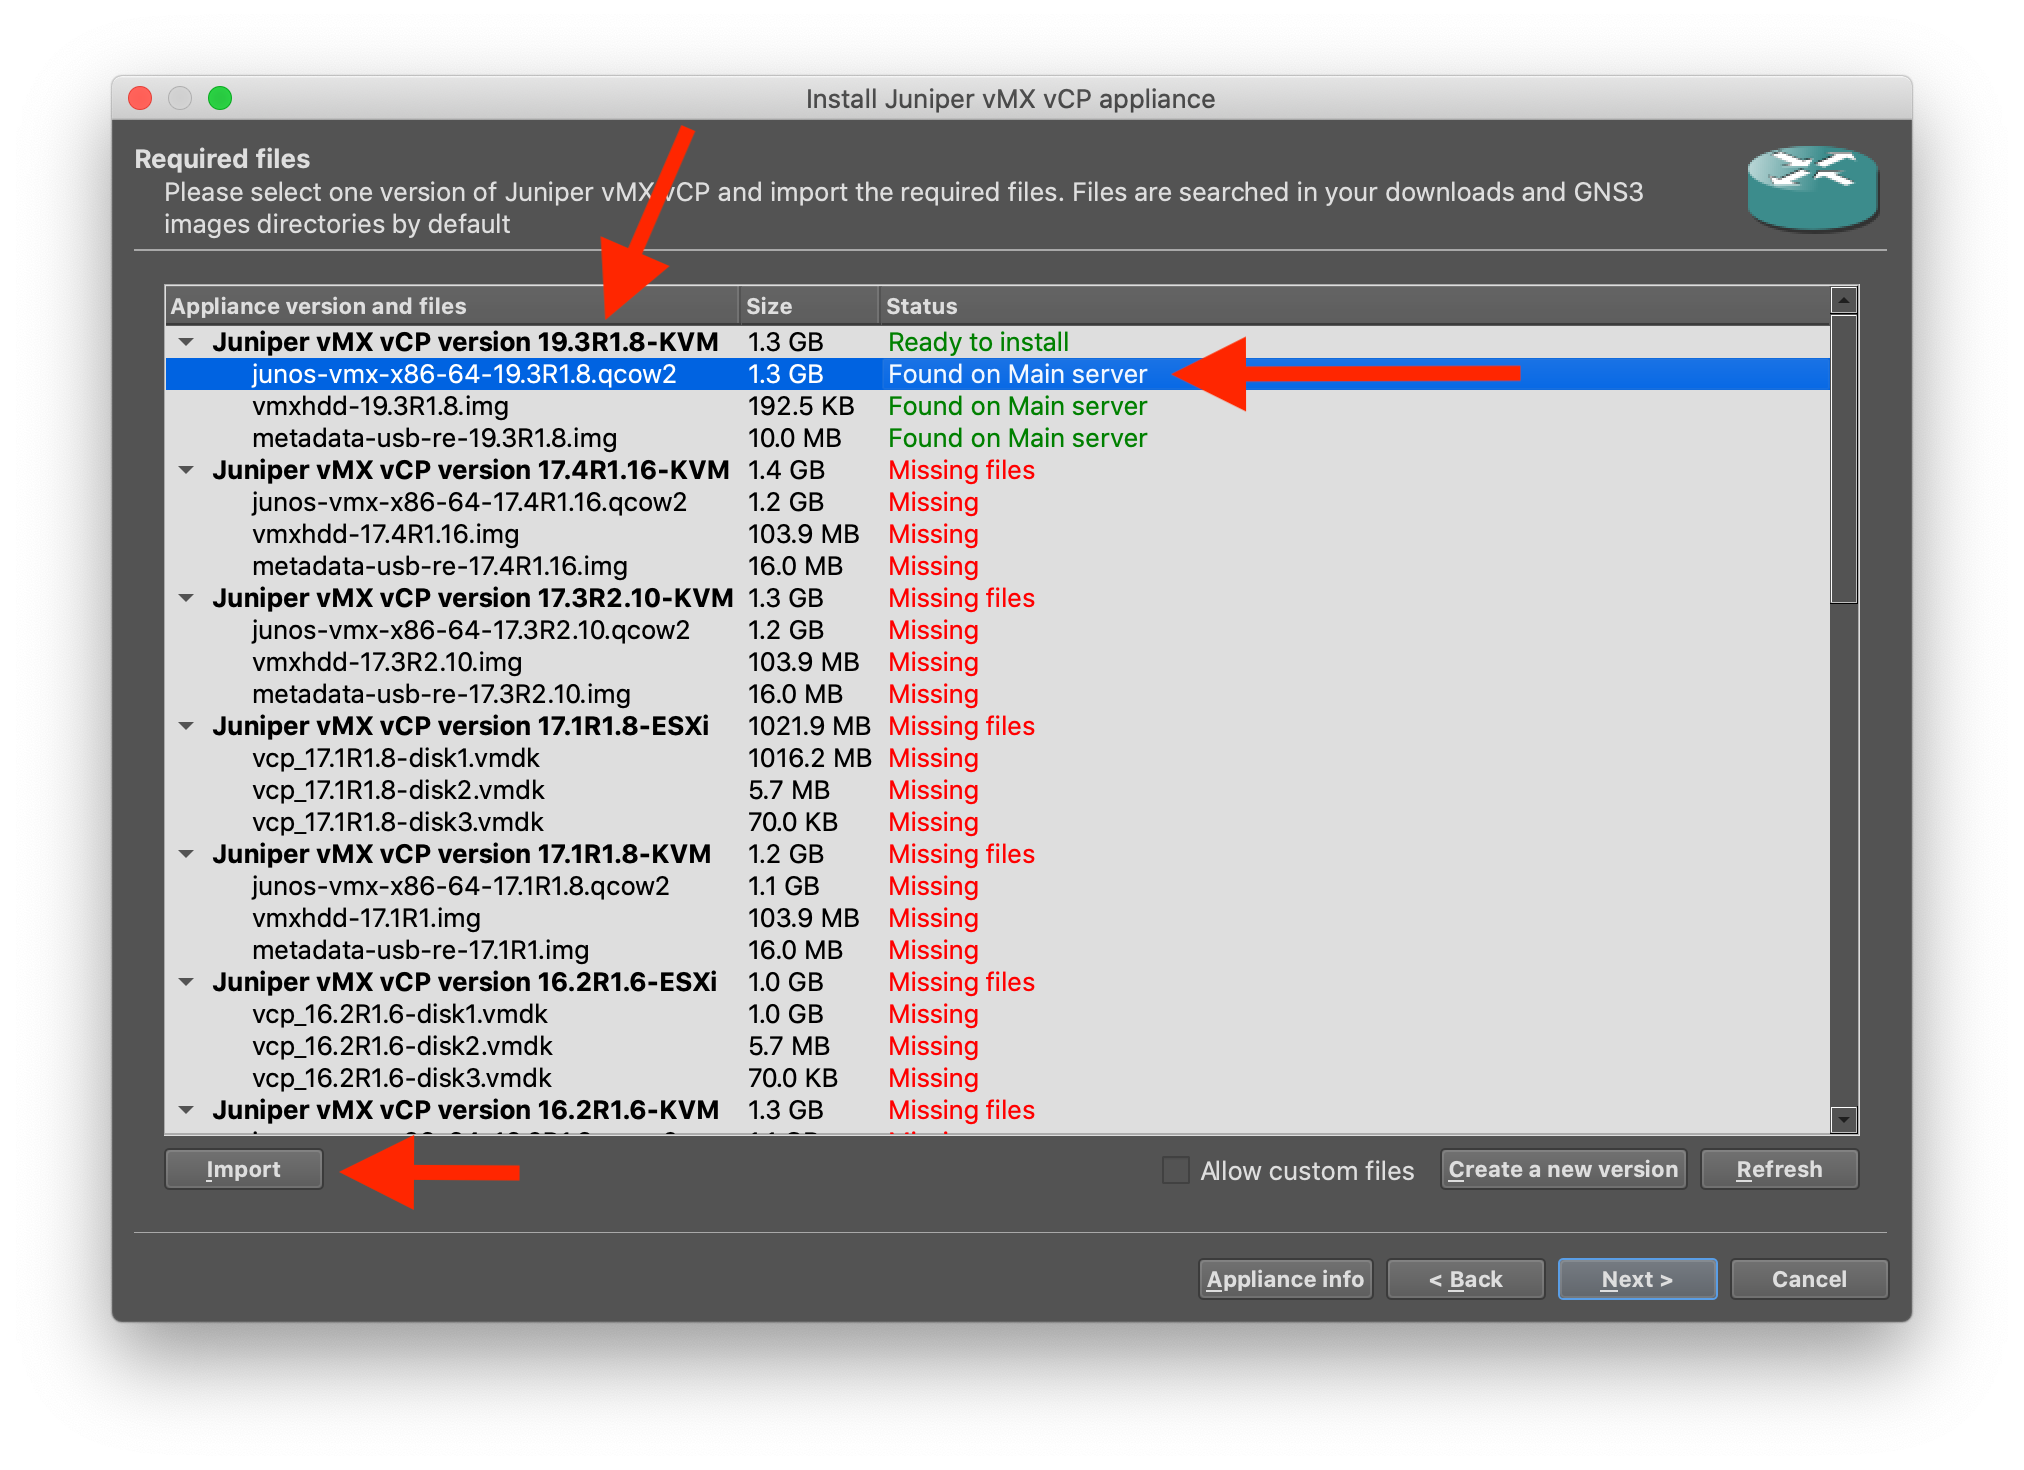
One at a time, select each of the components for the vCP image. Then click the IMPORT button and locate each of the 19.3R1.8 images downloaded in the first step:
Note: In this example, it says the images are found on the server because they are already installed in my lab.
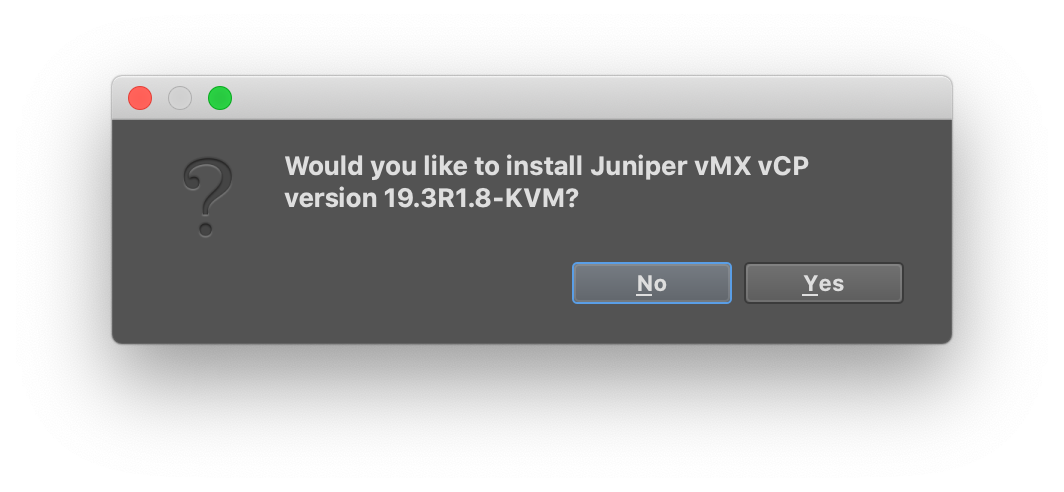
Complete the final install:
Repeat the last 5 steps for the Juniper vMX vFP. Create another new router template by clicking new template in the bottom left corner:
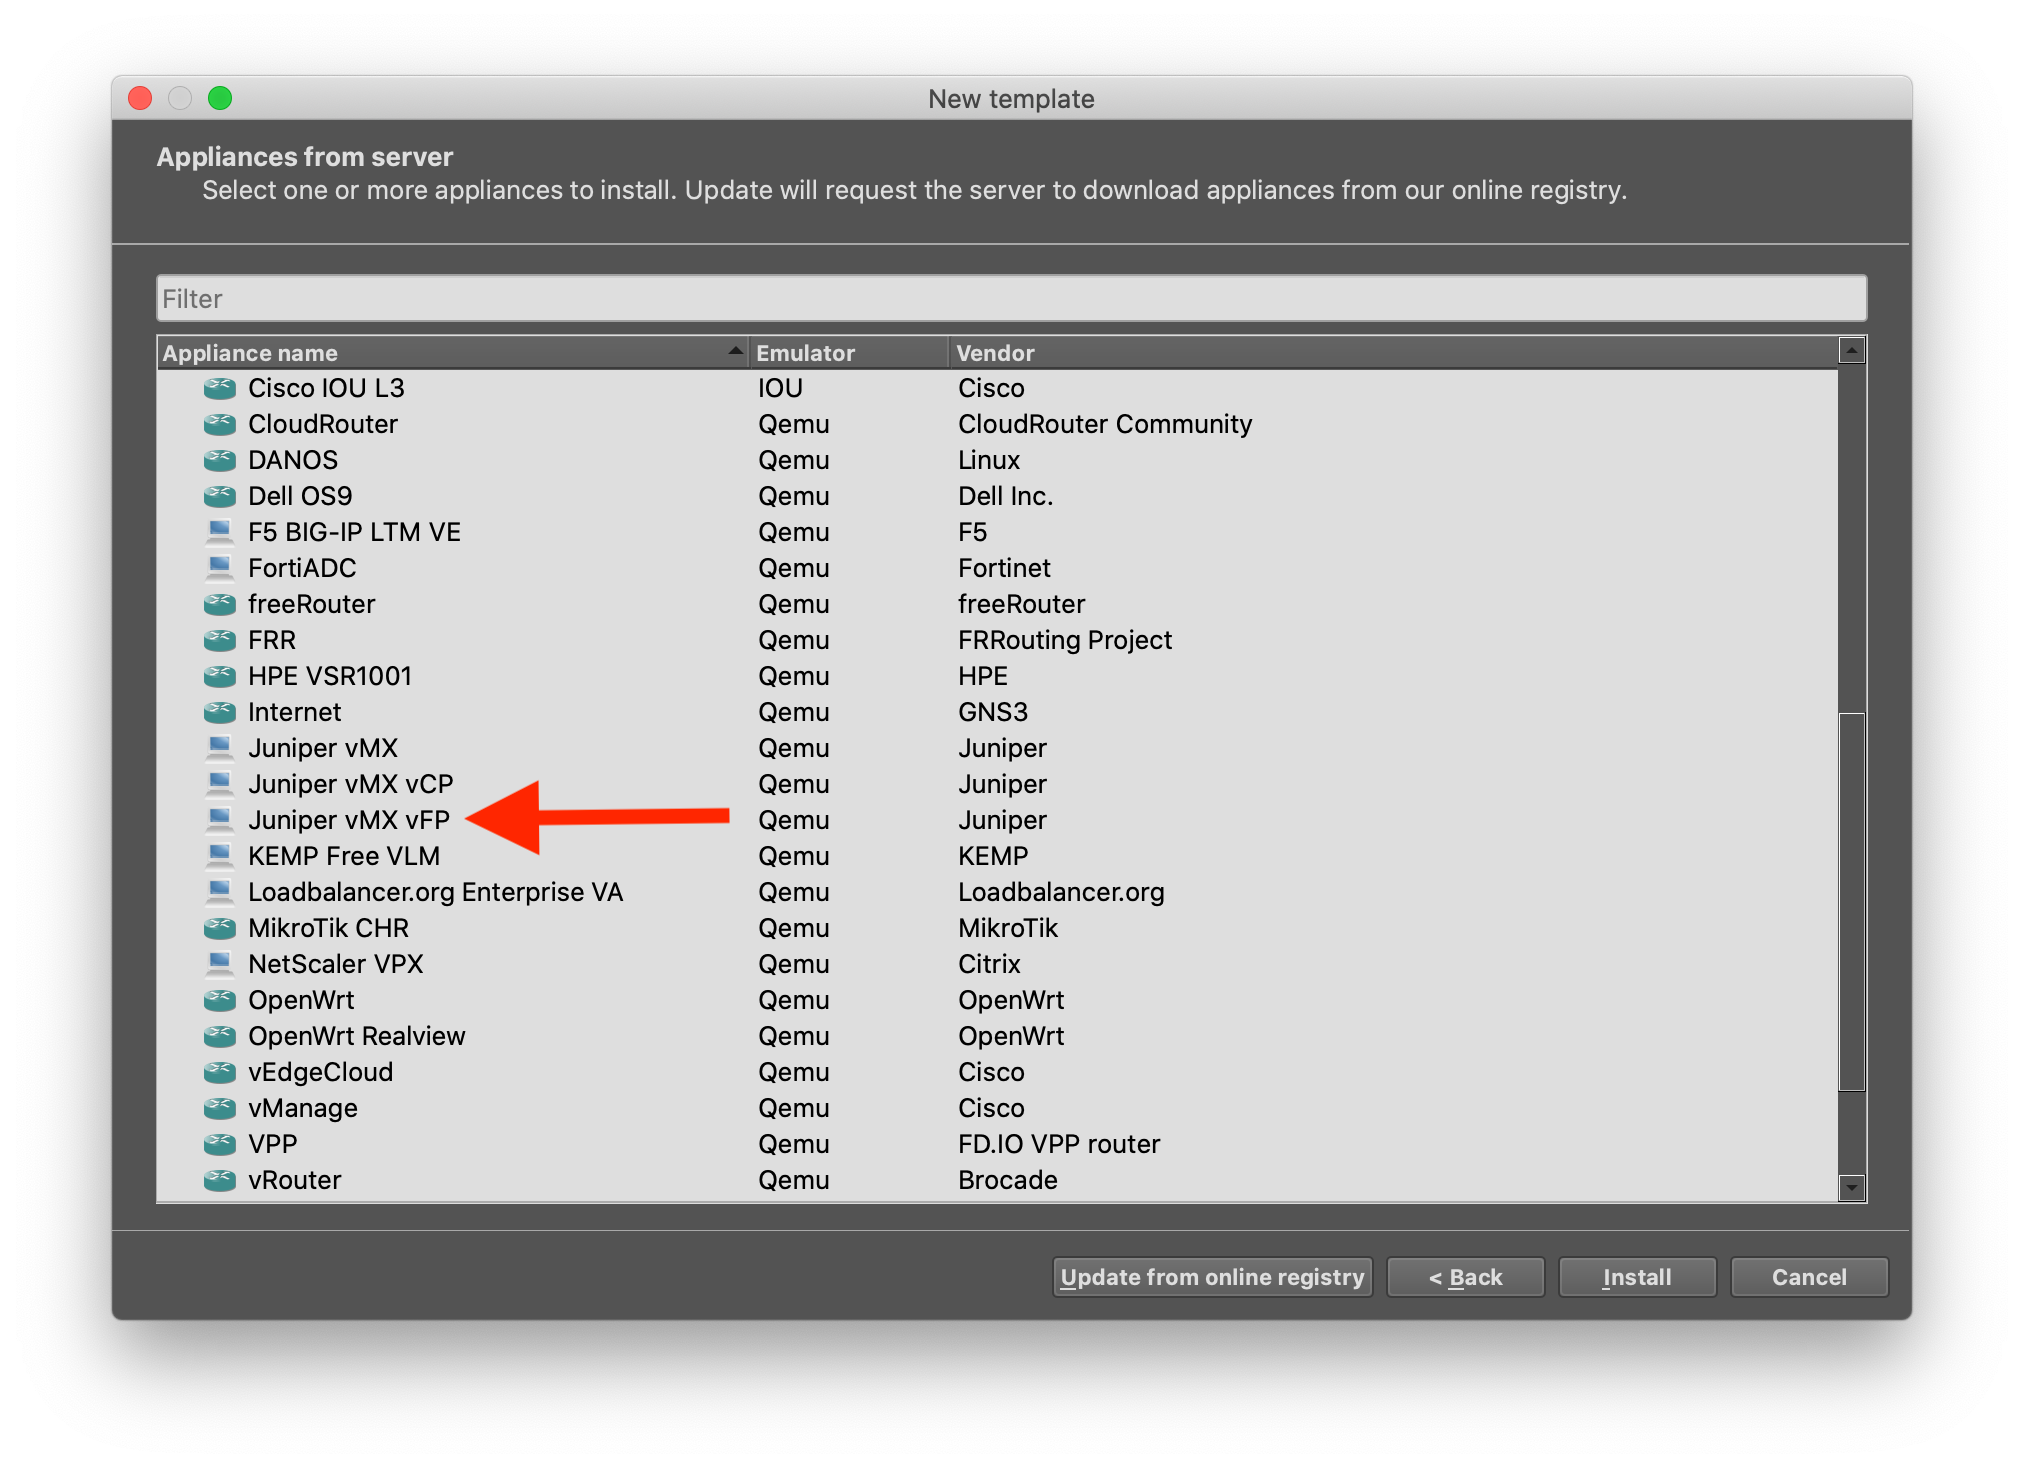
Install an appliance from the GNS3 server:
Expand out Router and select Juniper vMX vFP:
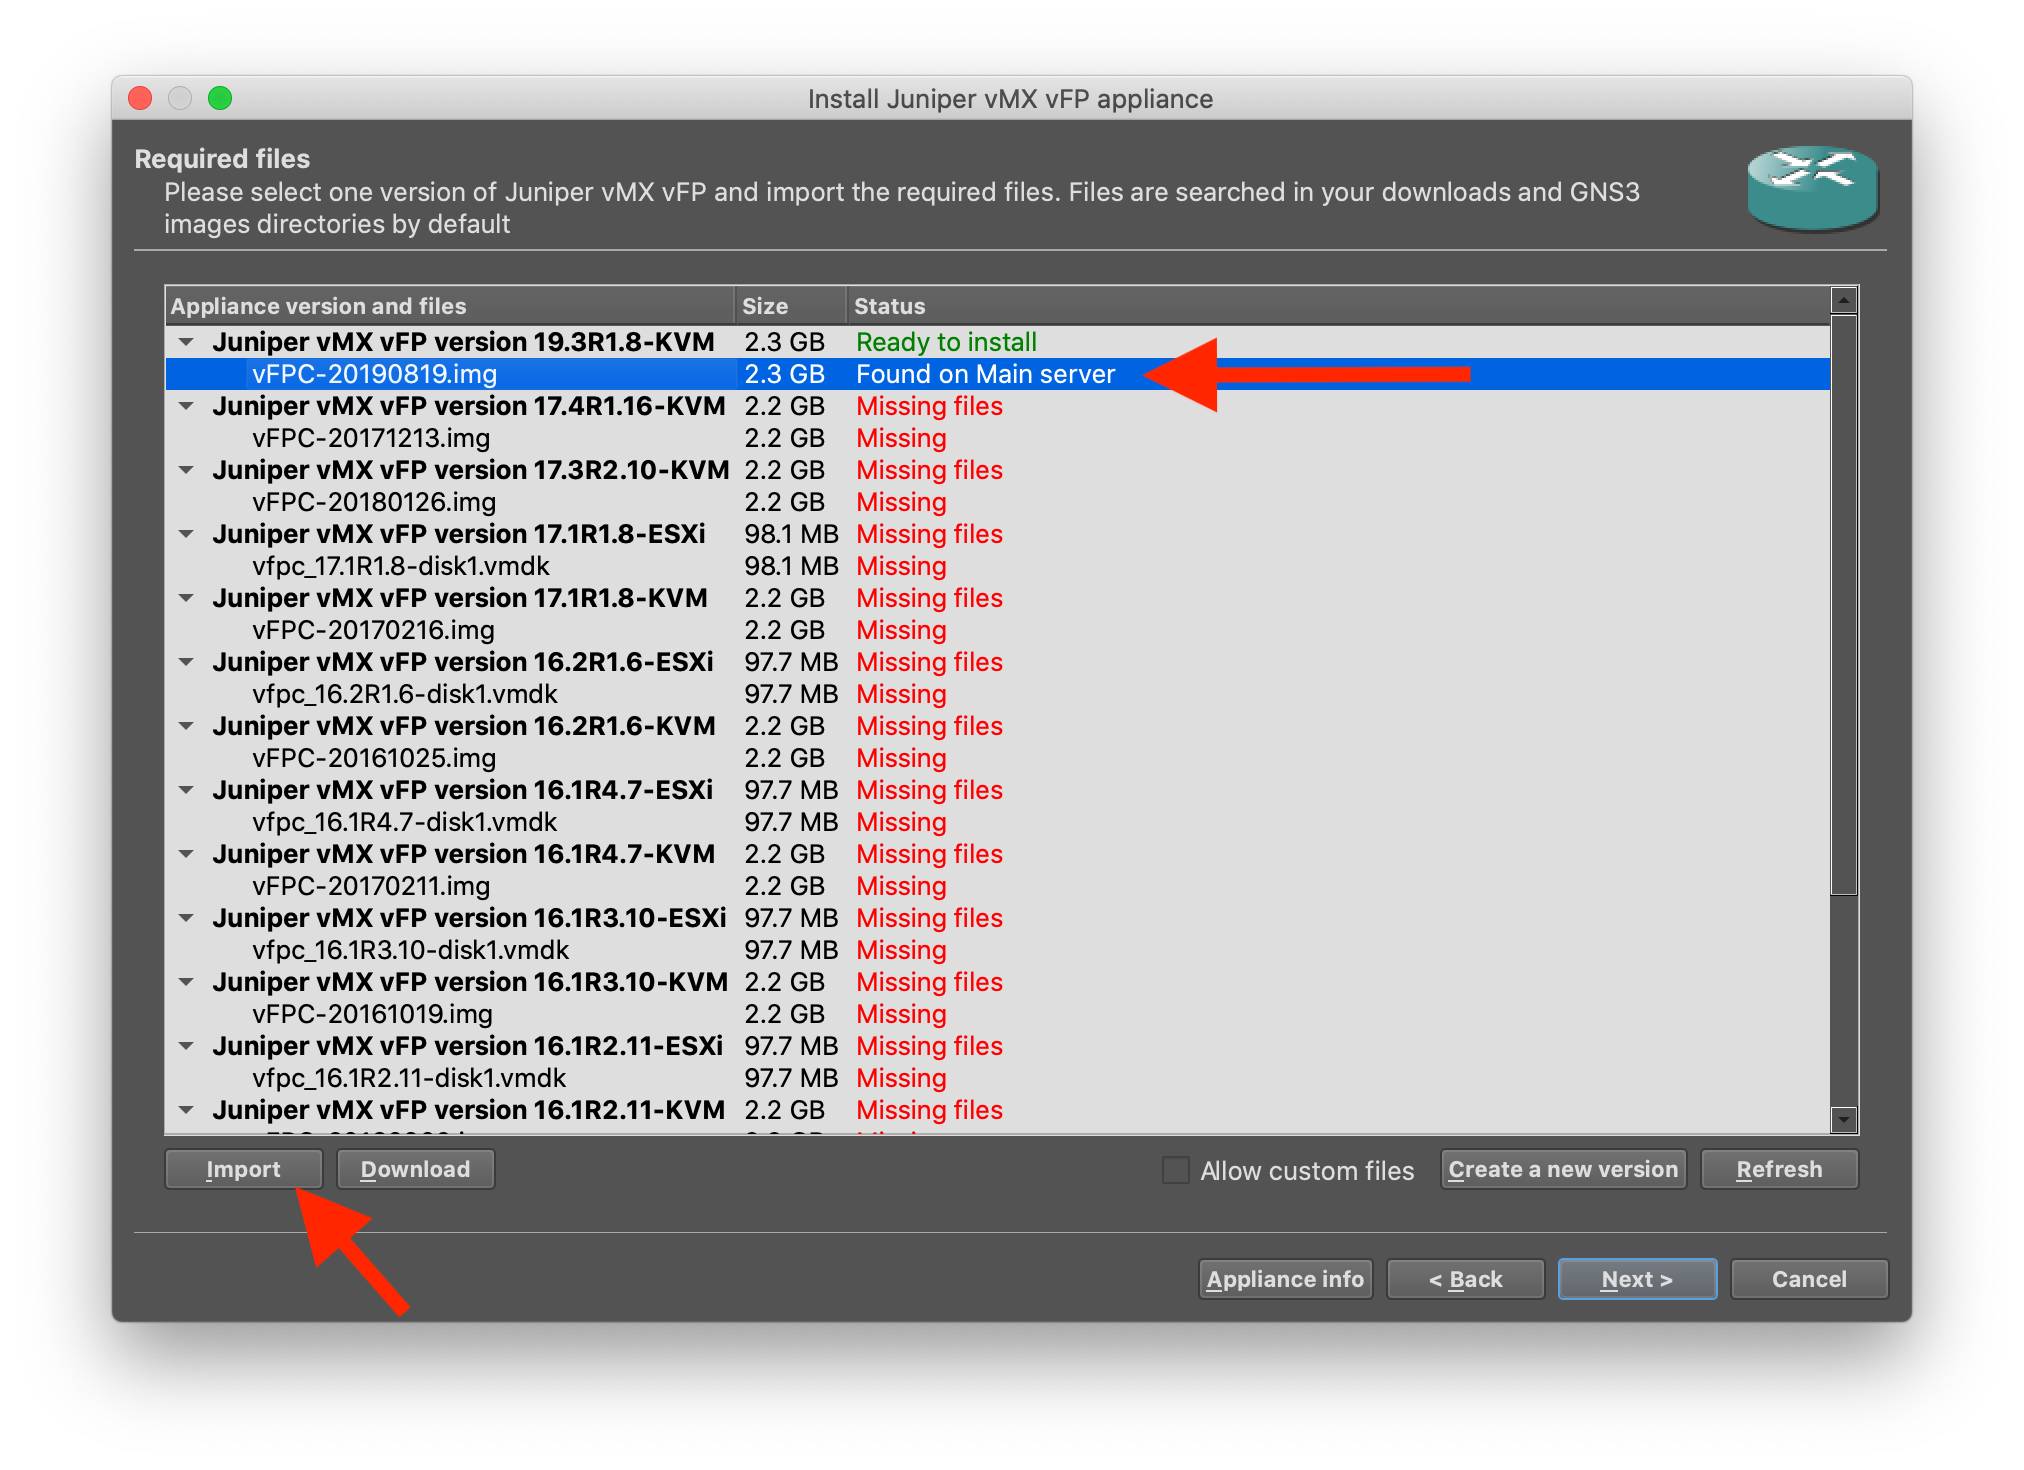
Expand out the 19.3R1.8 vFP line, select the image, click import, and locate the image downloaded in the first step:
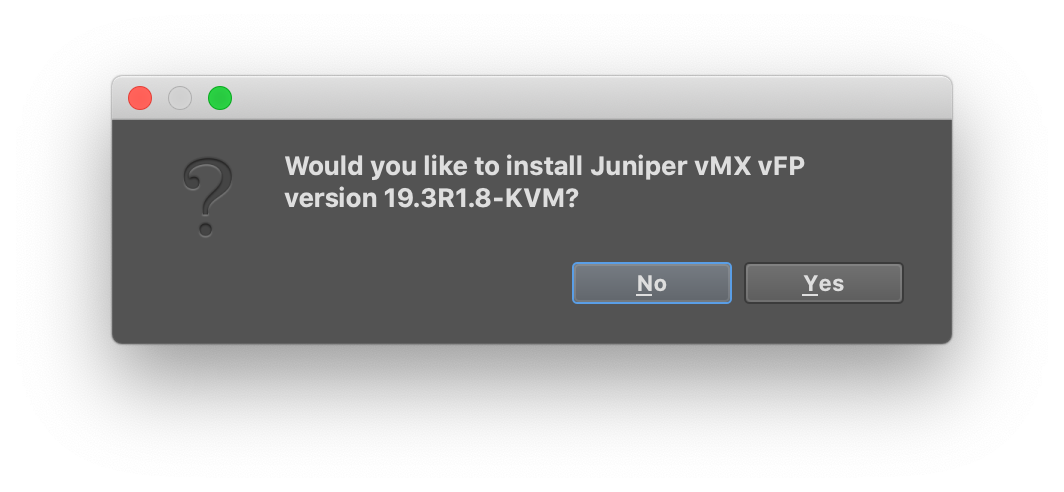
Complete the final install:
The GNS3 vFP template does NOT have the proper interface names configured. Fixing this will make creating and configuring topologies much easier.
Right click the newly created vFP template:
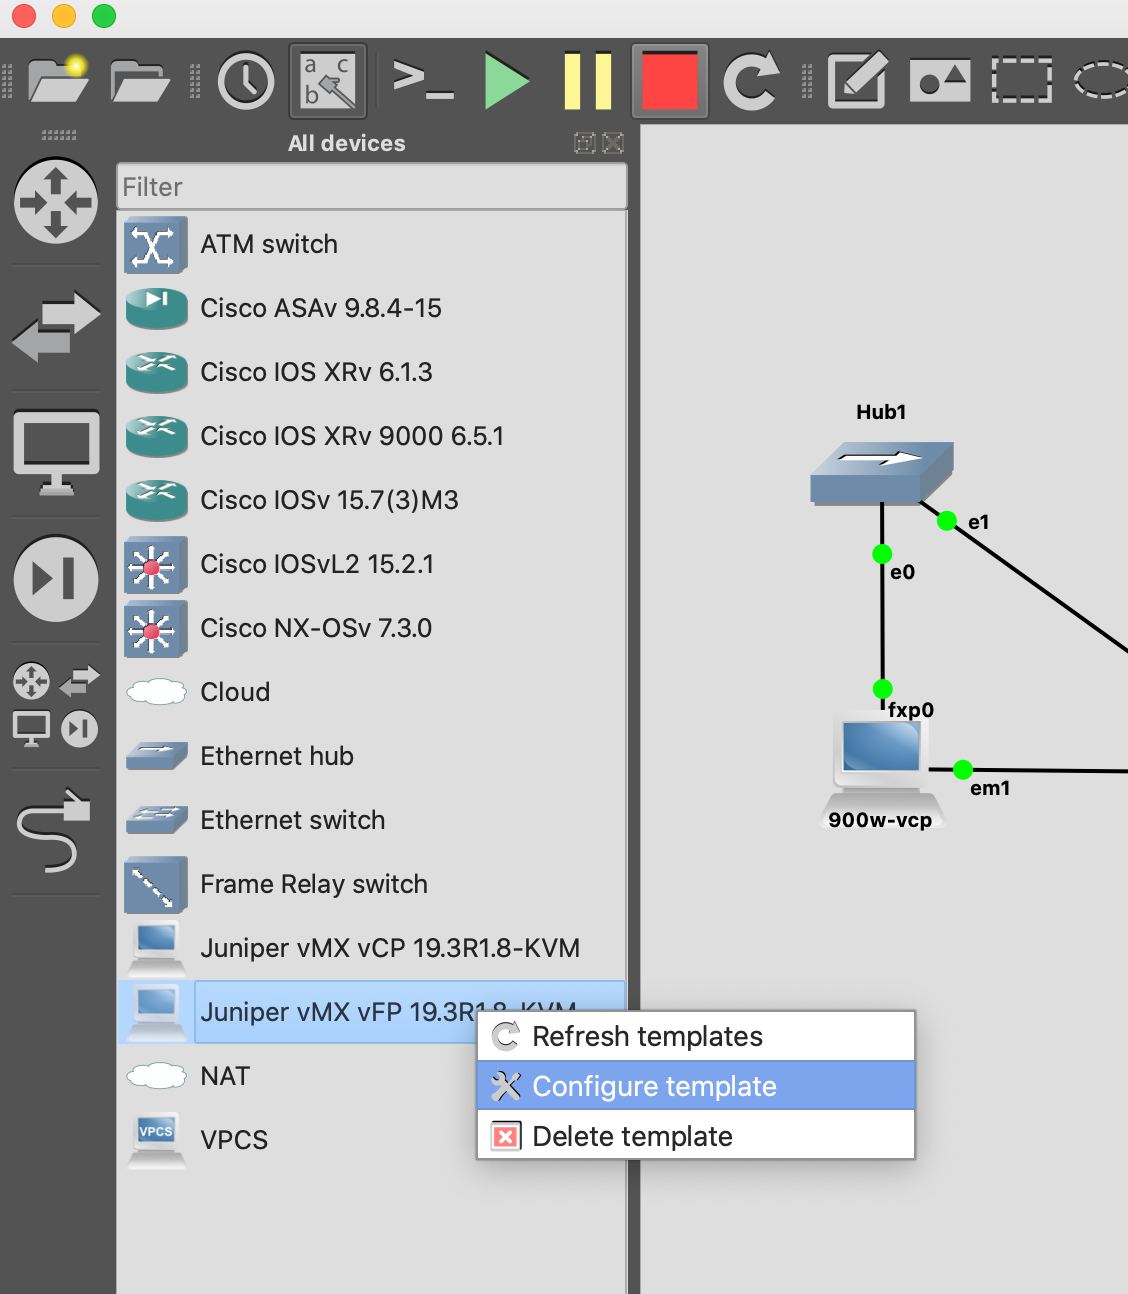
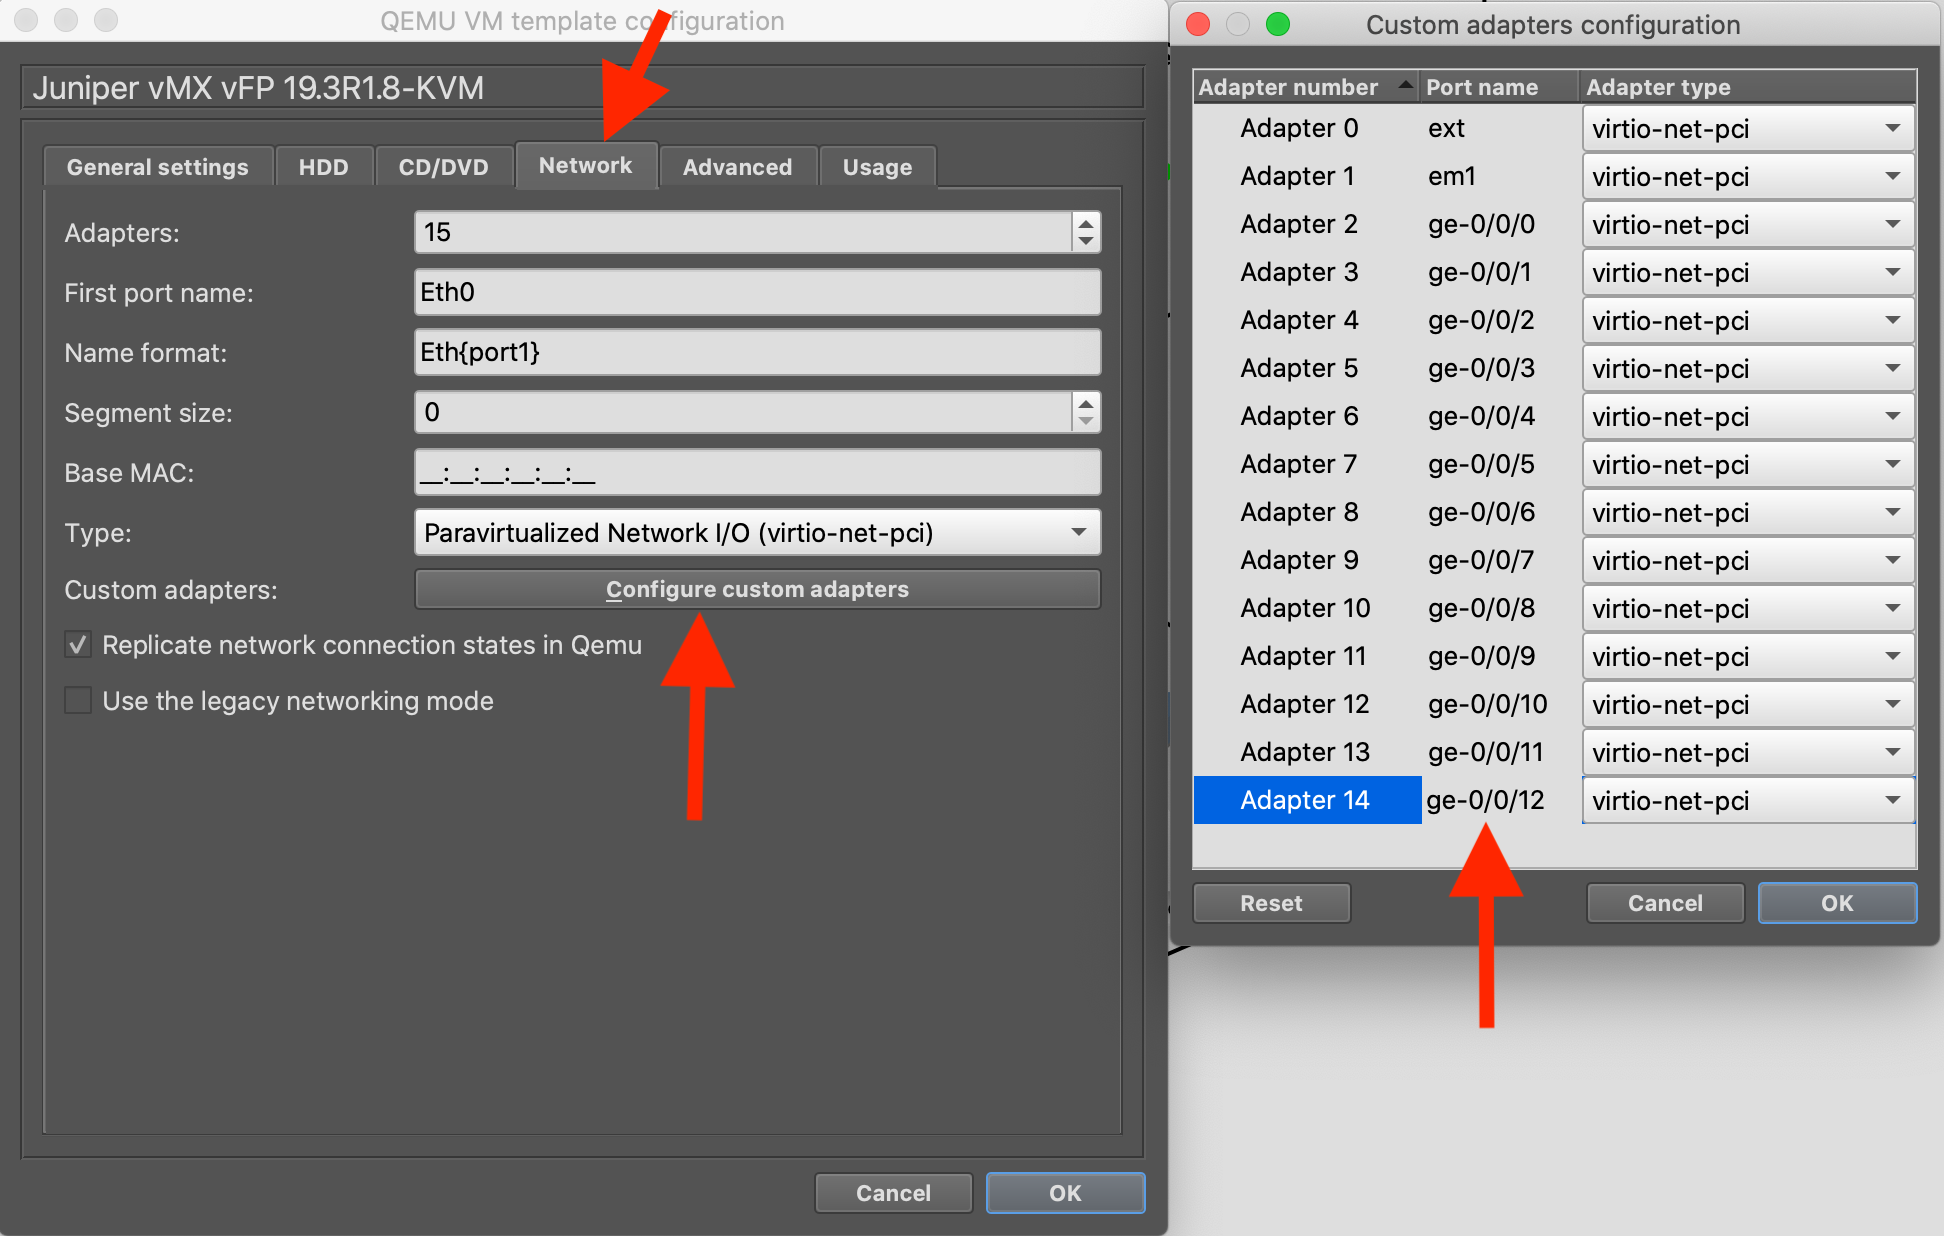
Click the Network tab. Add more network interfaces if needed, I use 15 adaptors.
Click the Configure custom adapters and change ALL the interface names per the screen shot below:
OH MY GOD, we are almost there!!!! The vMX images are loaded into GNS3 and ready for use.
HOWEVER, they must be connected in a very specific way.
Start by dragging out a vCP, vFP, and hub. Connect them as follows:
- vCP fxp0 -> hub
- vCP em1 -> vFP em1
- vFP em1 -> vCP em1
- vFP ext -> hub
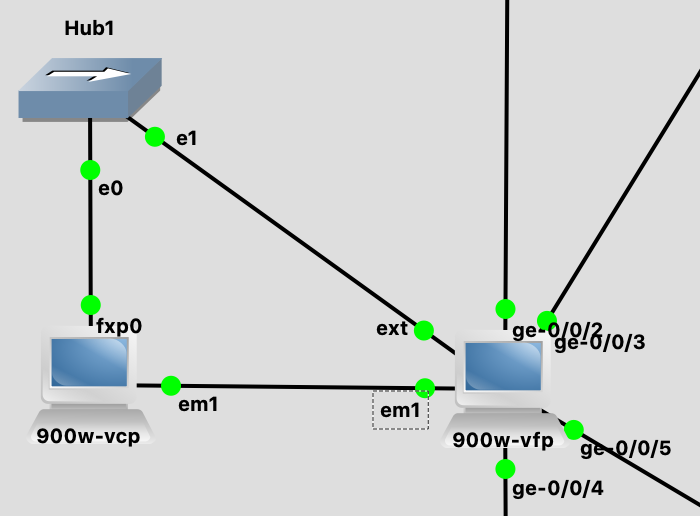
Here is an example lab with multiple vMX routers:
You are DONE! Click PLAY and enjoy. It was just that simple!