Creating and using a Python virtual environment in Visual Studio Code
Python virtual environments allow developers to separate projects so that libraries do not conflict and projects can maintain separation with each other. Visual Studio Code makes it easy to create and switch between these environments.
First, create a new workspace (directory) for each unique Python virtual environment:
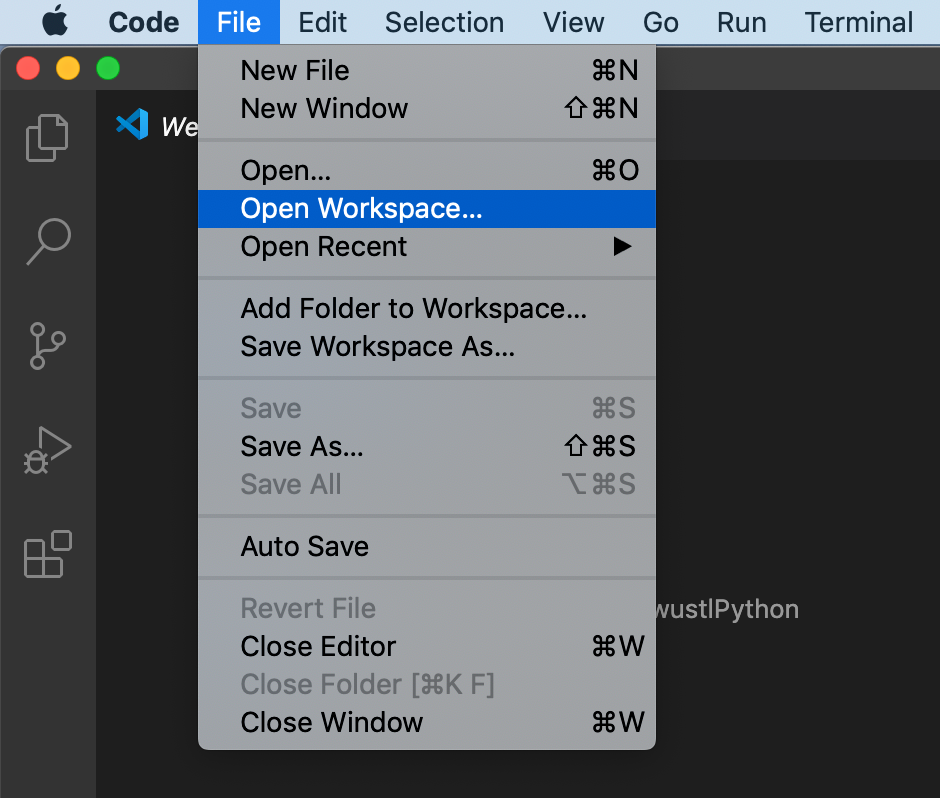
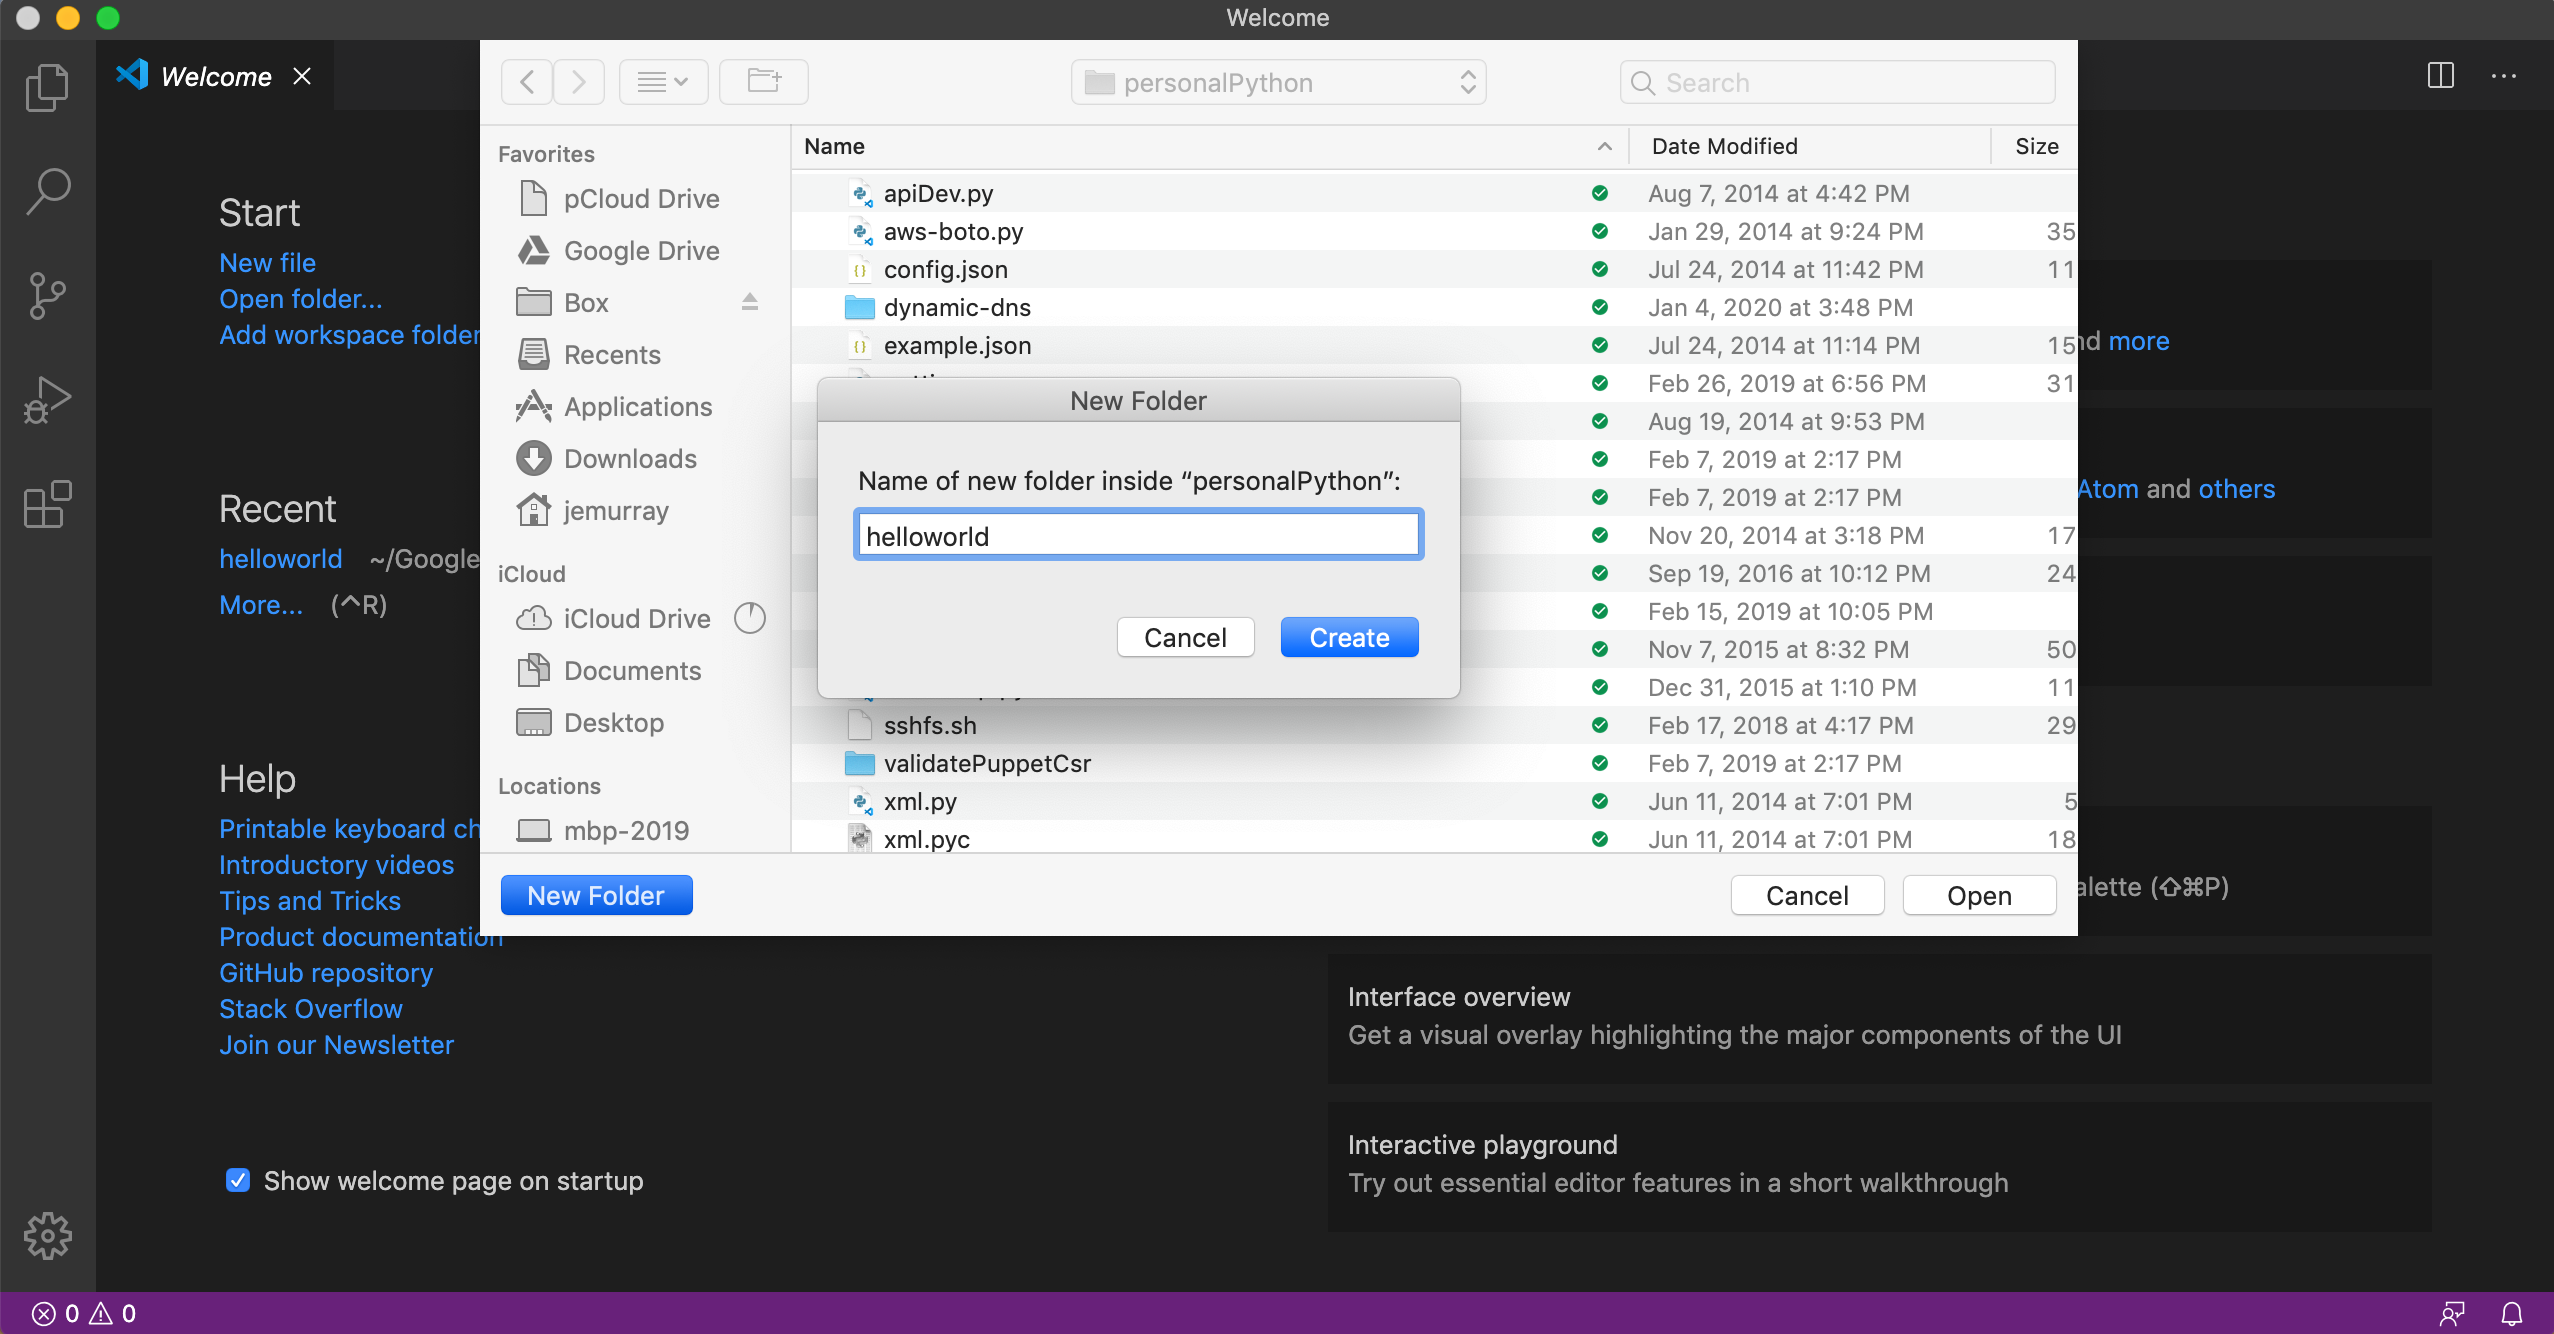
Create a new folder (directory):
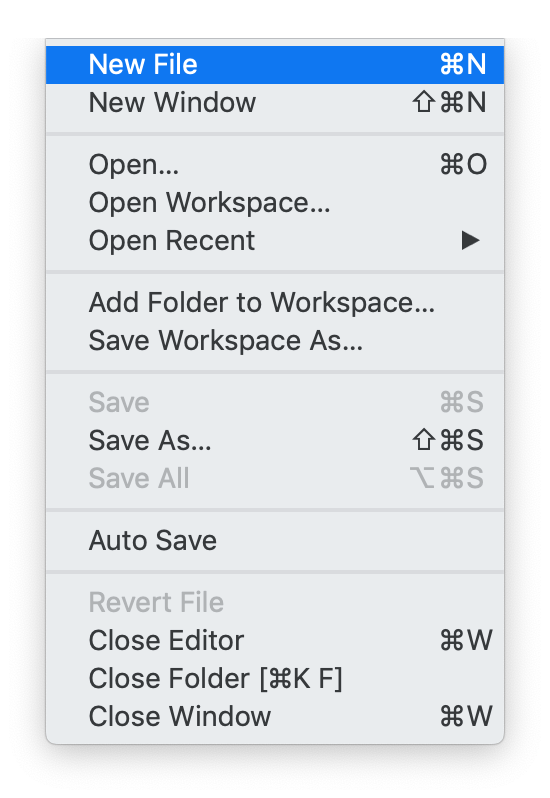
Create a new python file:
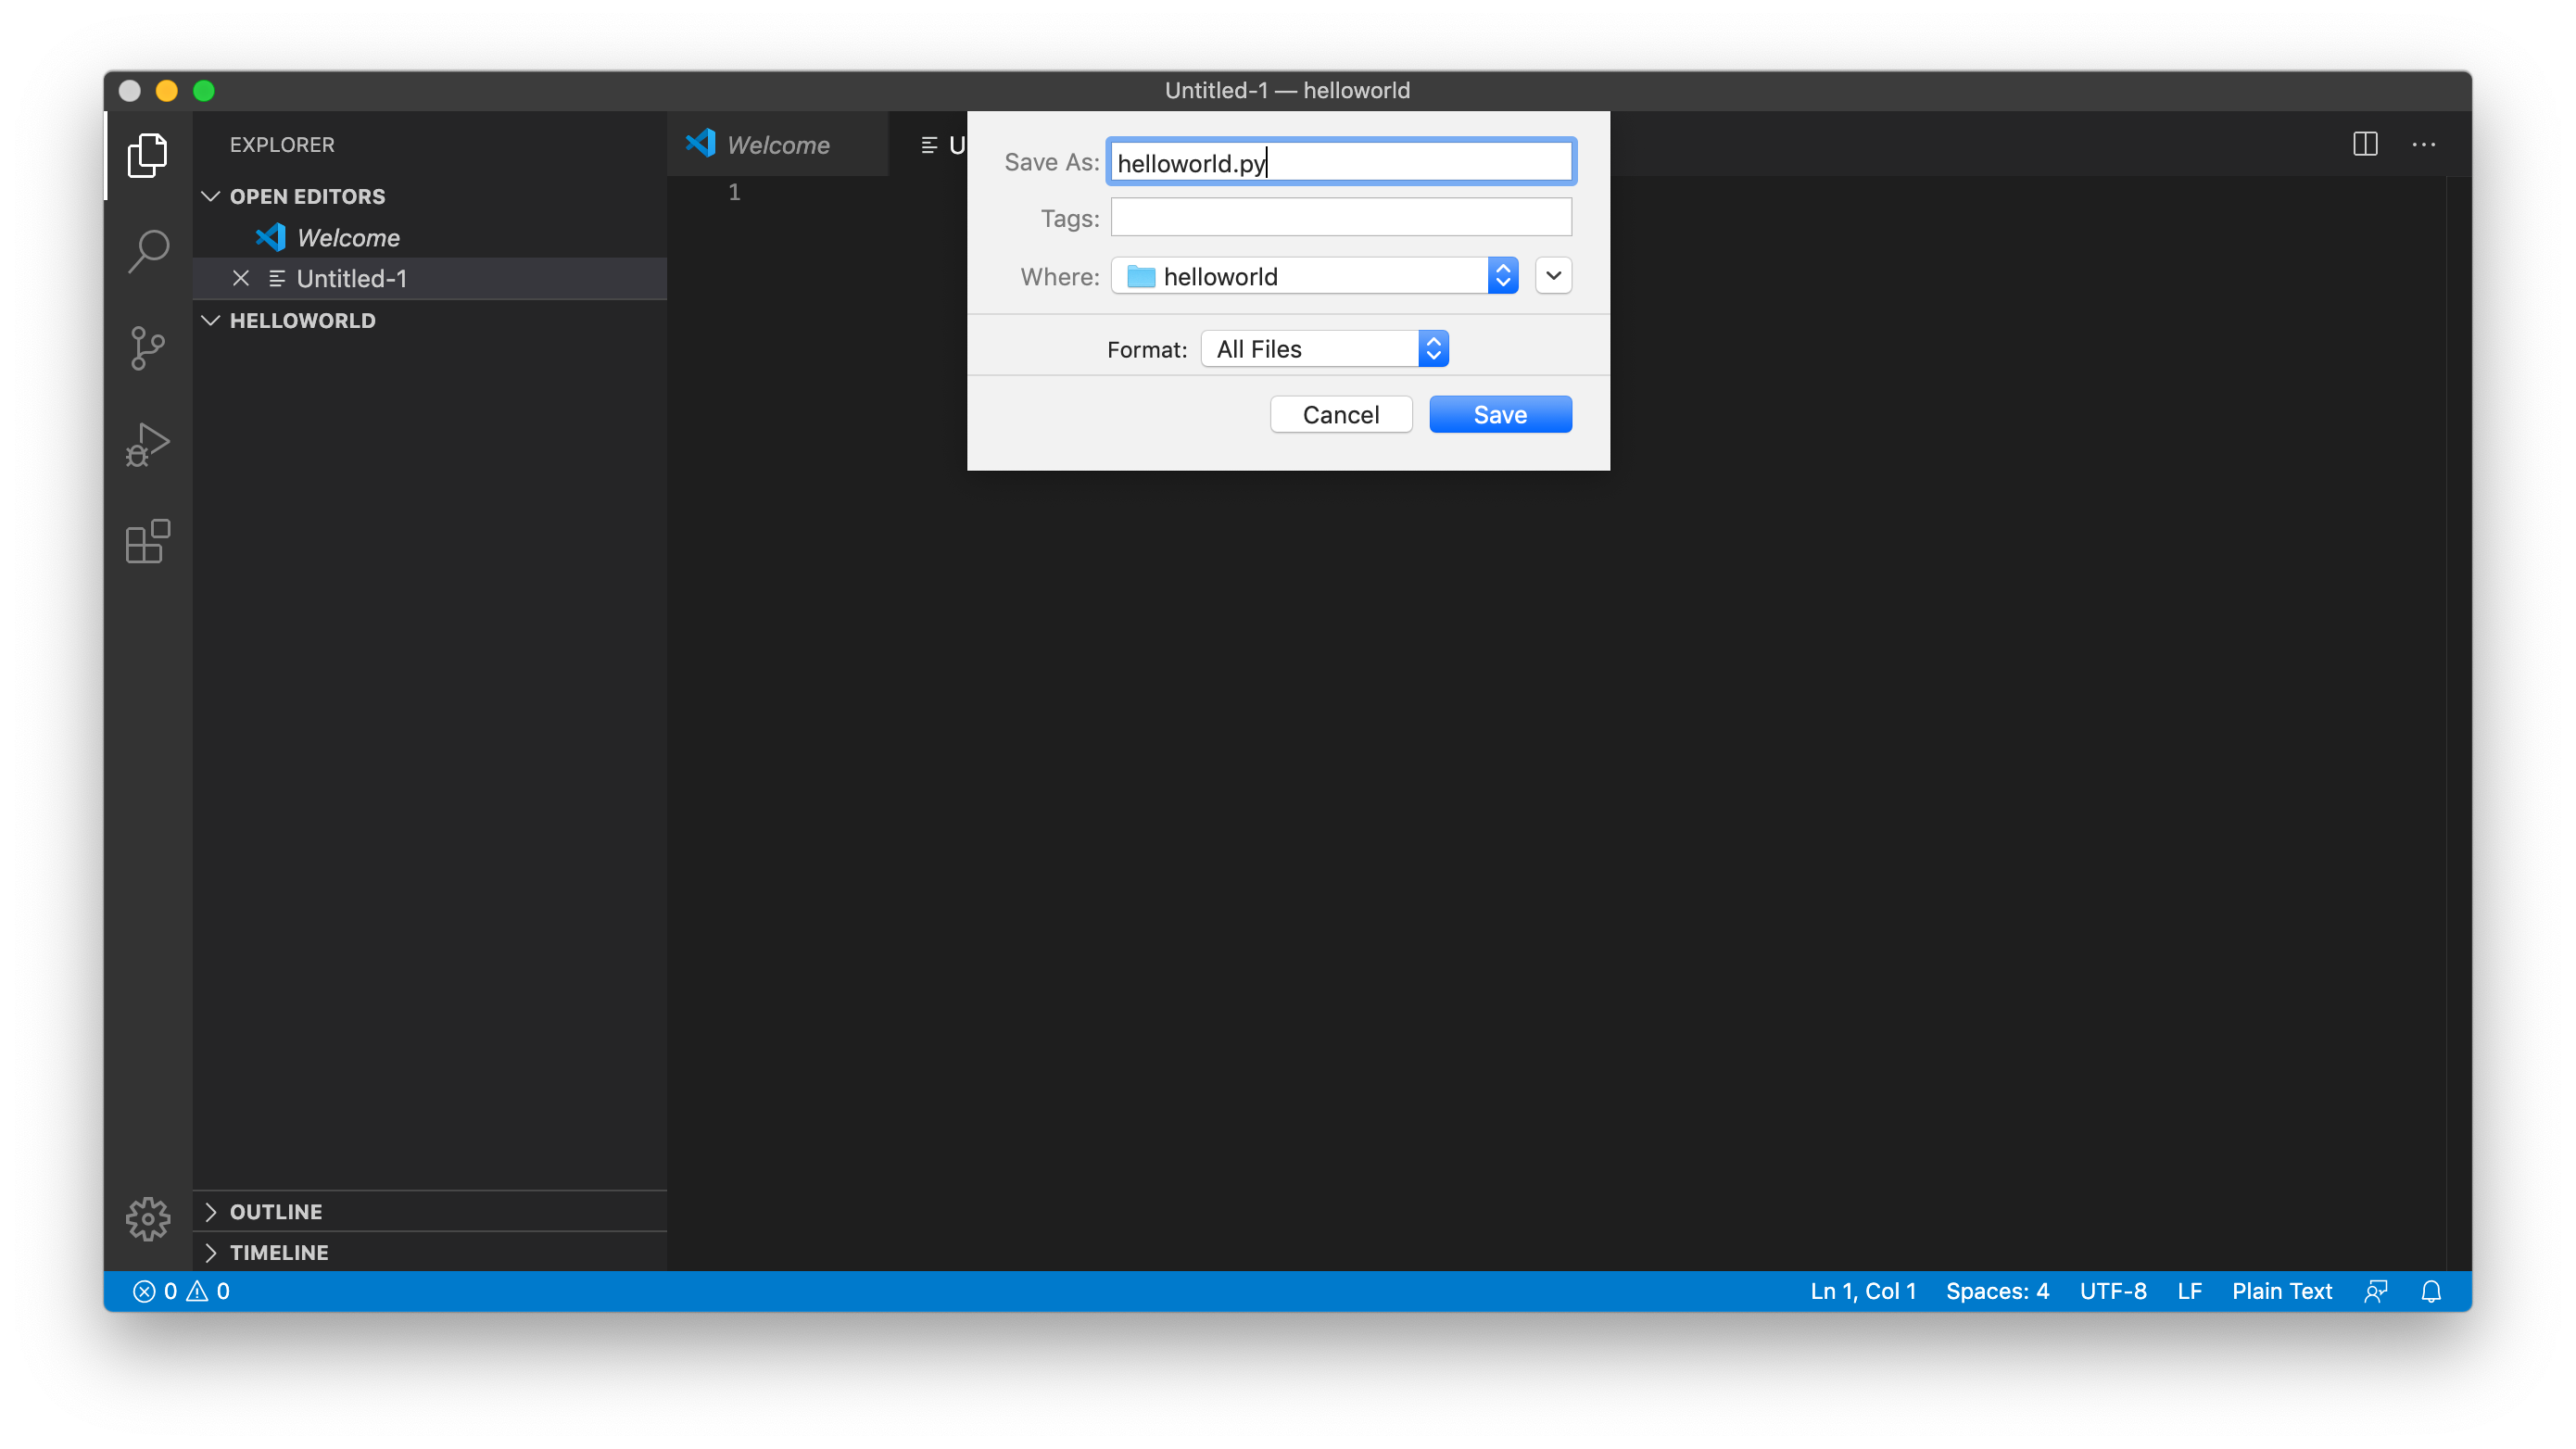
Save the file with a .py extension:
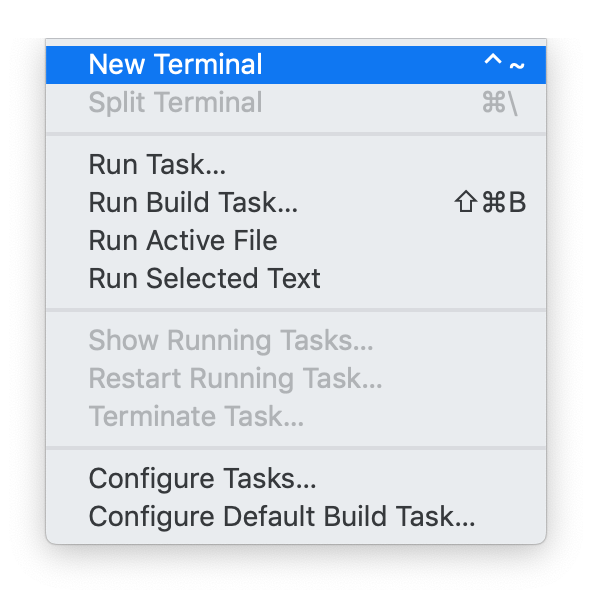
Create a new terminal window:
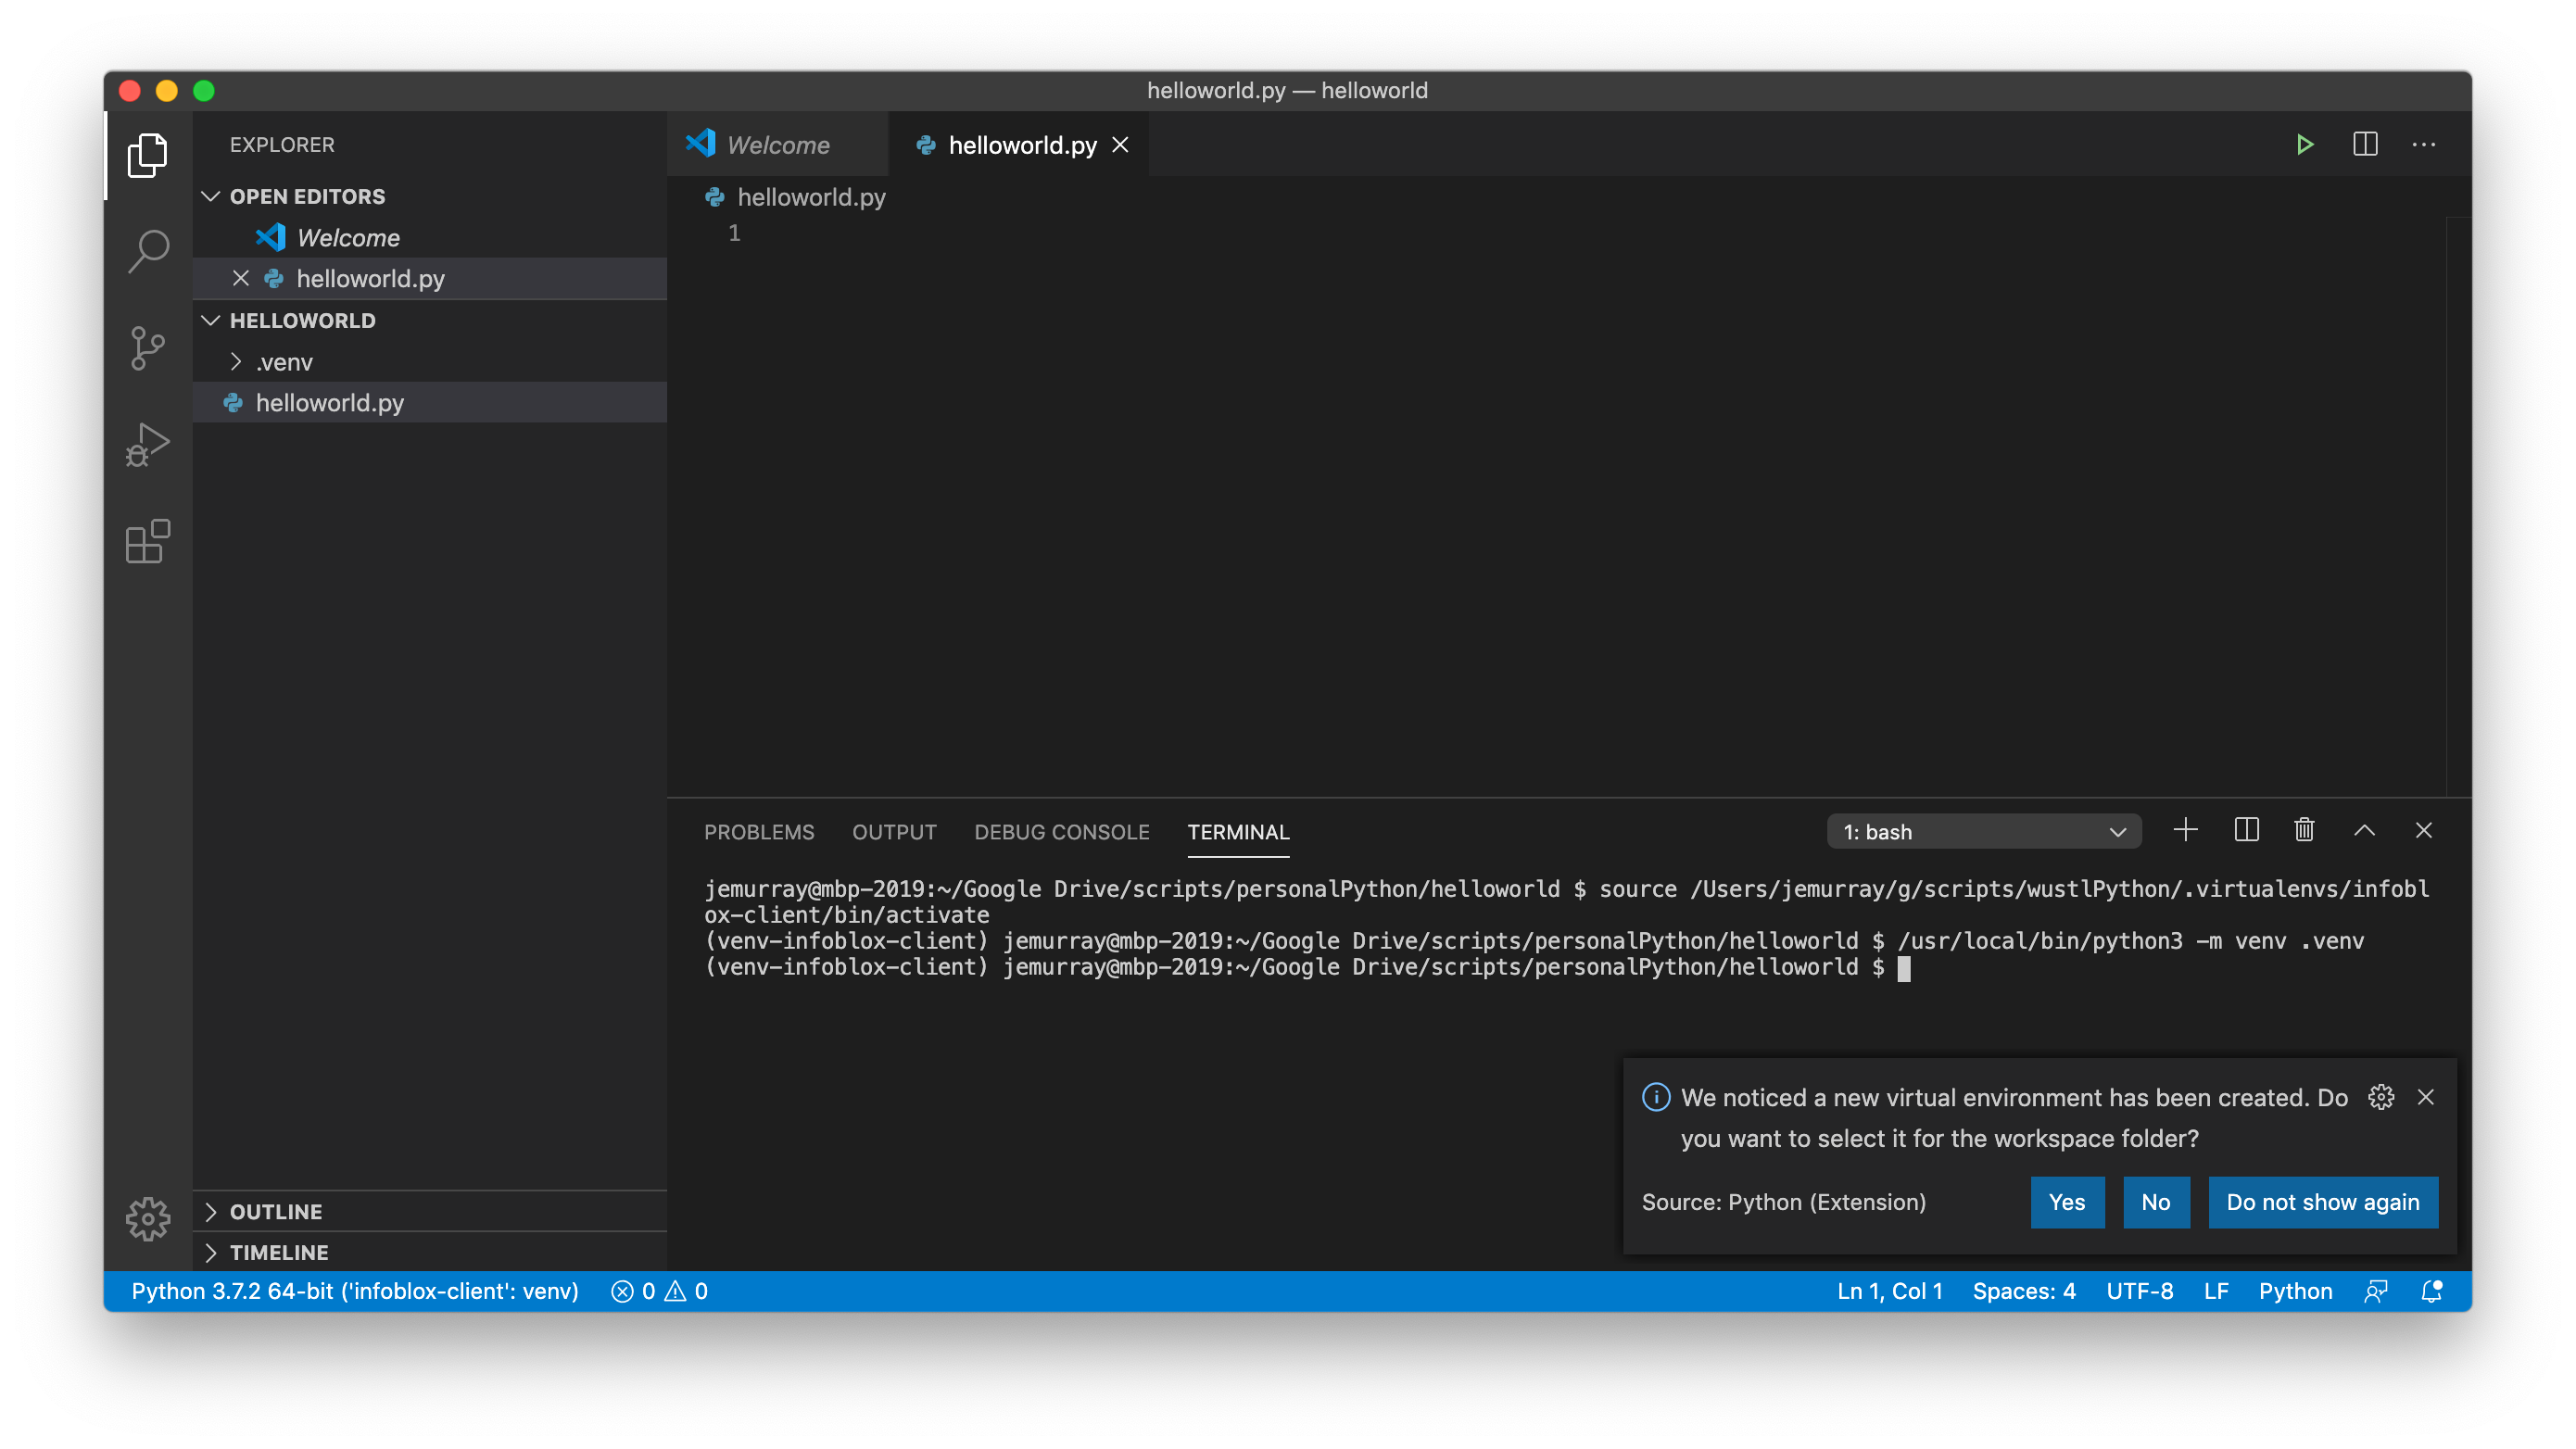
Create a new Python virtual environment by running /usr/local/bin/python3 -m venv .venv within the VSCode terminal, note how VSCode automatically detects the virtual environment by asking if it should be enabled:
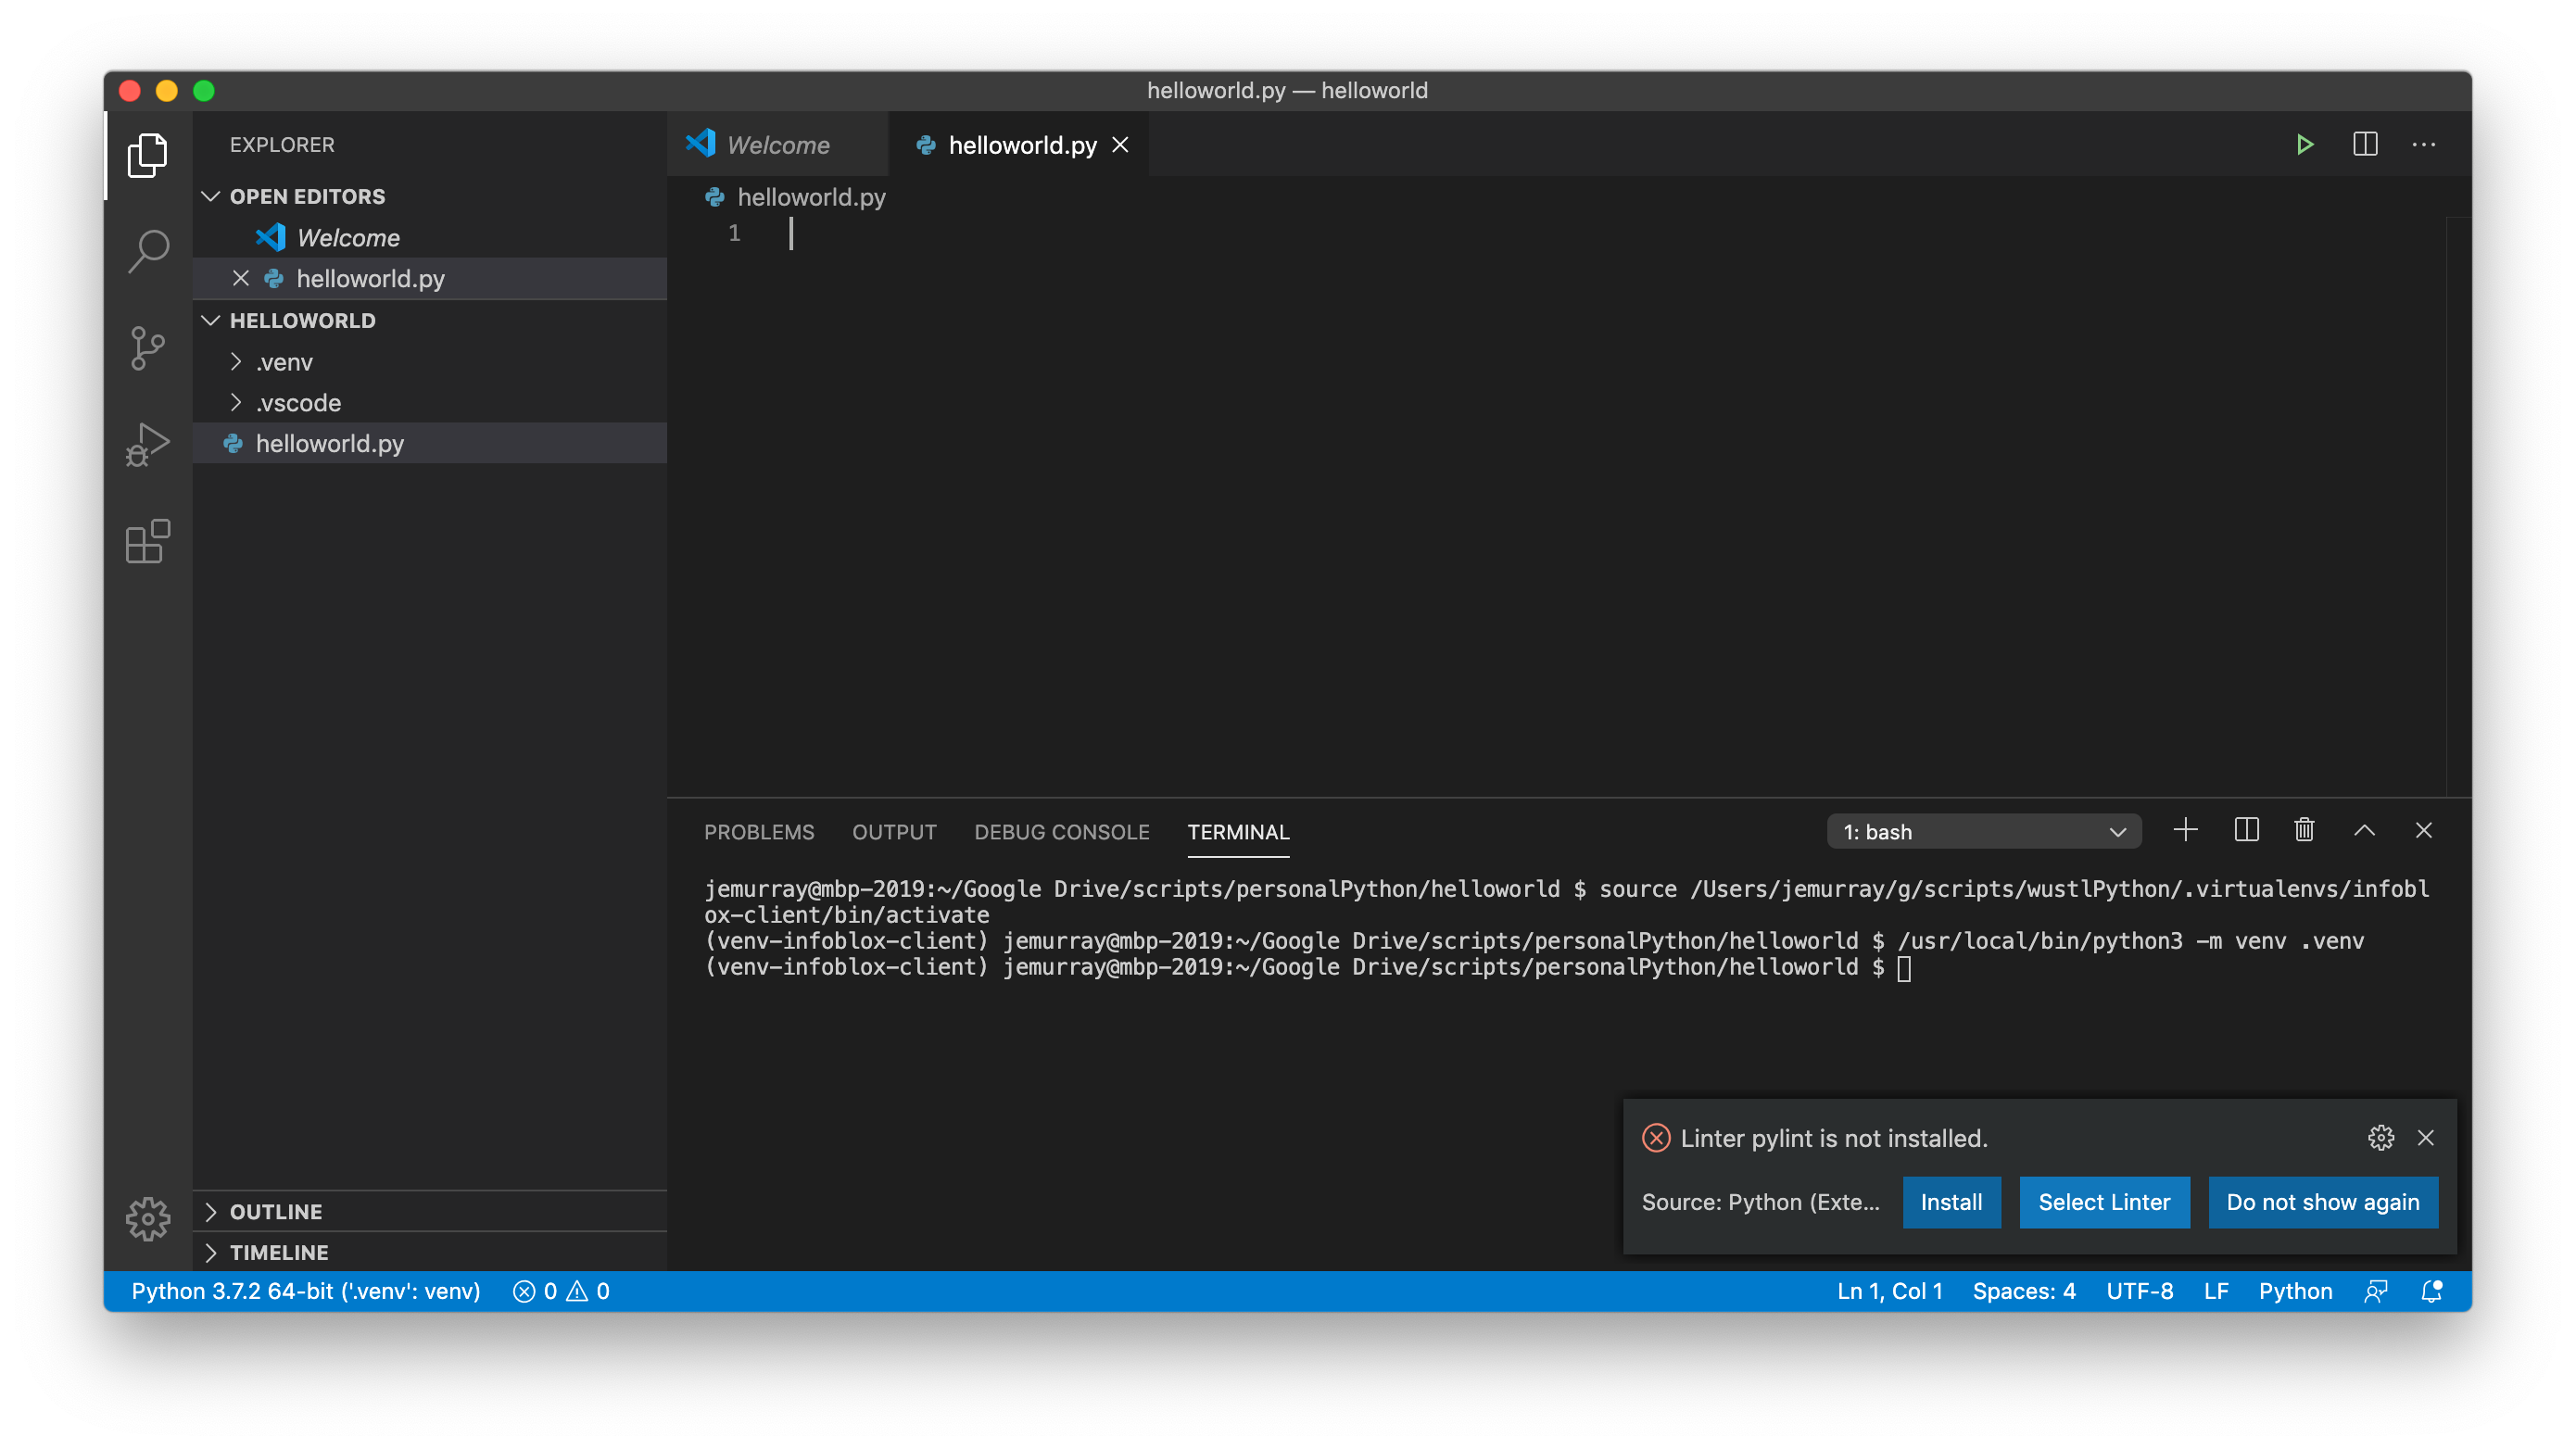
Install lint:
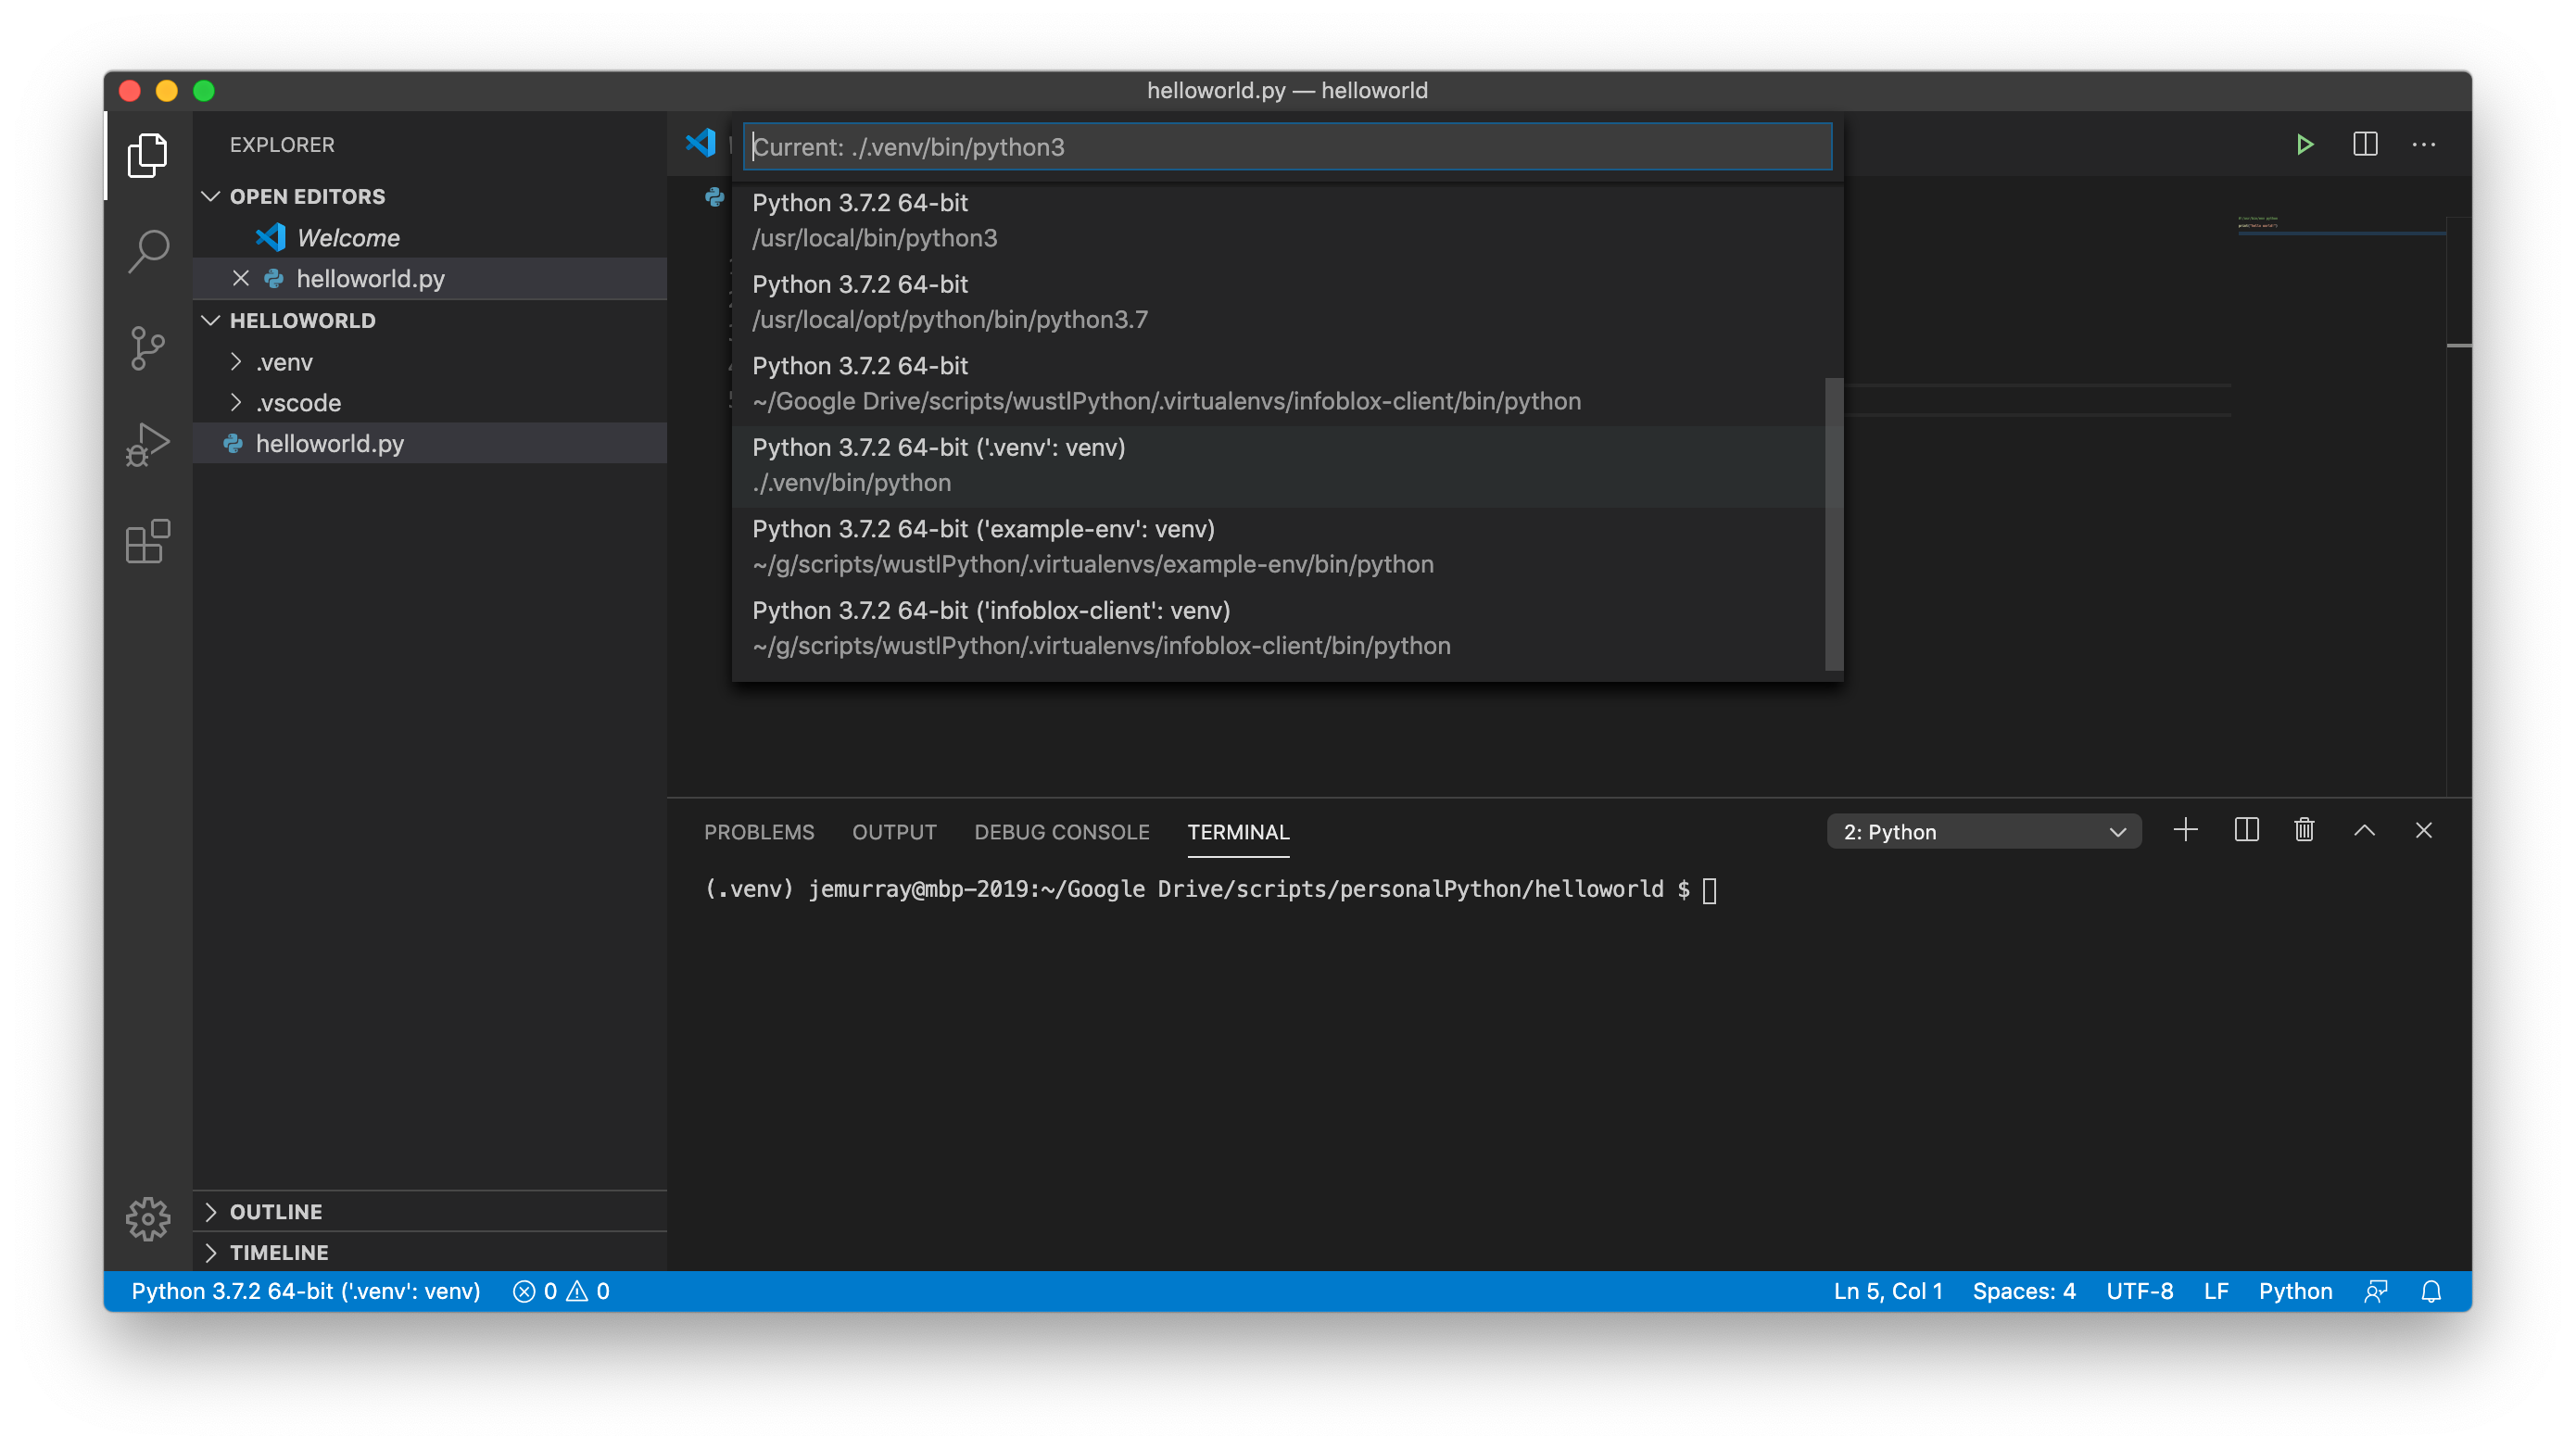
Validate the venv is enabled by clicking the Python version in the botton left corner of the screen:
Create a simple hello world script:
#!/usr/bin/env python

print(“hello world!”)
Run the code by clicking the play button, note the .venv and source “/Users/jemurray/Google Drive/scripts/personalPython/helloworld/.venv/bin/activate” in the terminal shows the script is activated and running in the virtual environment:
