Custom PC Build
My son received parts to build a custom gaming rig from Santa. The initial build process took a few hours. Installing the Windows operating system took an entire day.
TL;DR: Save yourself HOURS of frustration, use the Windows Media Creation Tool; BalenaEtcher, dd, etc do NOT work.
Parts List
- MSI Forge 100R Case
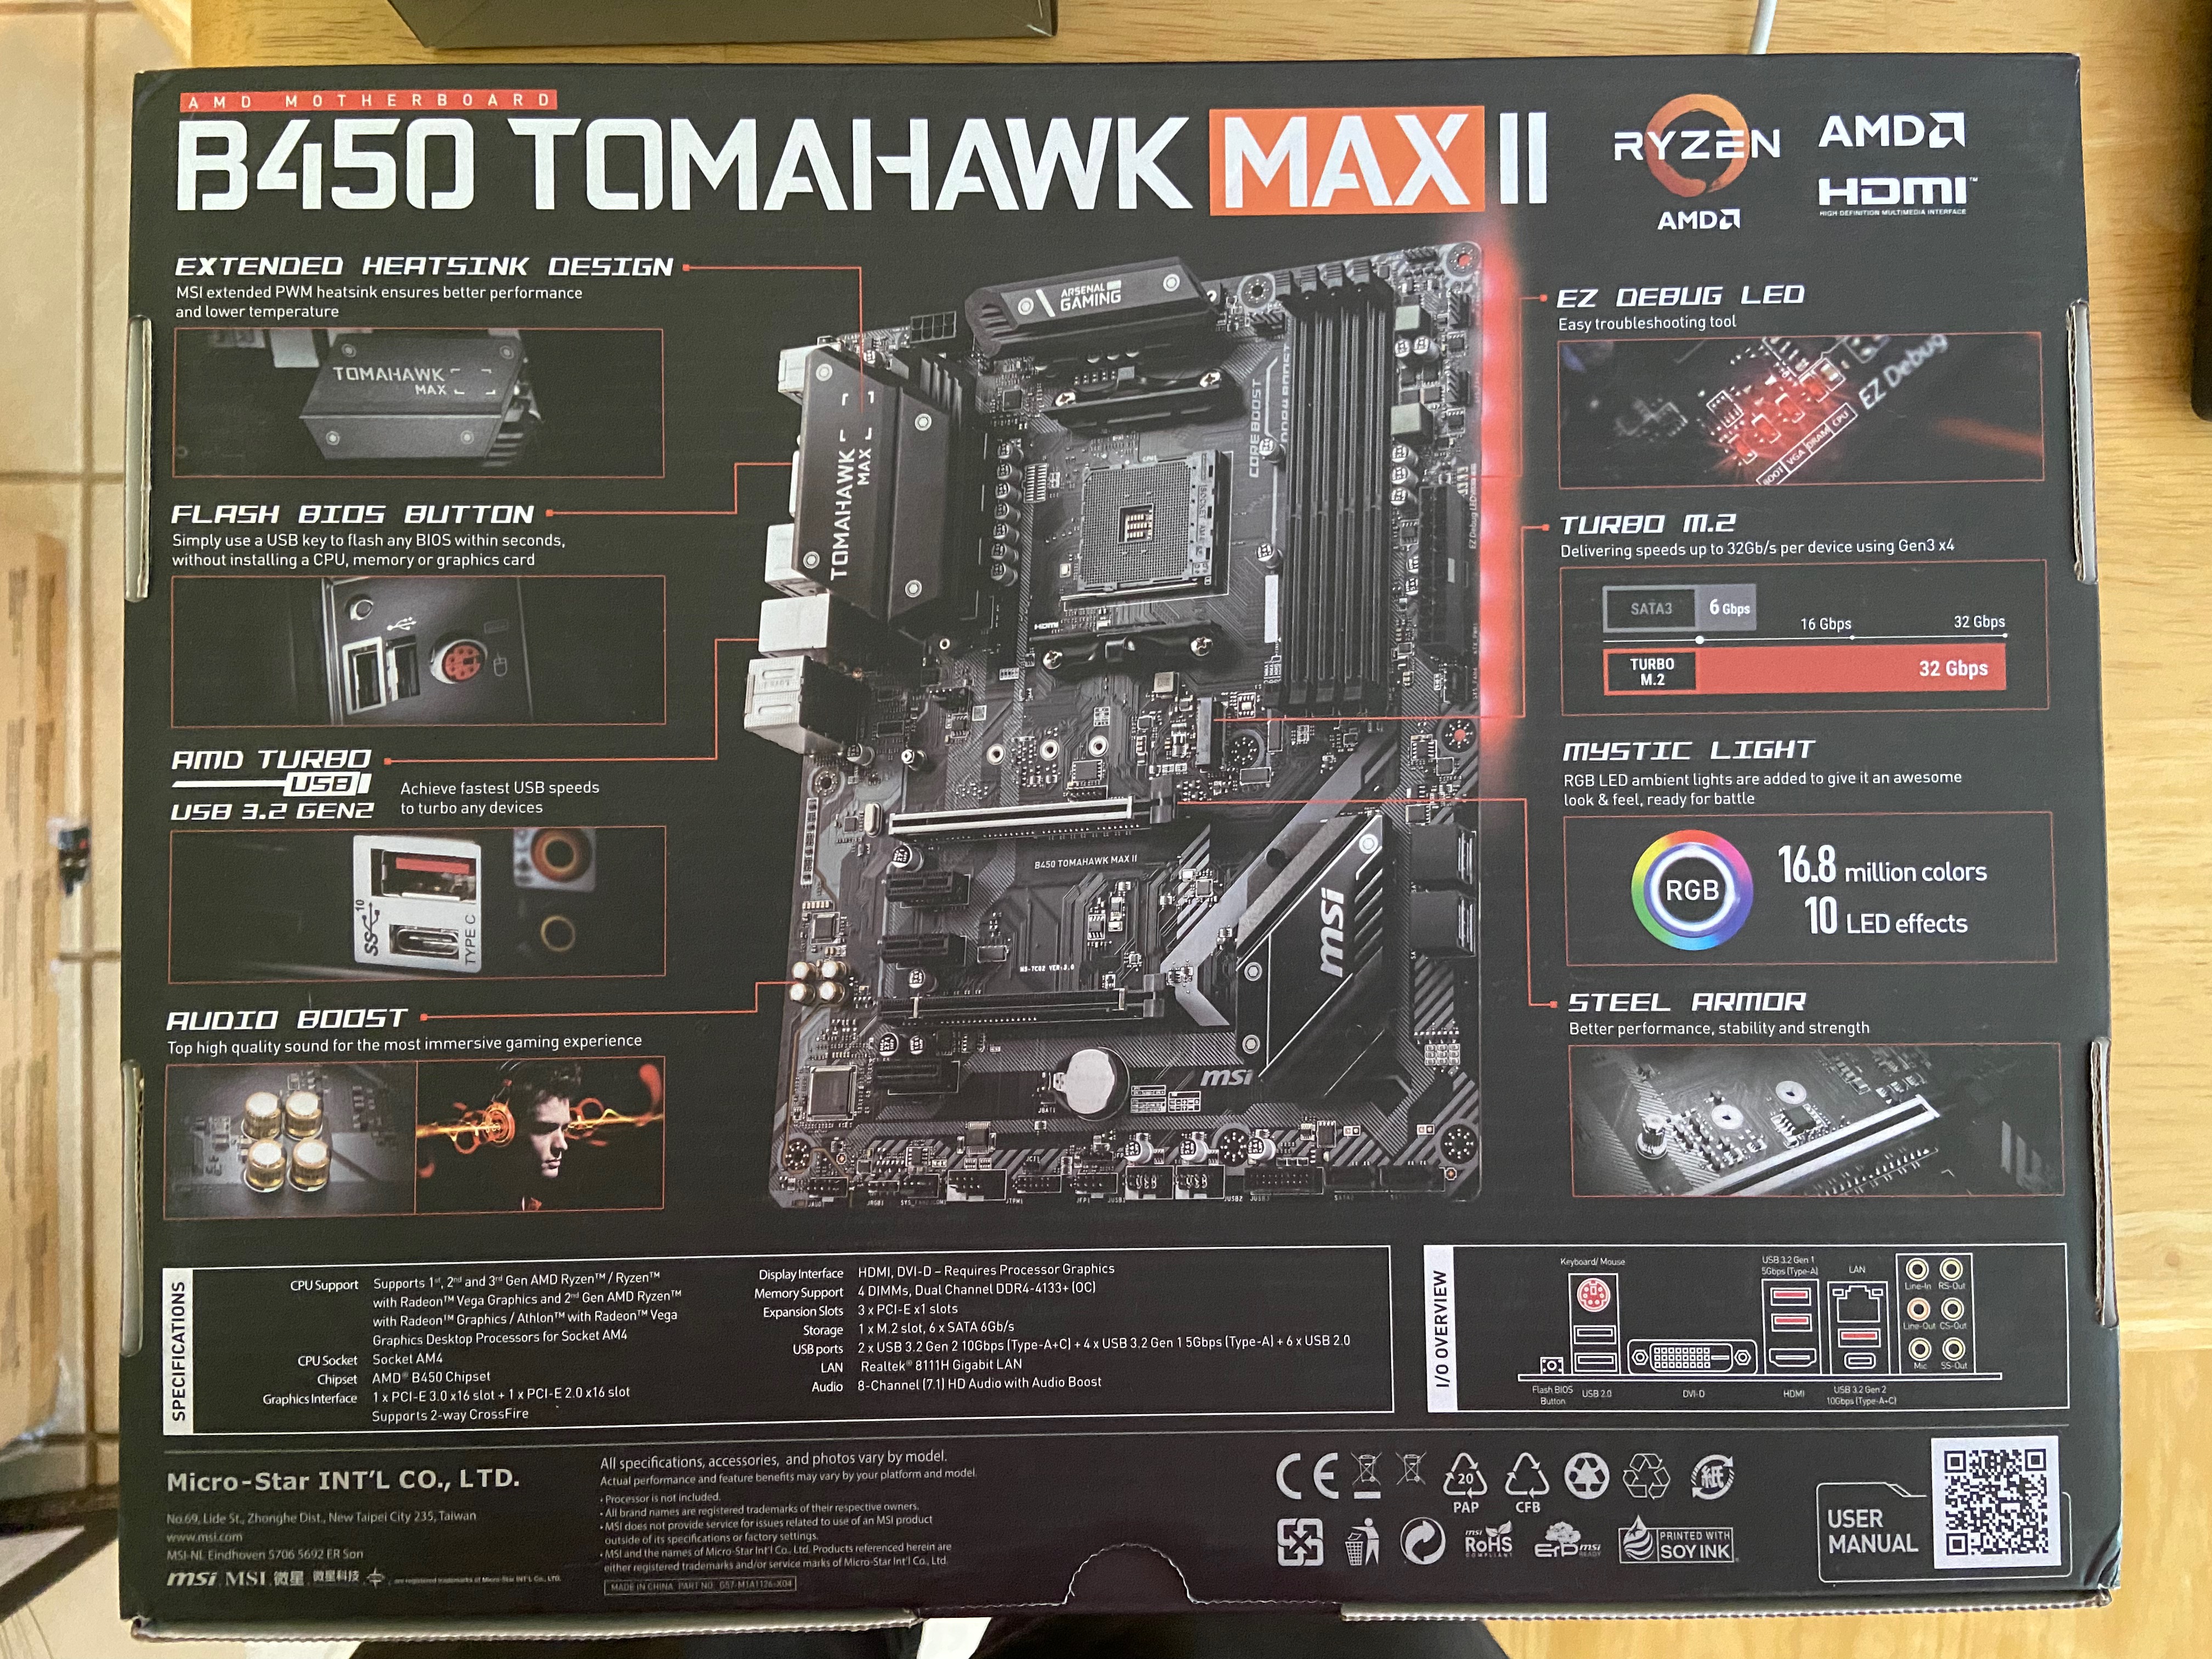
- MSI B450 Tomahawk Max II Motherboard
- Ryzen 7 5000 Series Processor
- MSI GeForce GTX 1050Ti Graphics Card
- Samsung 970 EVO Plus NVMe M.2 Solid State Drive
- G.Skill 8G x 2 DDR4 RAM
- Kraken X53 Liquid CPU Cooler
- EVGA 600W Bronze Power Supply
- MSI Optix G24D6P Monitor
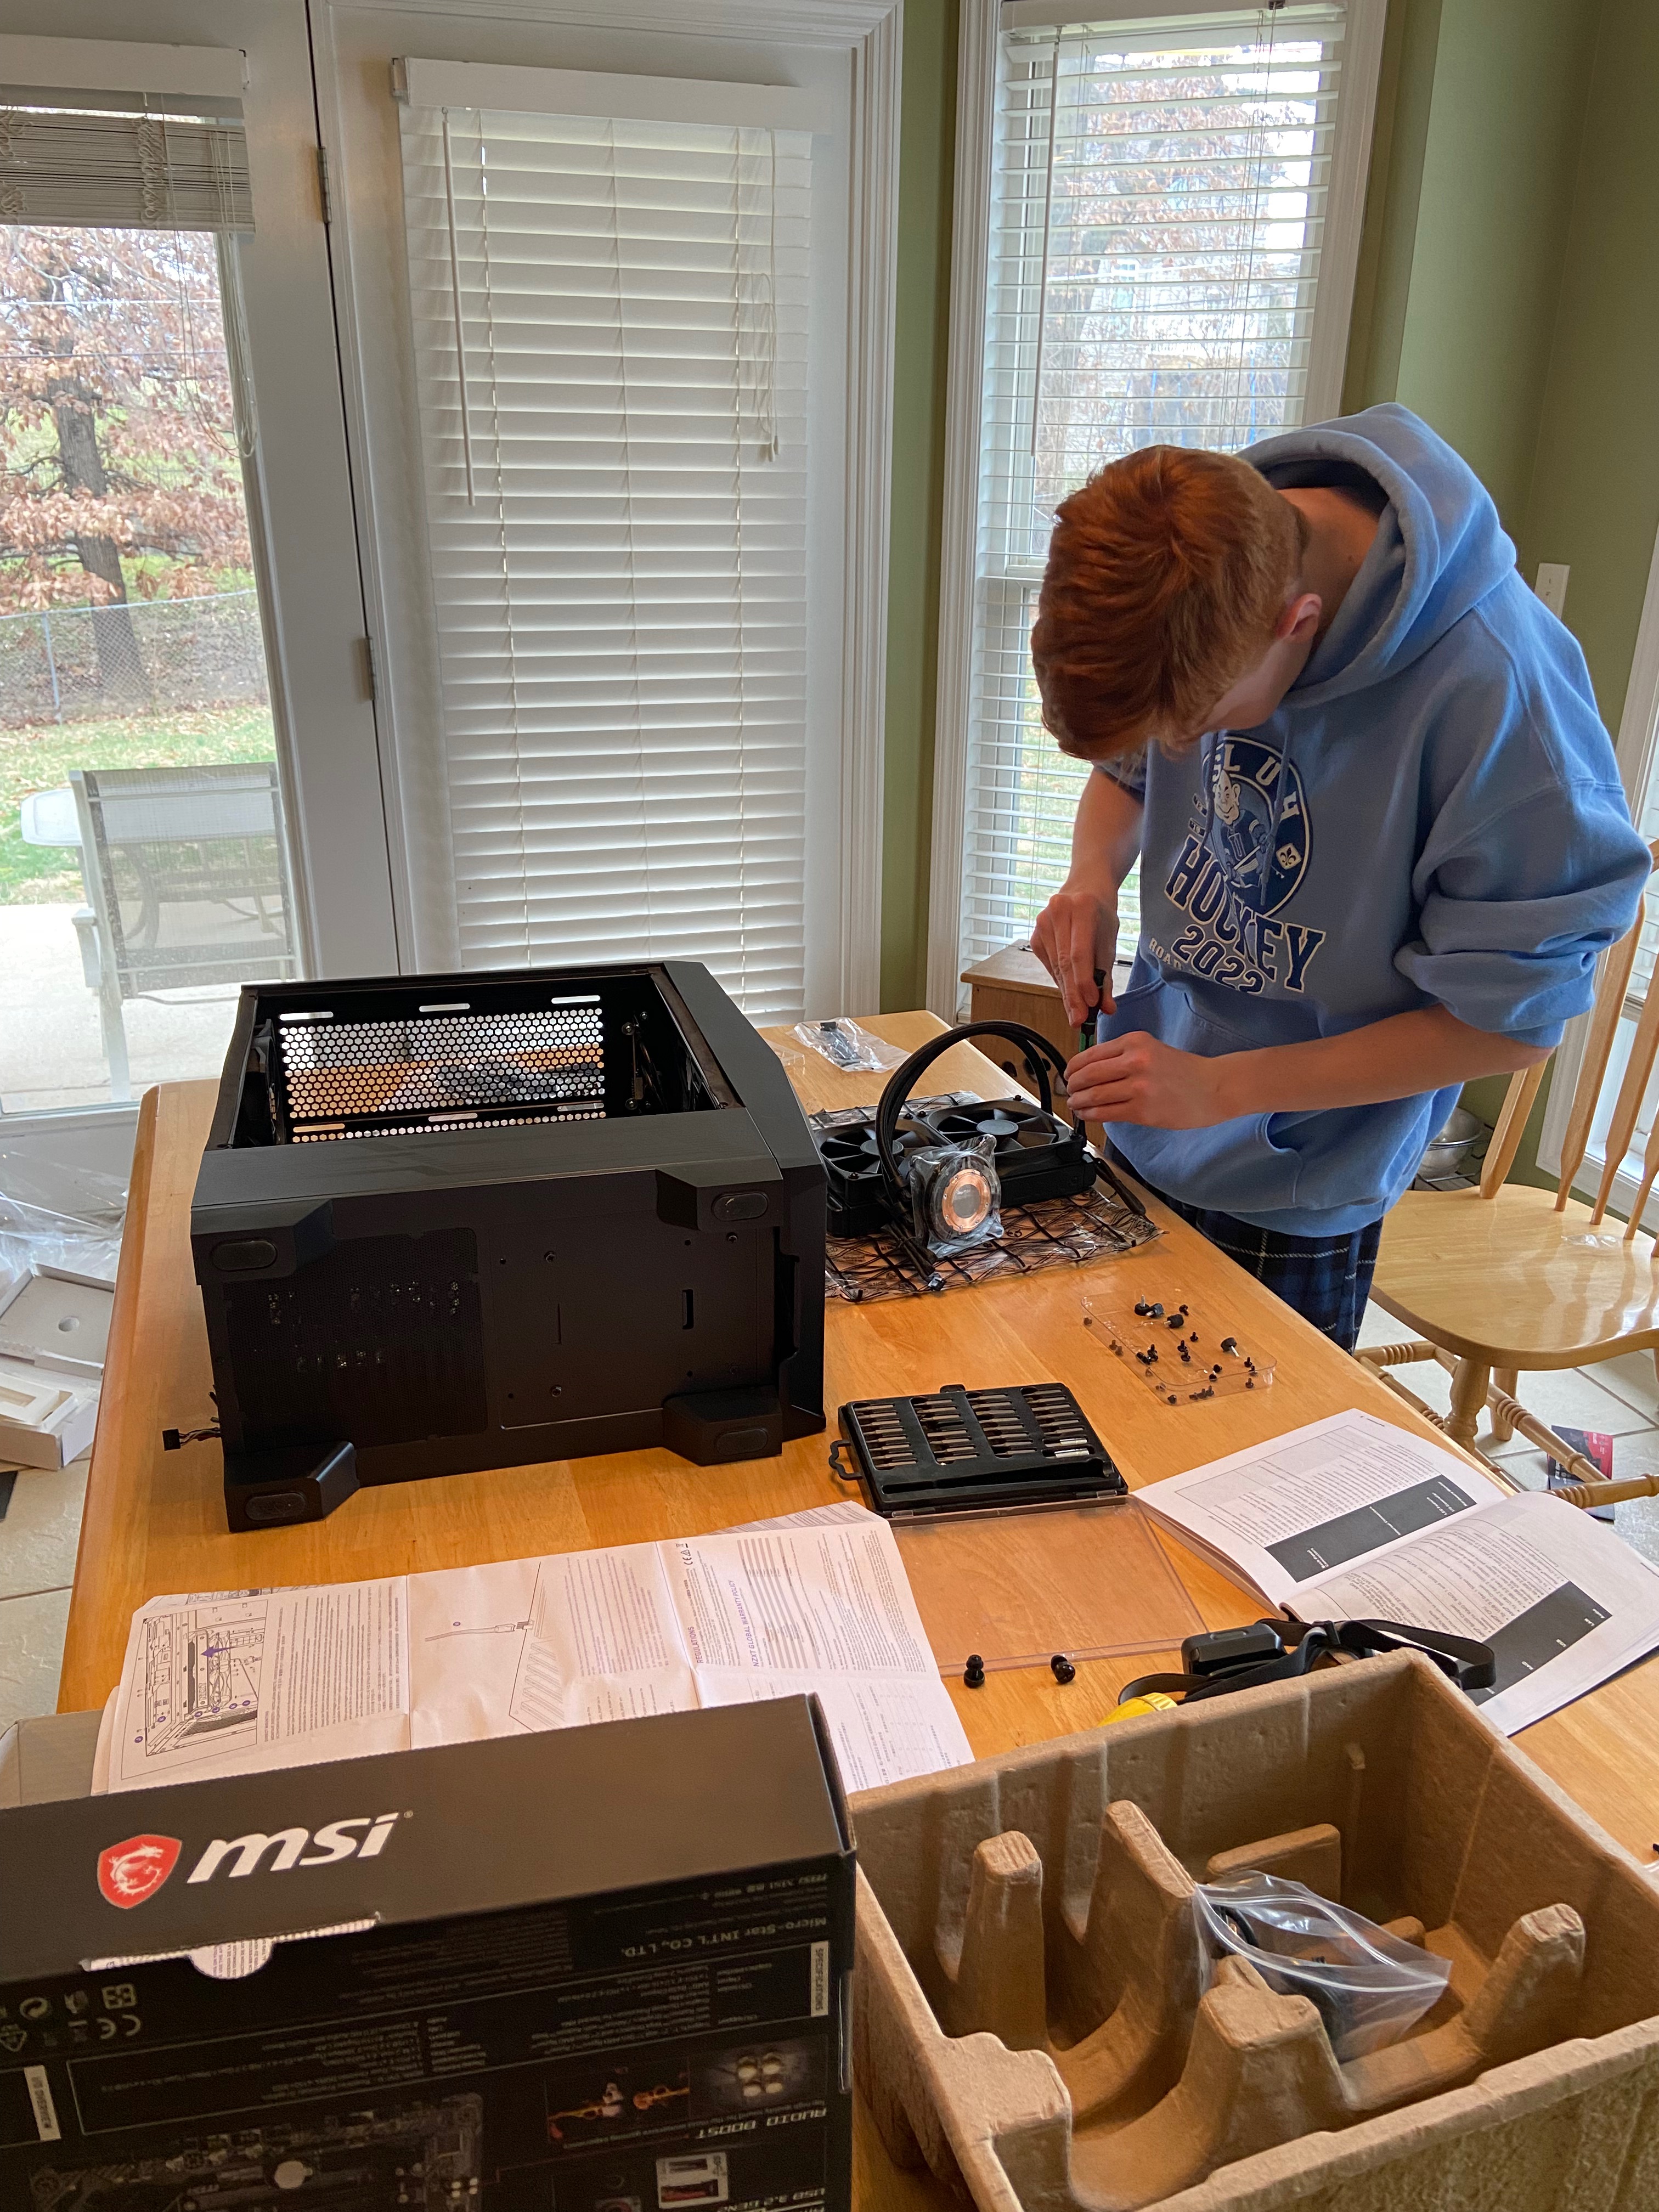
Pictures of all the Parts

Build Process
I’ve built hundreds of custom PCs, but this is the first one in the past 25+ years. After an entire day of Microsoft Windows frustration, I see why I stopped.
Before starting, we reviewed the installation guides with the case, motherboard, cooler, etc. in addition to watching a few YouTube videos to make sure everything got installed correctly.
Here are a few key take aways that were either not obvious or I have not delt with before:
- The Kraken X53 needs the USB 2.0 cable, SATA, and PUMP_FAN cables all connected to the motherboard.
- We were not sure if the USB and SATA cables needed to be connected at the same time. I thought they may duplicate power?
- The CPU_Tach plug will work on the PUMP_FAN connector.
- The Kraken X53 radiator should be mounted at the top of the case with the fans pushing air from below; exhausting air upward (push style).
- The RGB cable (4 pin male connector) on the Kraken pump does not need to be connected.
- Regular system fans can use the CPU_FAN connector. It is a PWM or DC (auto configured) fan port.
- Make sure the CPU pump is below the radiator. It keeps air bubbles out of the pump.
- Mount the pump hoses to the left of the processor with the radiator fan hoses to the top right of the case (see pictures below).
- Balance the RAM chips between bank A and B (follow the guide for the proper slots).
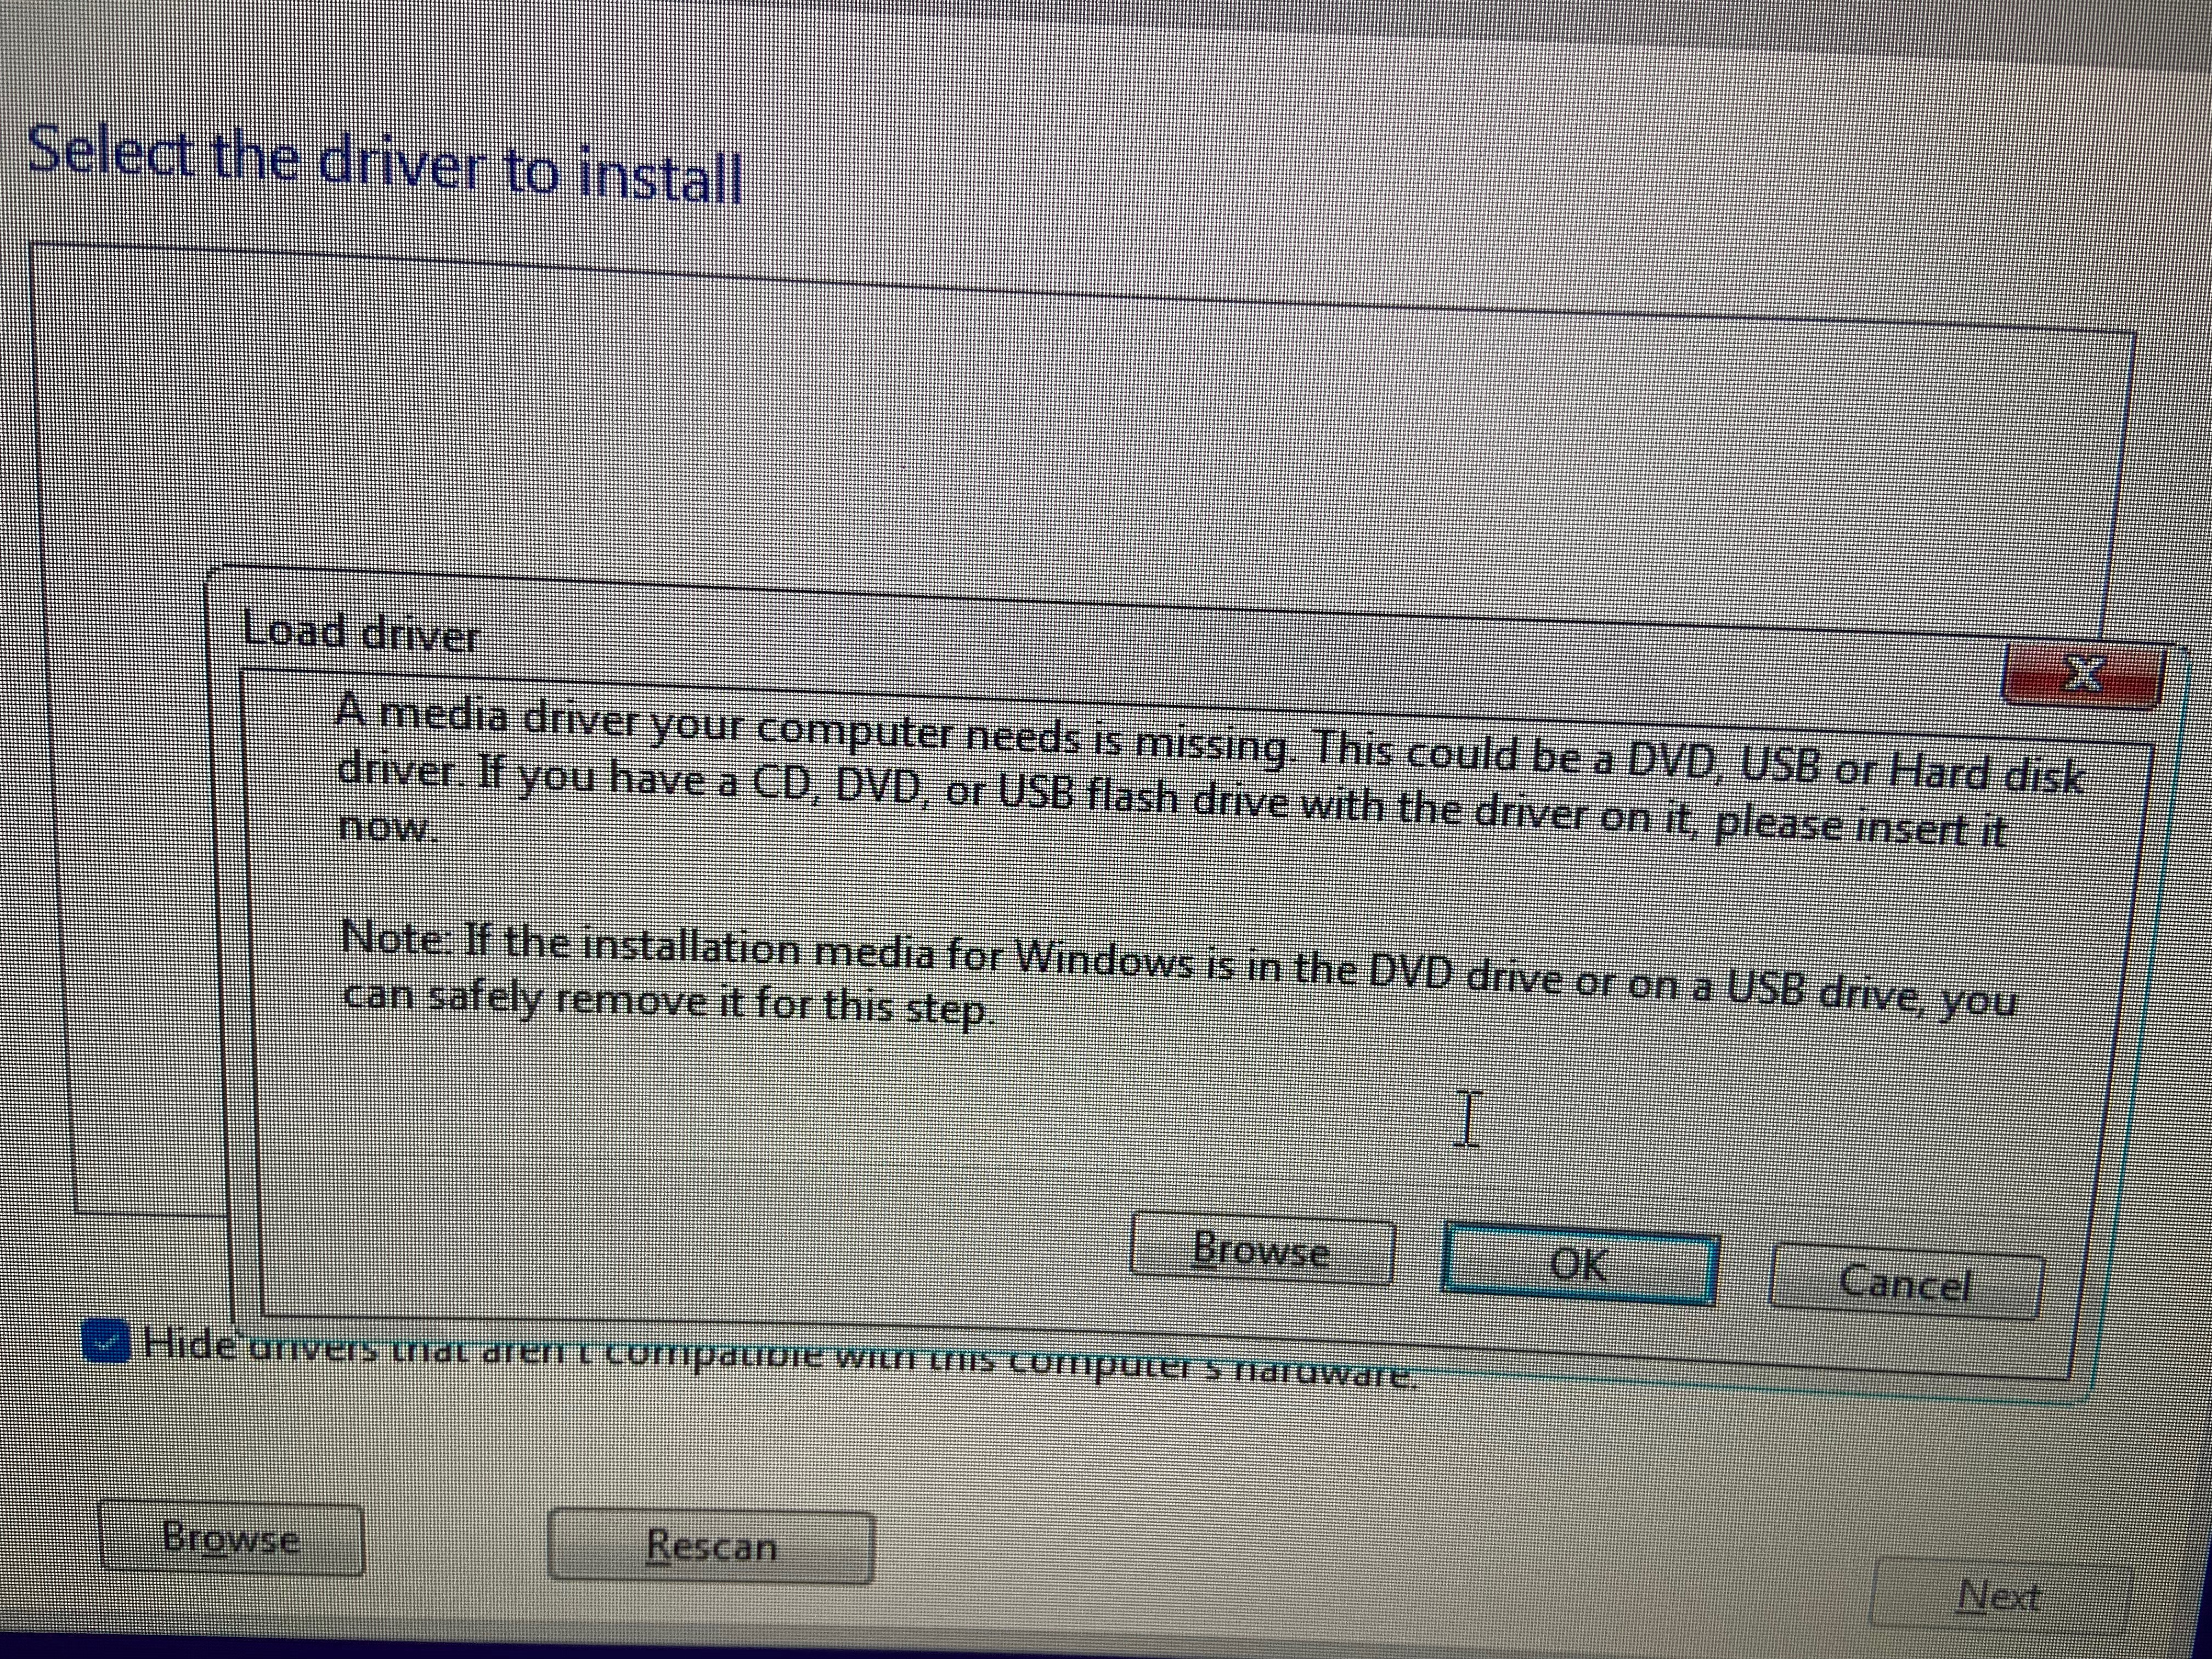
- BURN Windows 10 using the Media Creation Tool. This took nearly an entire day to figure out.
- Every time we tried to install Windows 10 or 11, the following error would pop up: “A media driver your computer needs is missing. This could be a DVD, USB, or Hard disk driver. If you have a CD, DVD, or USB flash drive with the driver on it, please insert it now.”
- We originally used BlancaEtcher to create the installation media. I’ve use this software for years with no issues. I didn’t think this would cause driver errors. We tried burning Windows 11, then 10, then 10 again. We downloaded every driver we could find dealing with NVMe, USB, Motherboard, etc. We flashed the latest BIOS, etc.
- Finally, the next day, as a last resort we found a Windows PC and used the Media Creation Tool: IT WORKED!
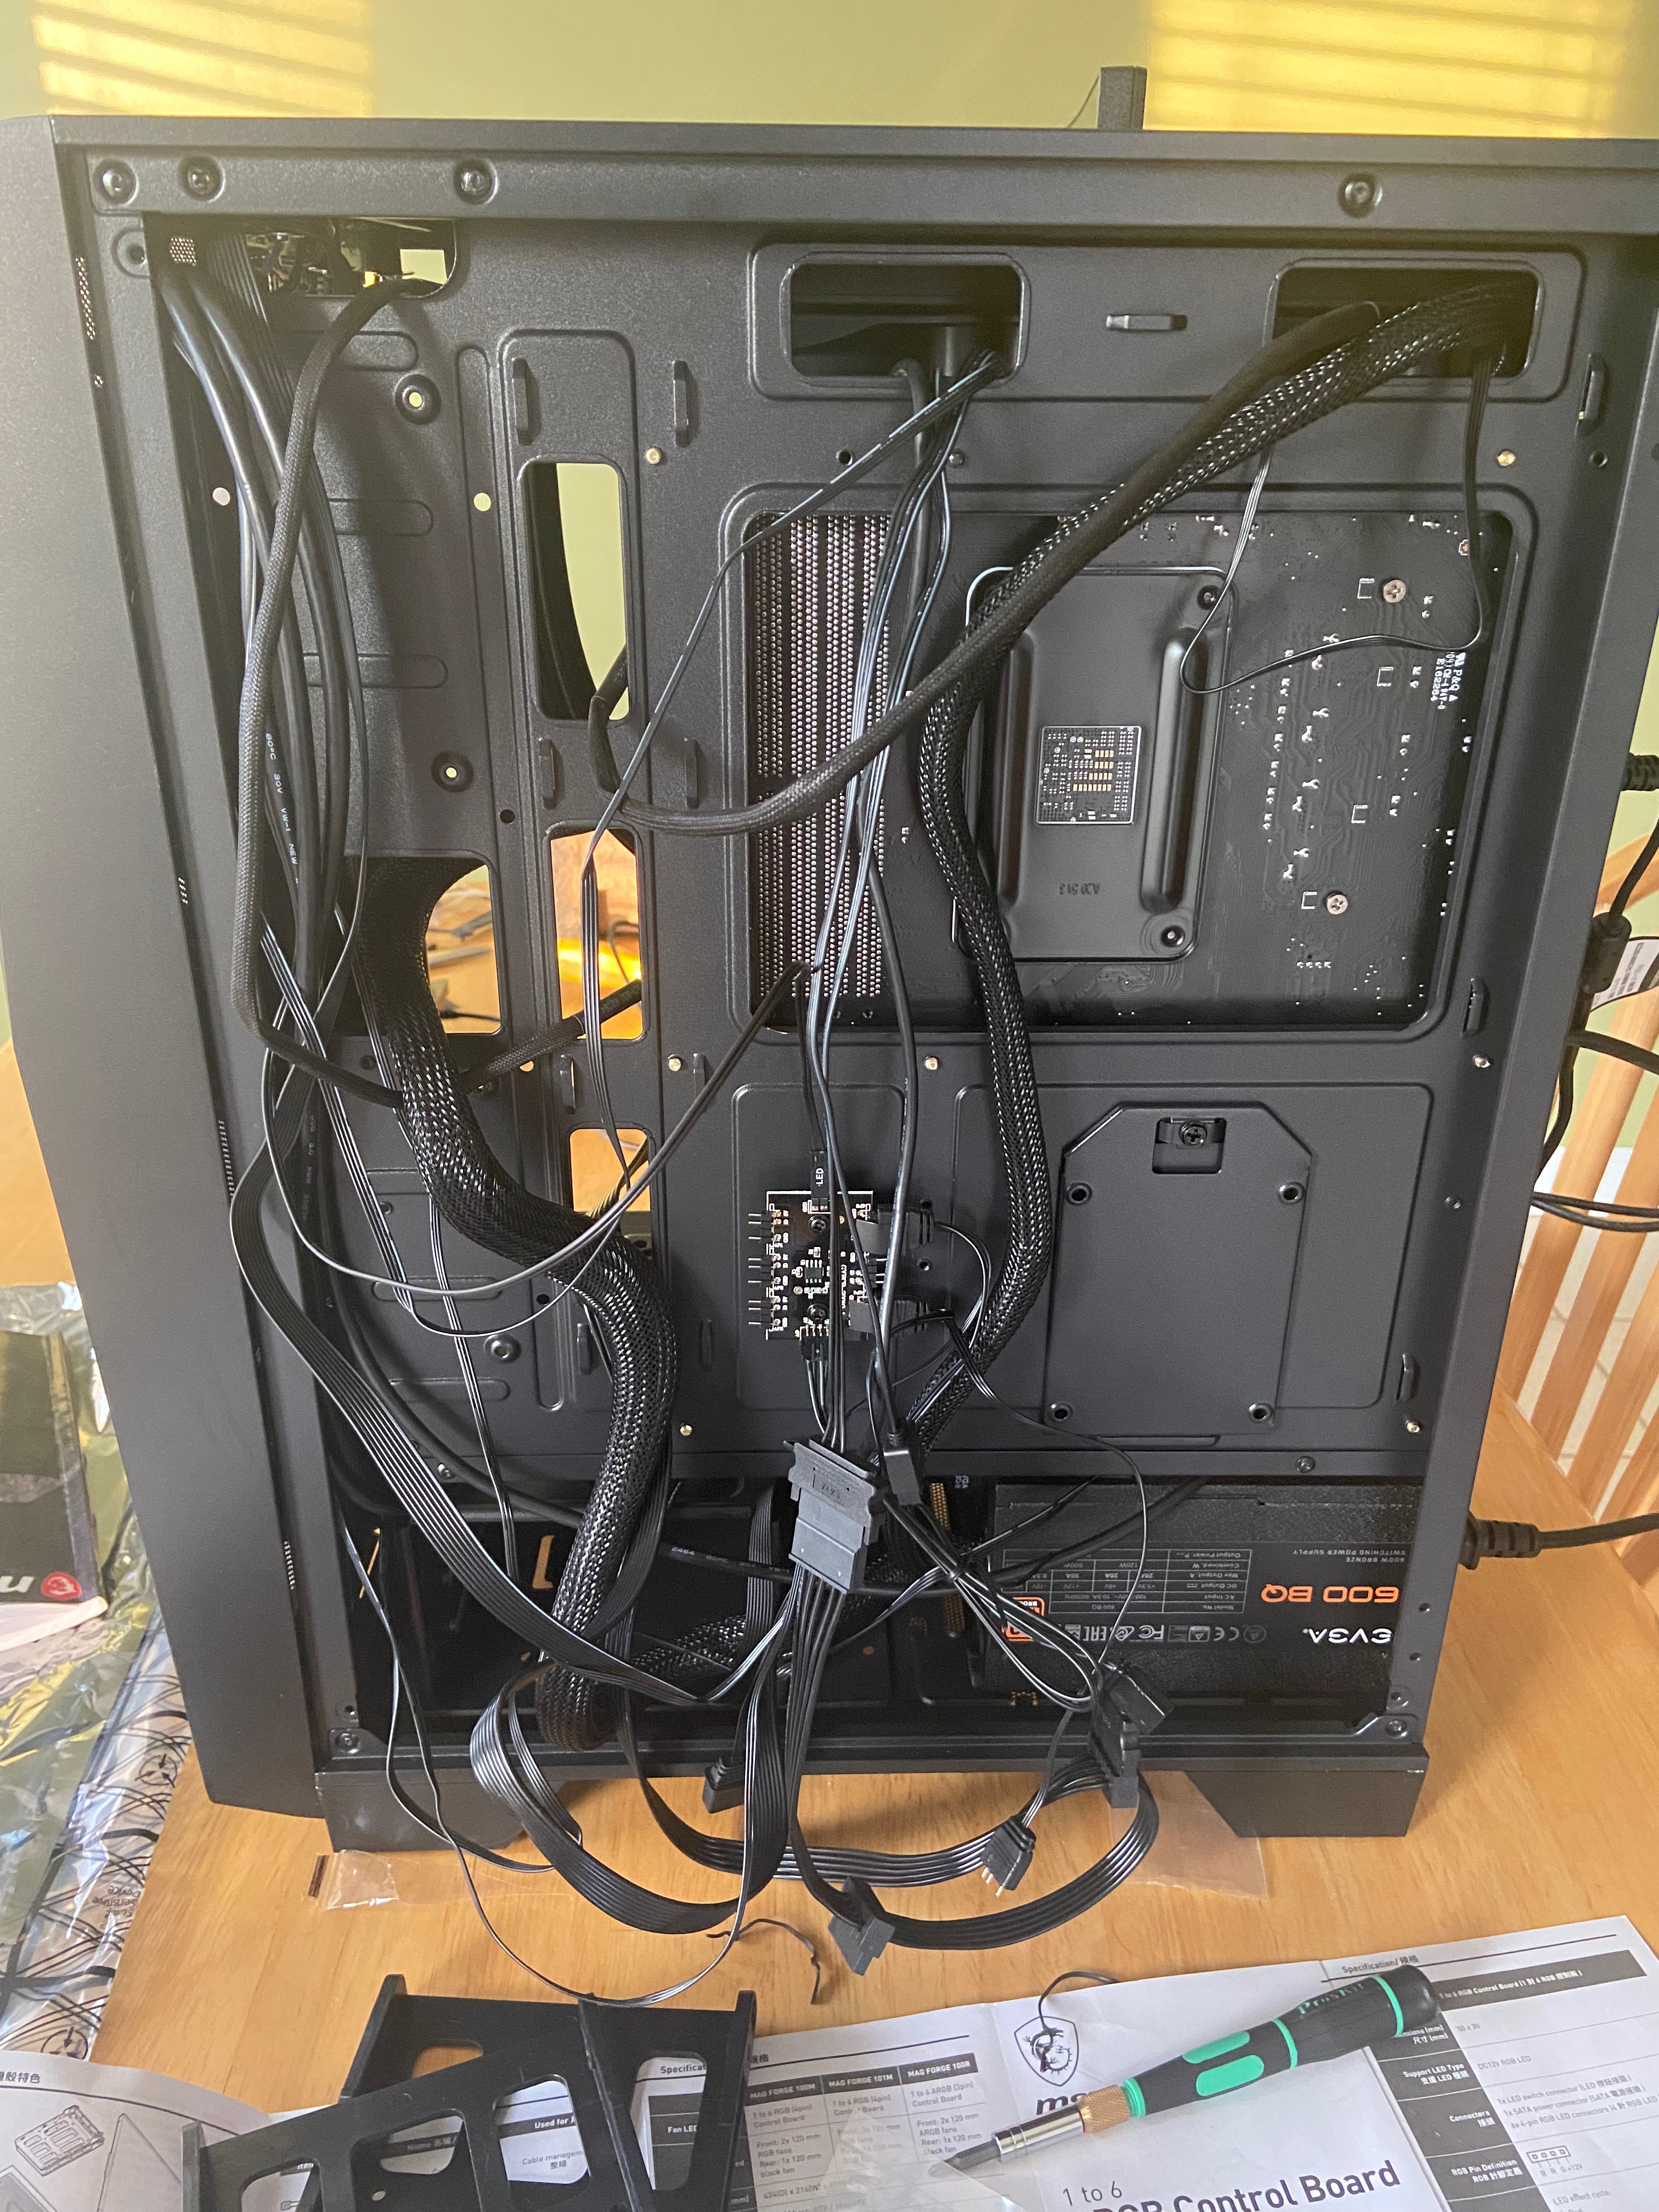
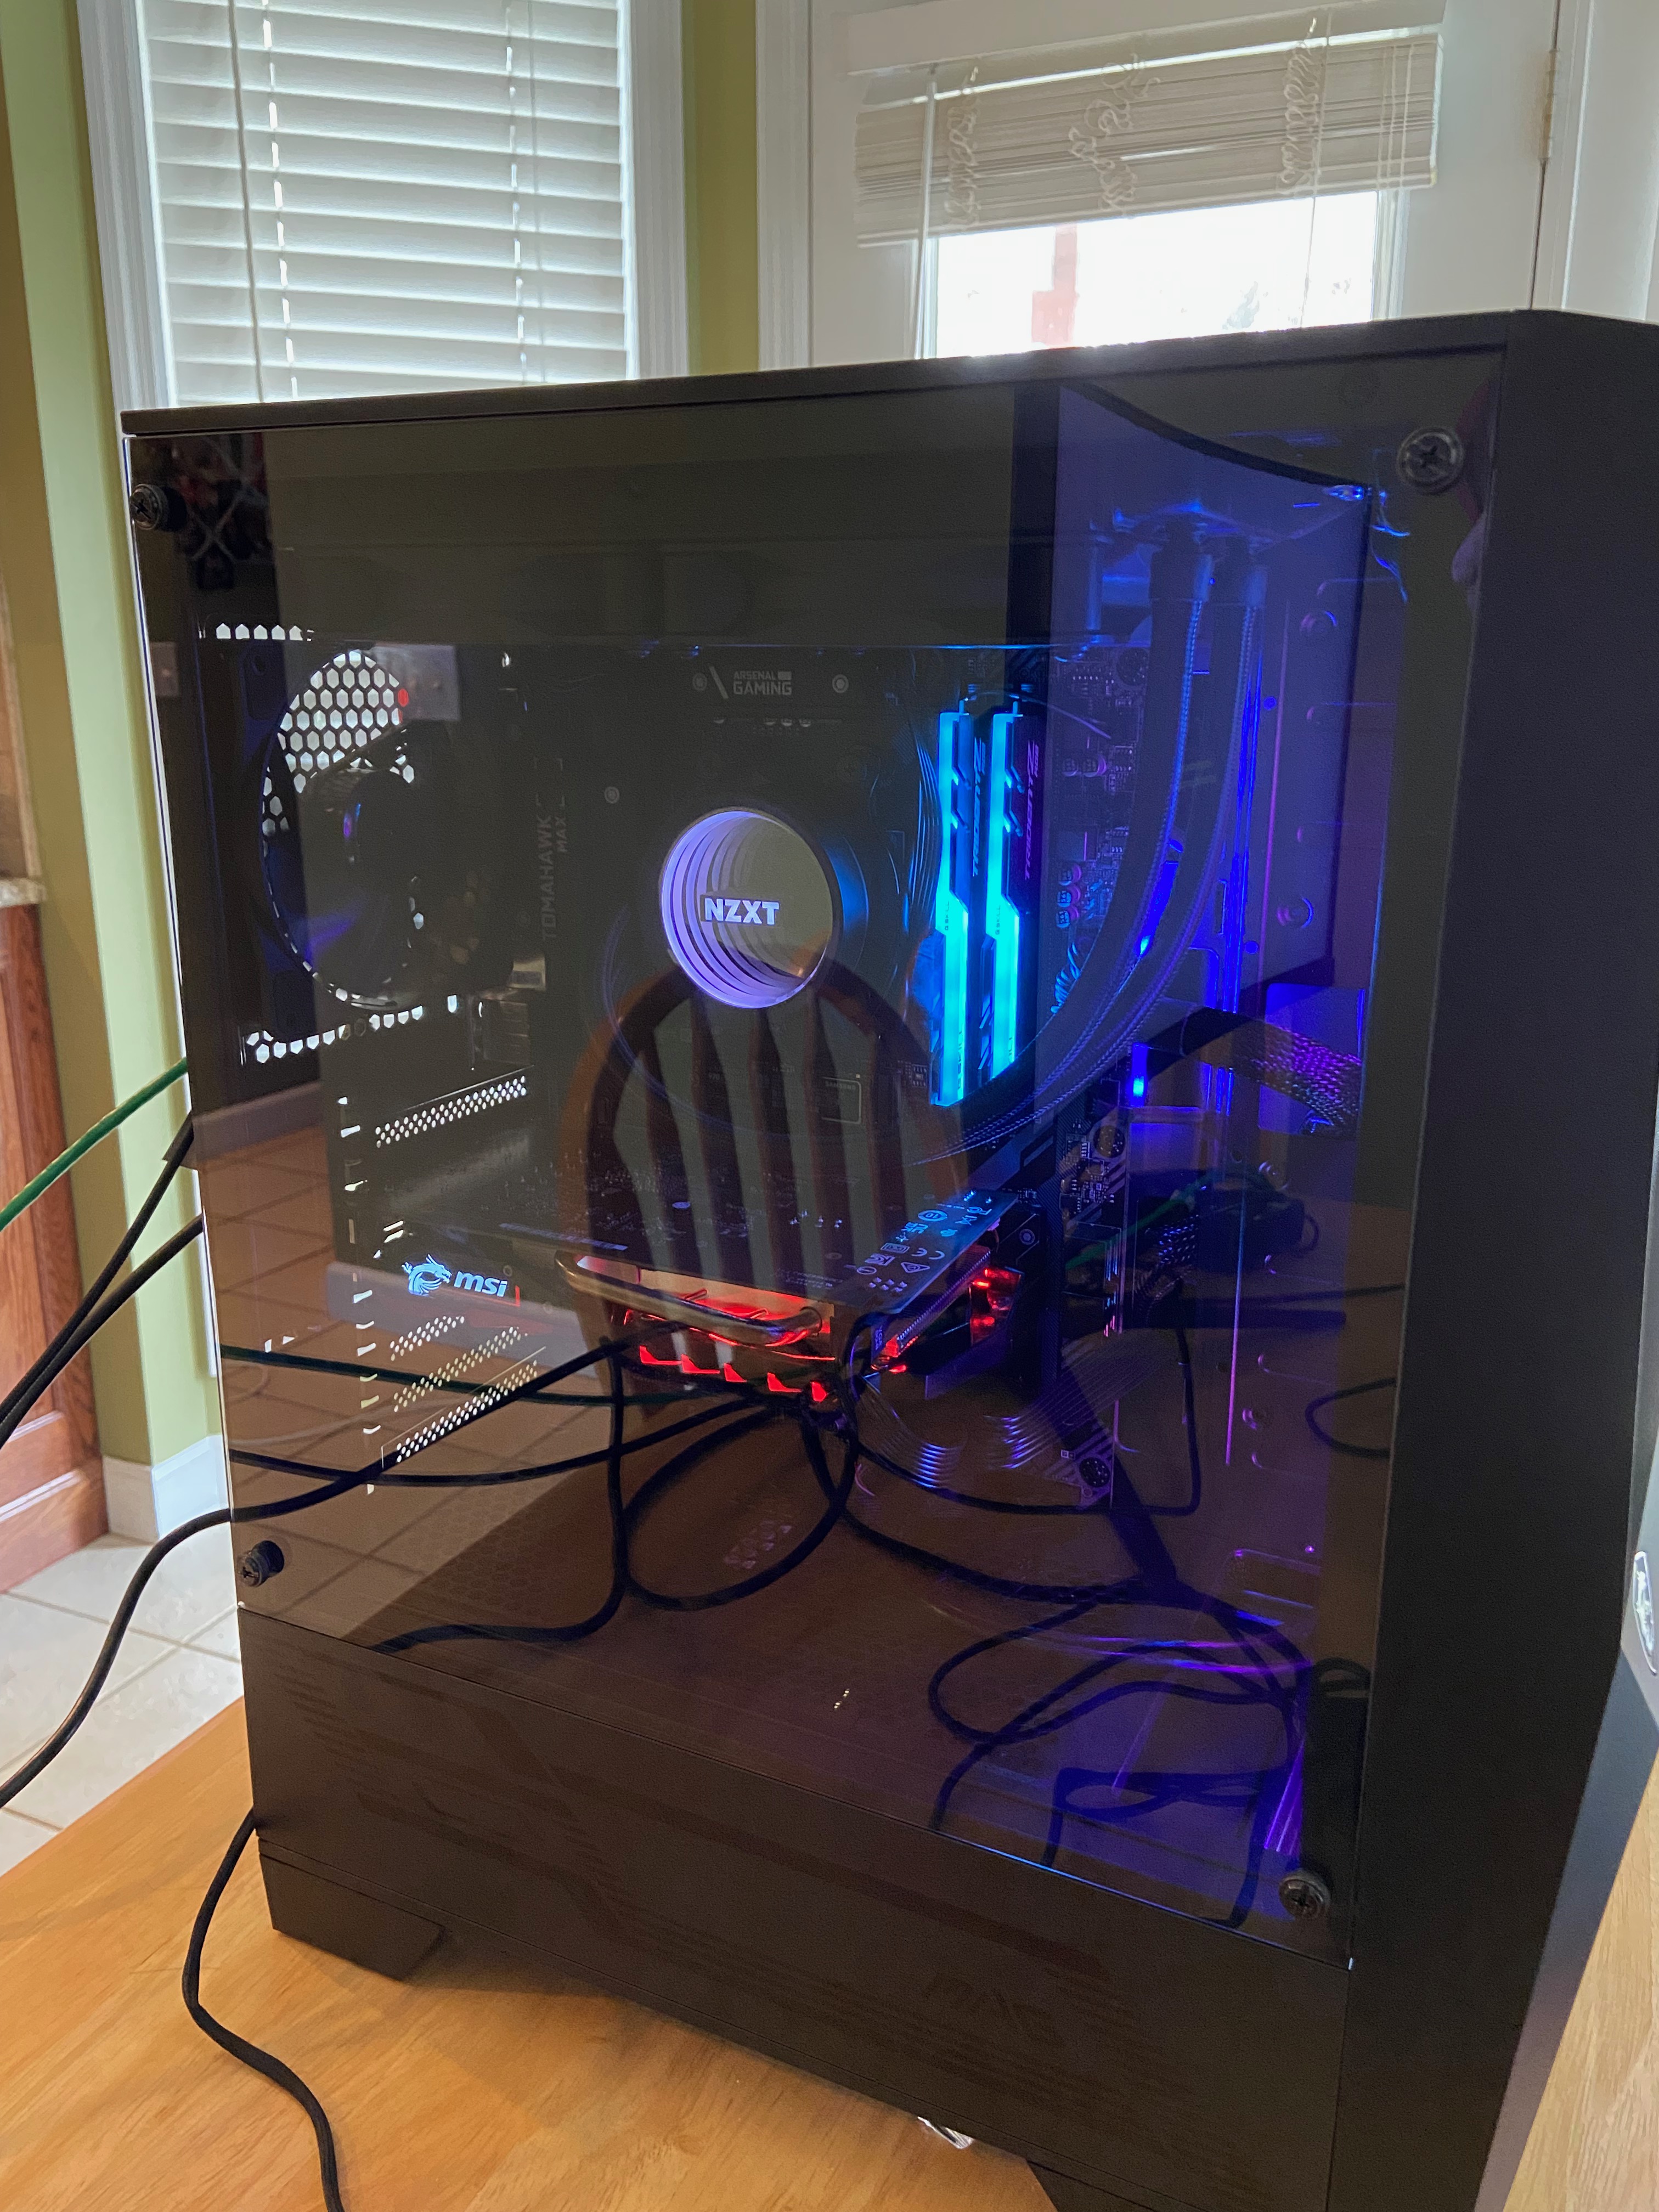
Build Process Pictures
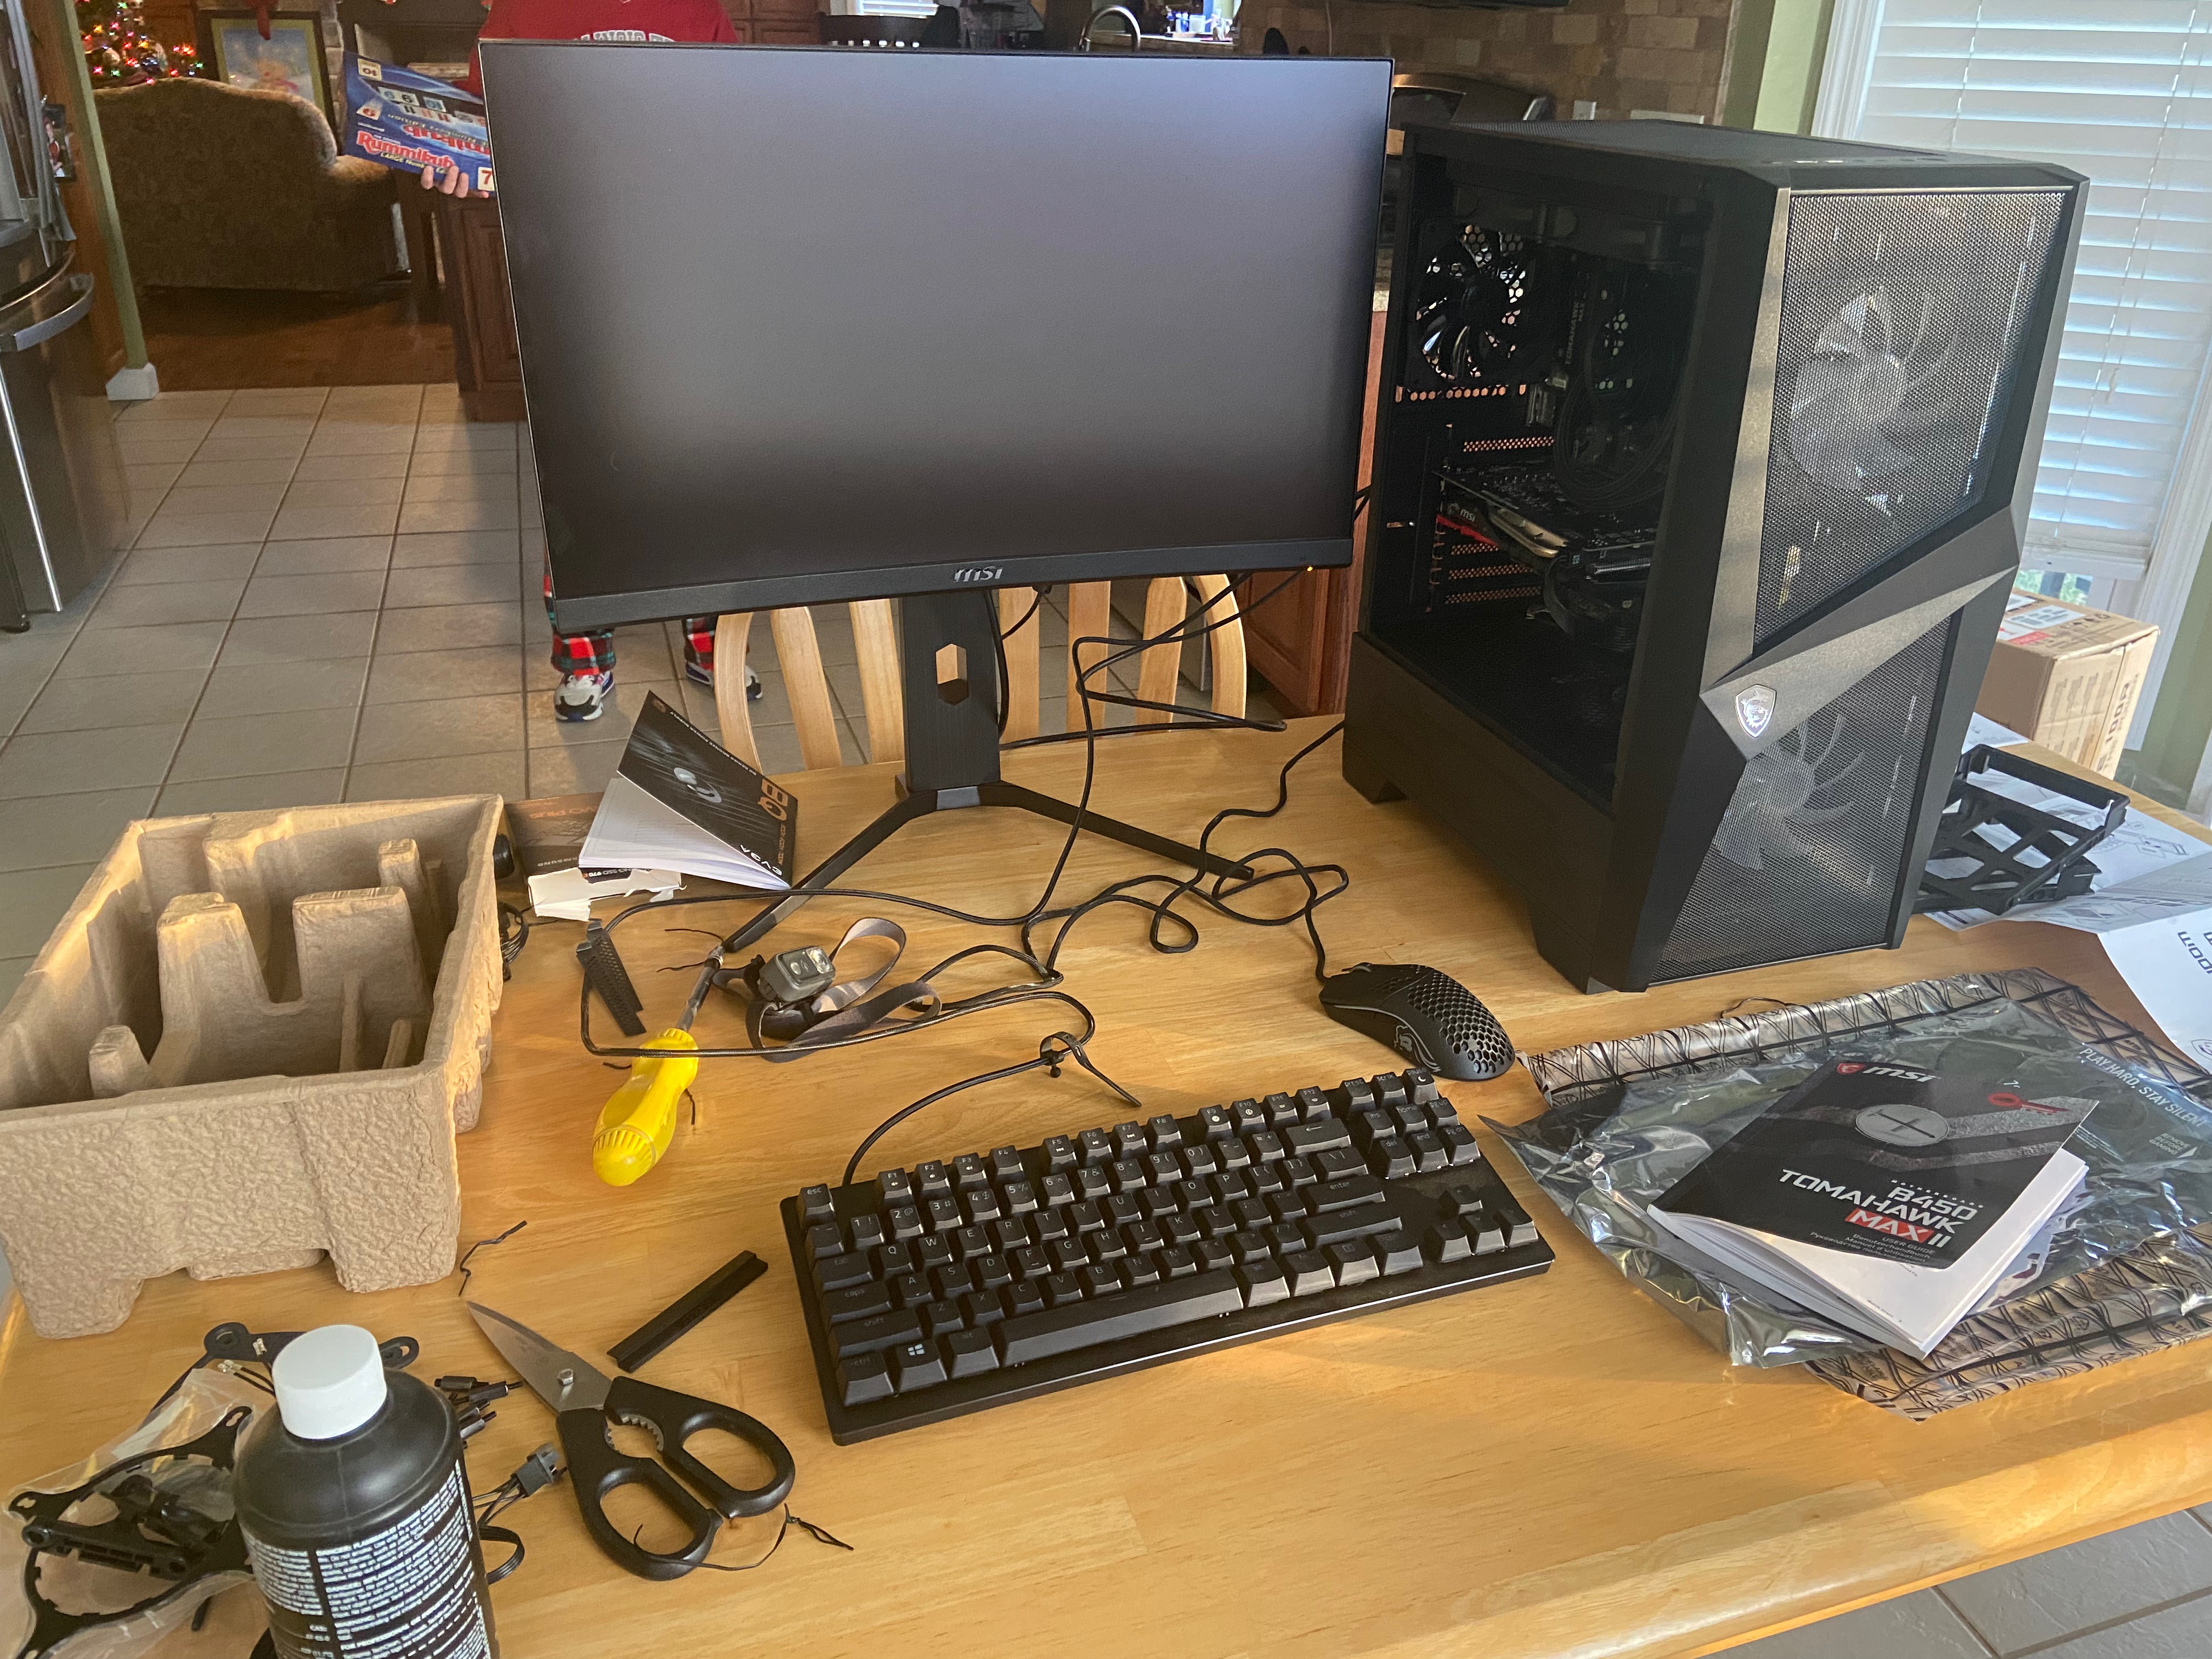
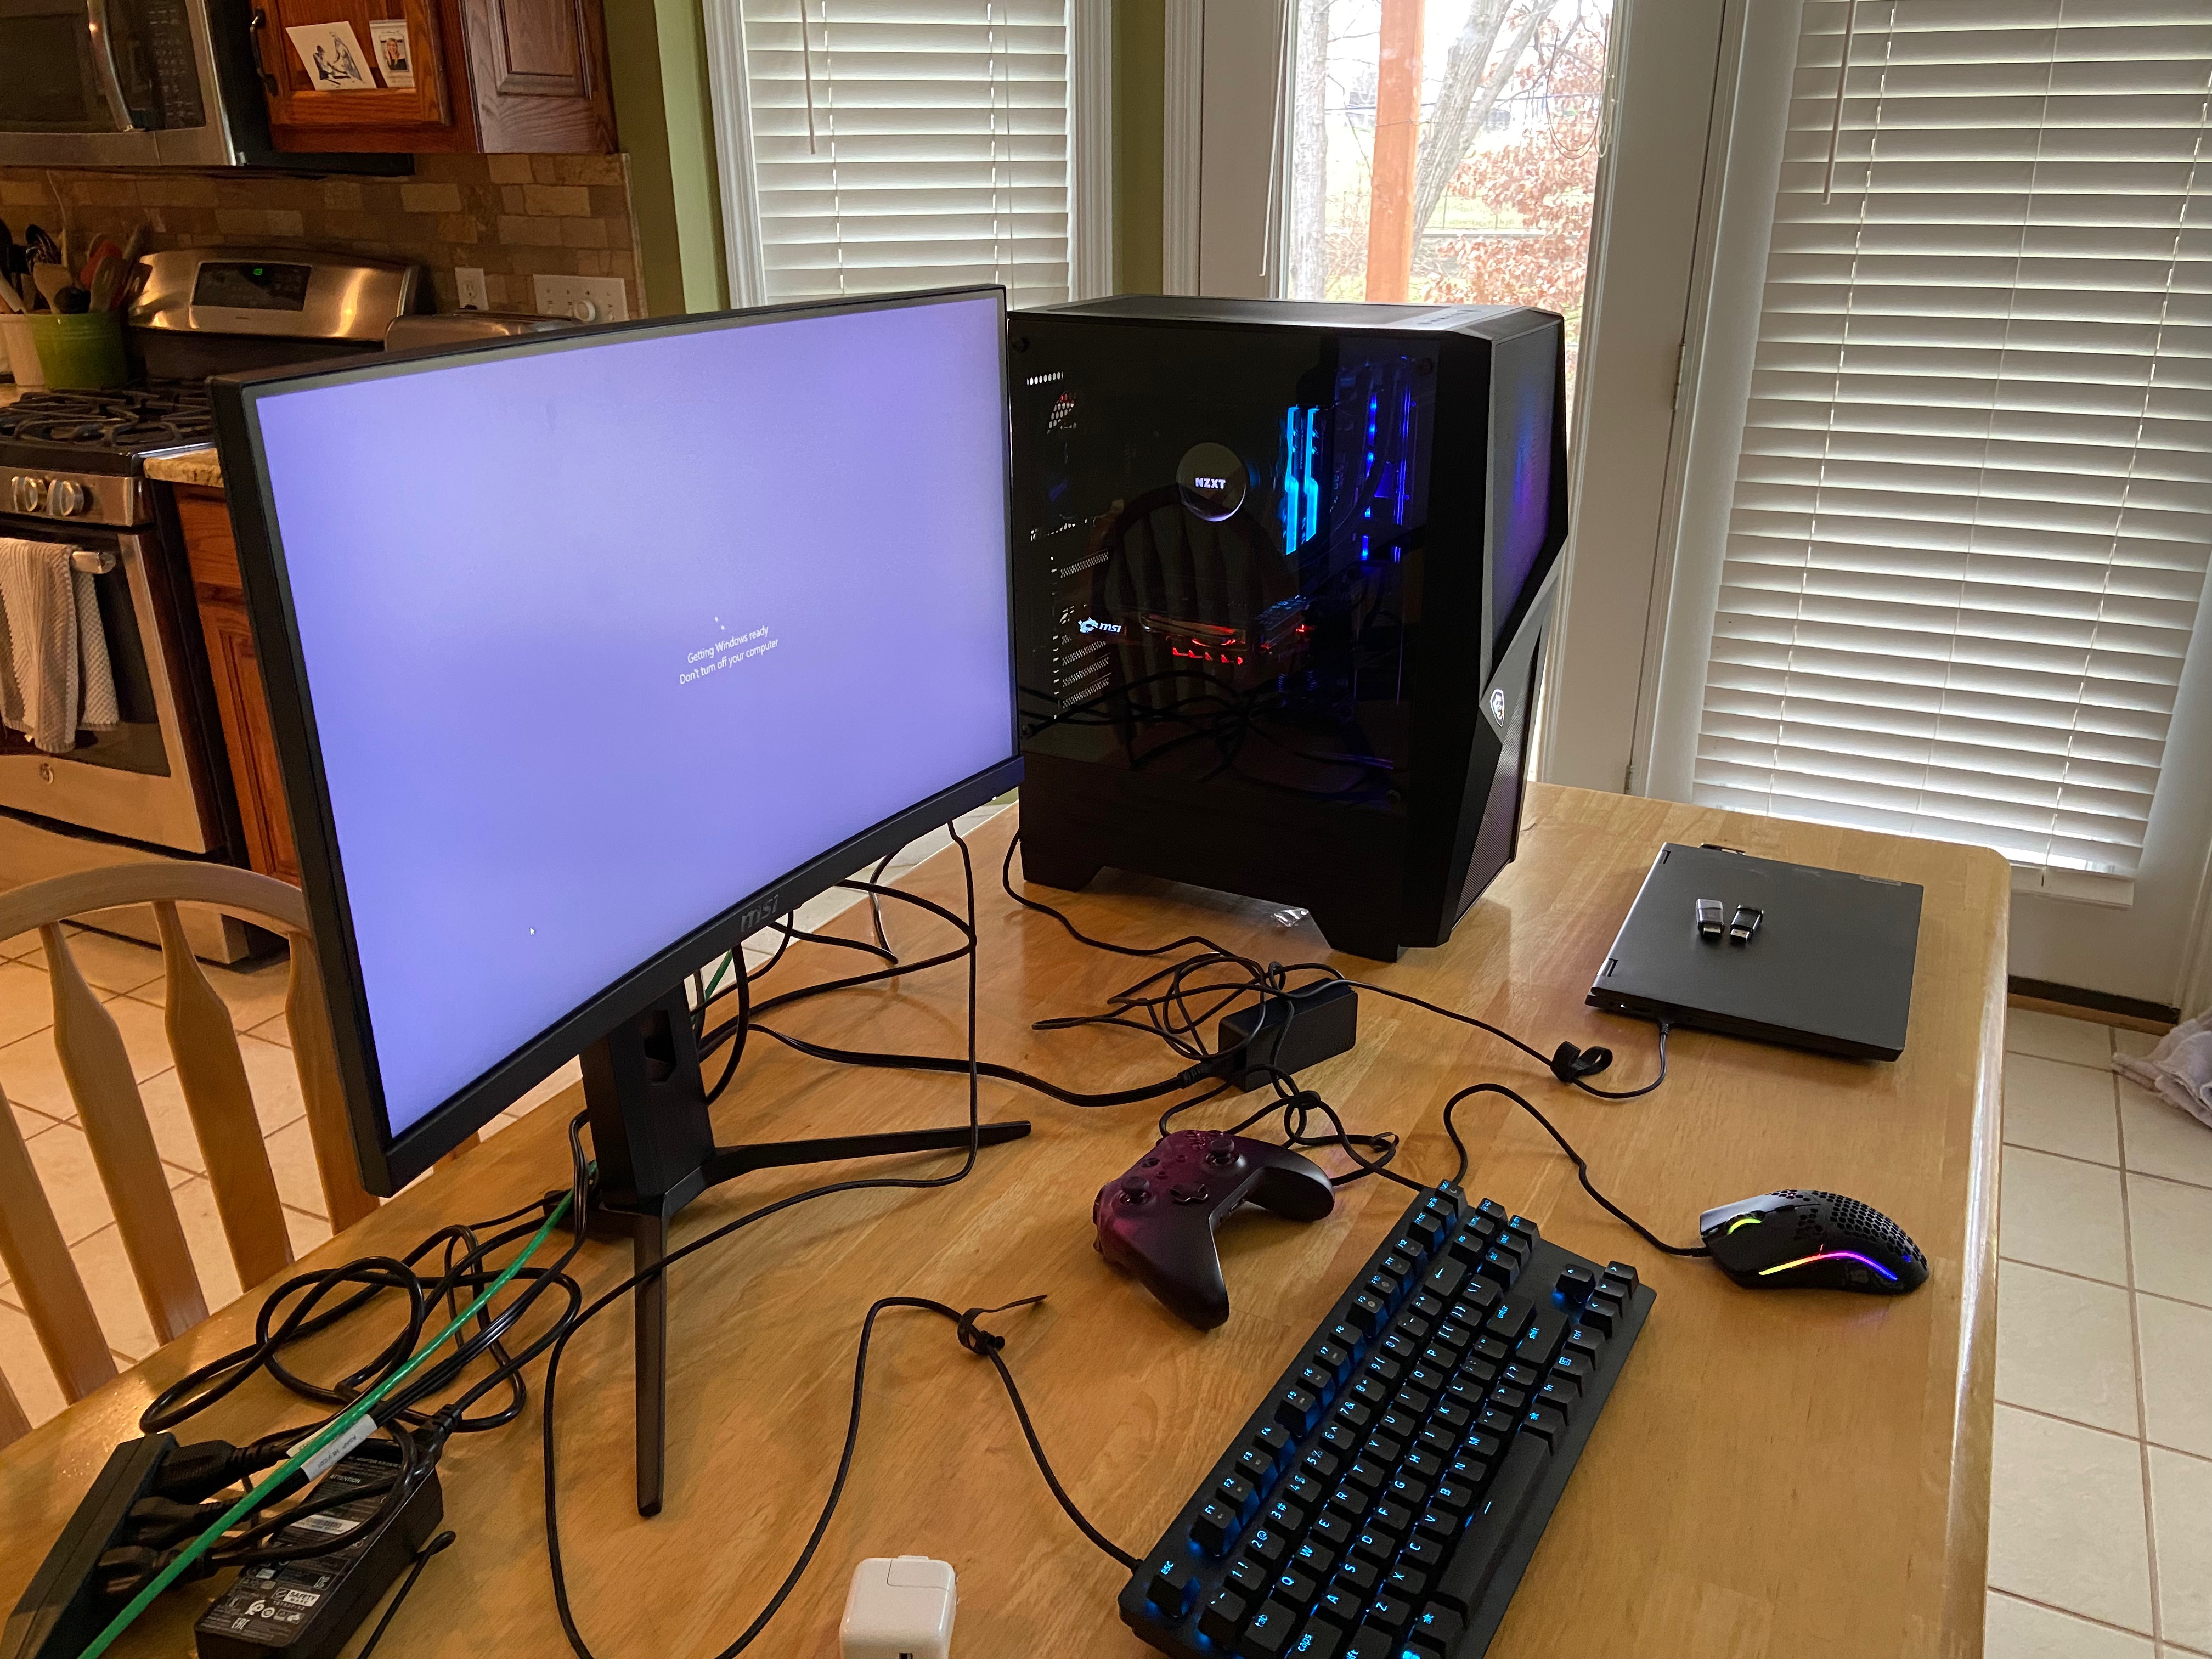
Final Product
Final Thoughts
If you’ve built PC’s before this was not a hard build. All the part went together smoothly, everything worked out of the box, and we didn’t run into any major hardware problems.
The only thing I was not familiar with was the liquid cooling system and creating a working Windows installation image (Linux and macOS have been my primary drivers for the past 25+ years).