Simulating production networks with Cisco Modeling Lab: Install Guide
Guide to the download, installation, configuration, and initial lab setup of a Cisco Modeling Lab server on vmware ESXi server.
578 Words
2021-02-13 11:41 -0600
Overview
Cisco Modeling Lab is a commercial network virtualization environment. All routers, switches, and security devices are licensed and included within the CML system. CML differs from other offerings such as GNS3 or Eve-NG by including legal Cisco software images and licenses as part of the purchased bundle. The software costs approximately $200 per year for the personal edition which allows up to 20 simultaneous devices.
While the minimum system requirements are 4 CPUs, 8Gb RAM, and 16Gb HD; this won’t be enough to run 20 routers at the same time. Expect to spend a few thousand dollars on hardware capable of simulating a real production network. This is not software that will run well on a typical consumer laptop.
Details
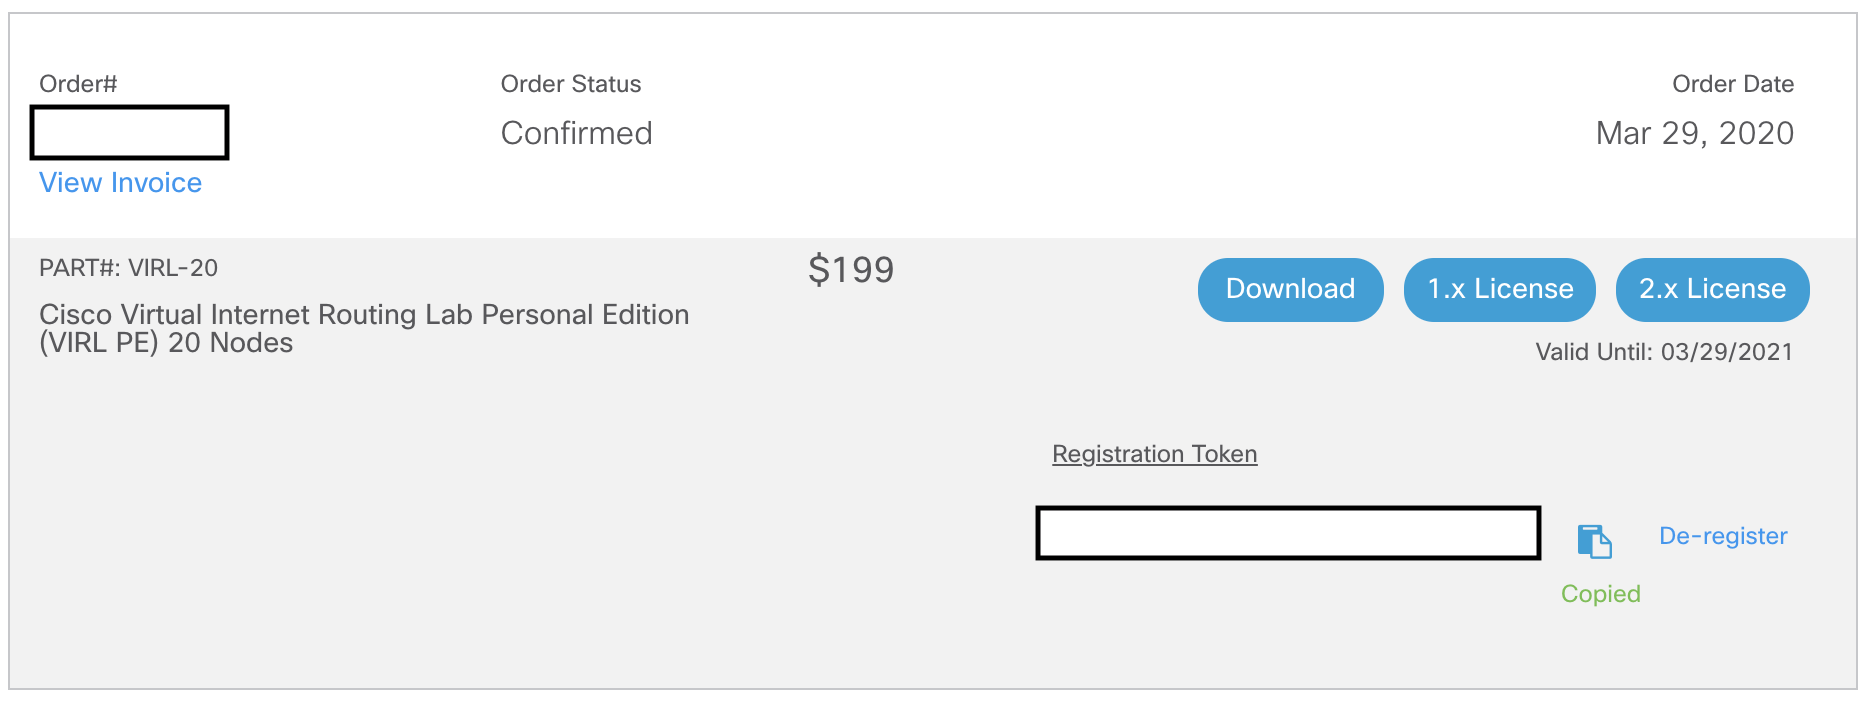
Start by downloading the CML software. As noted before, it’s not free. Cisco is charging $200 per year for the personal edition:
https://learningnetworkstore.cisco.com/myaccount
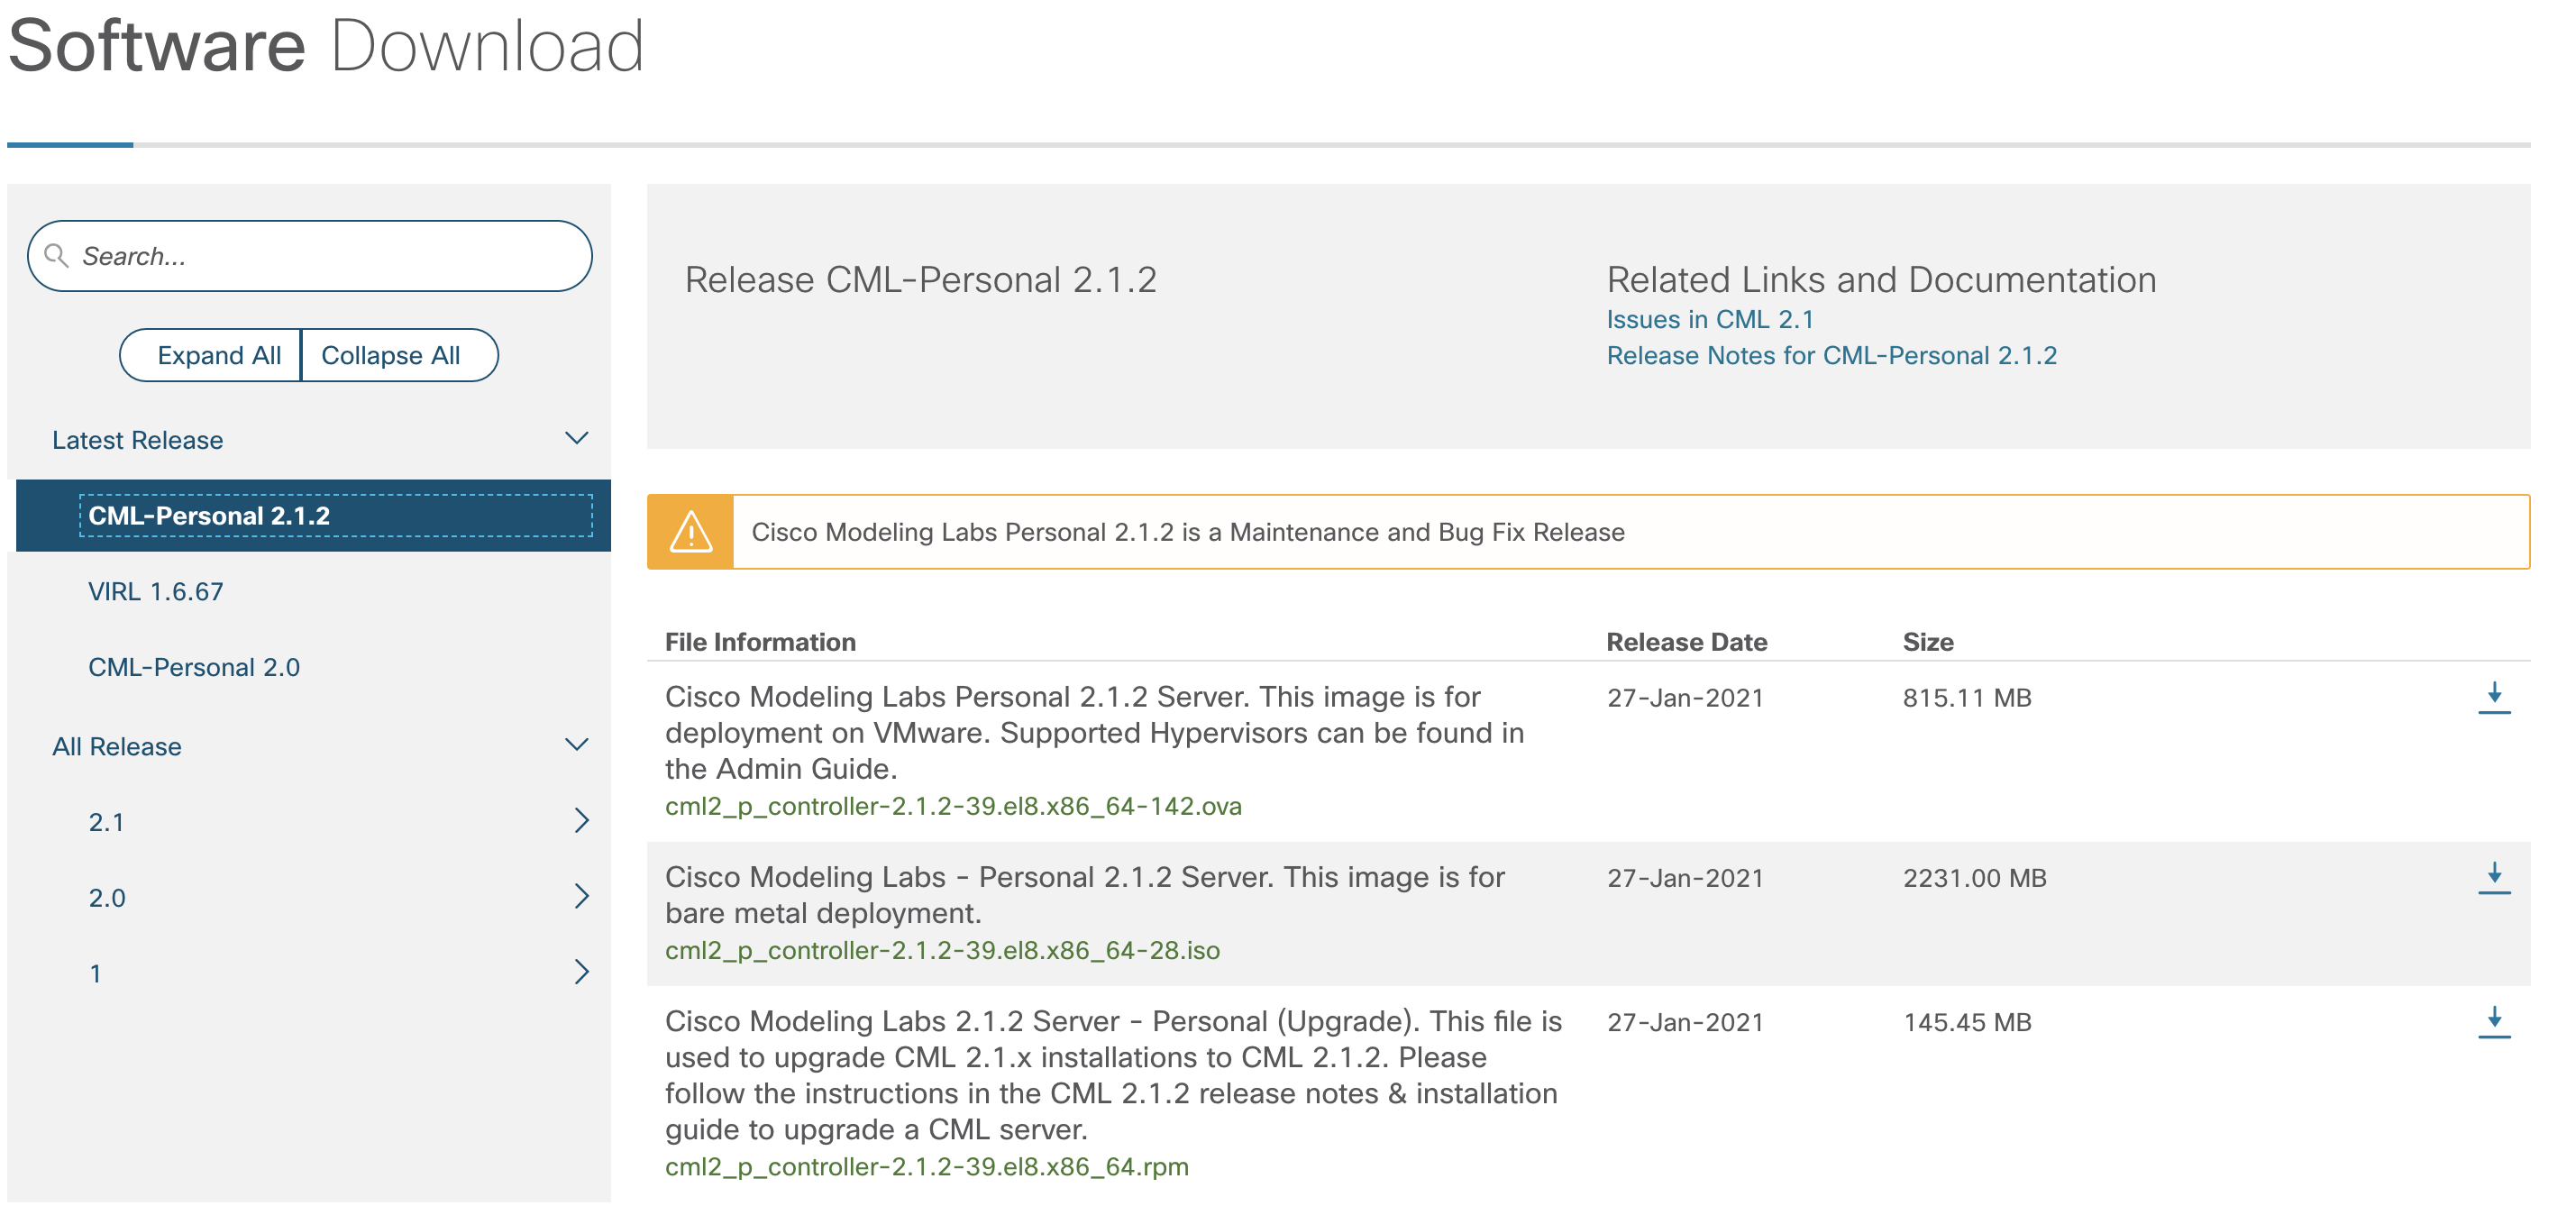
Click Download:
For new installations, download the latest 2.1.2 version:
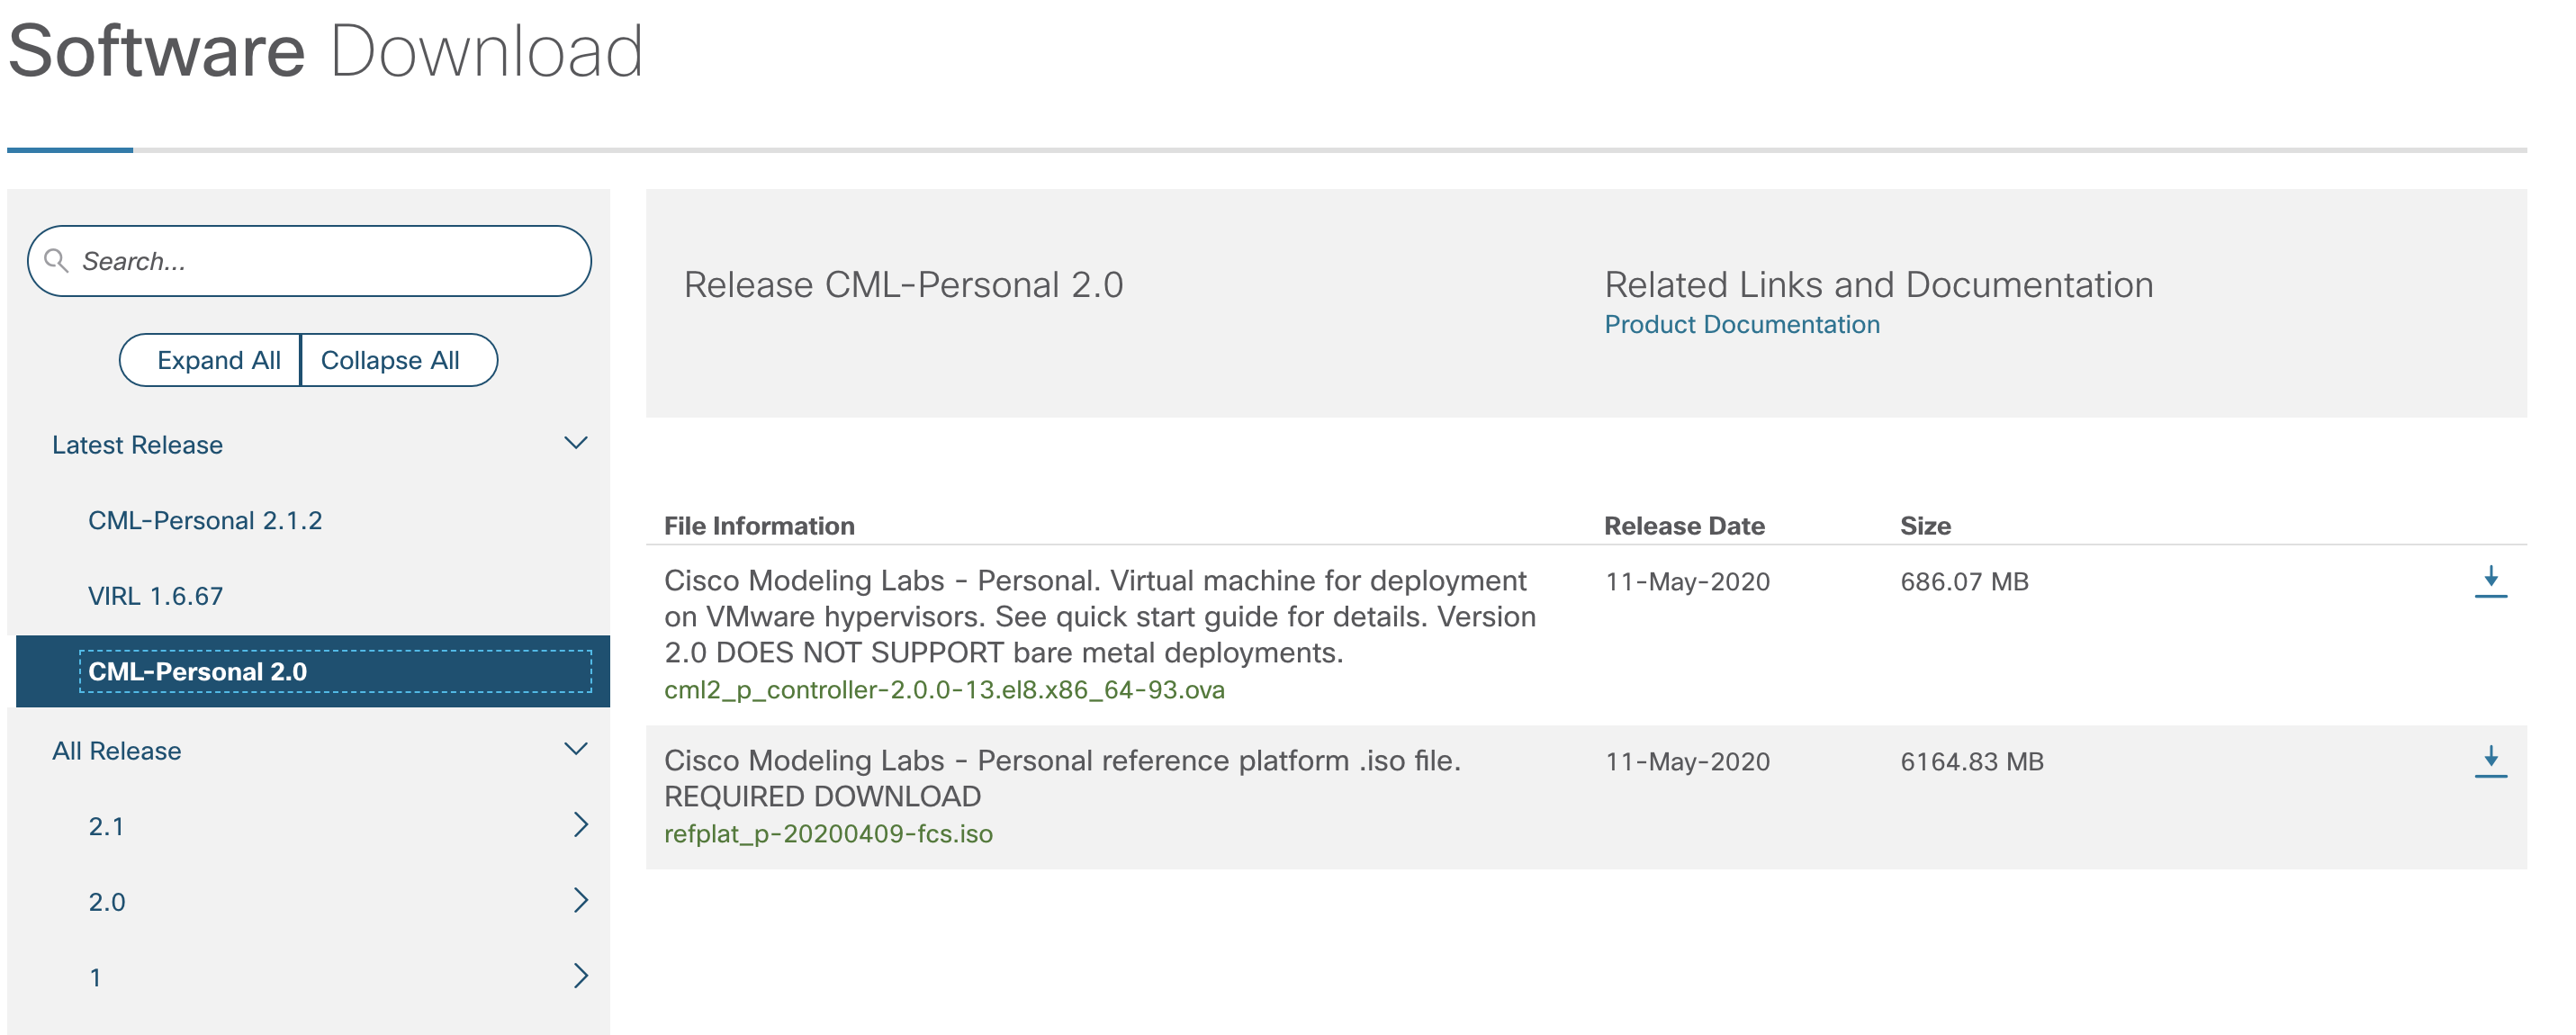
In addition to the CML software, the Personal Reference Platform ISO image is required during the installation. This software is not found in the 2.1.2 download screen. At the time of this writing, PRP is in the 2.0 download section:
All downloads require accepting the End User Software License Agreement:

When the installation begins, the Personal Reference Platform ISO image must be mounted during boot up. Prepare for the upcoming step, by uploading the ISO to the the vmware datastore repository so it can be mounted as a Datastore ISO file (instructions below):
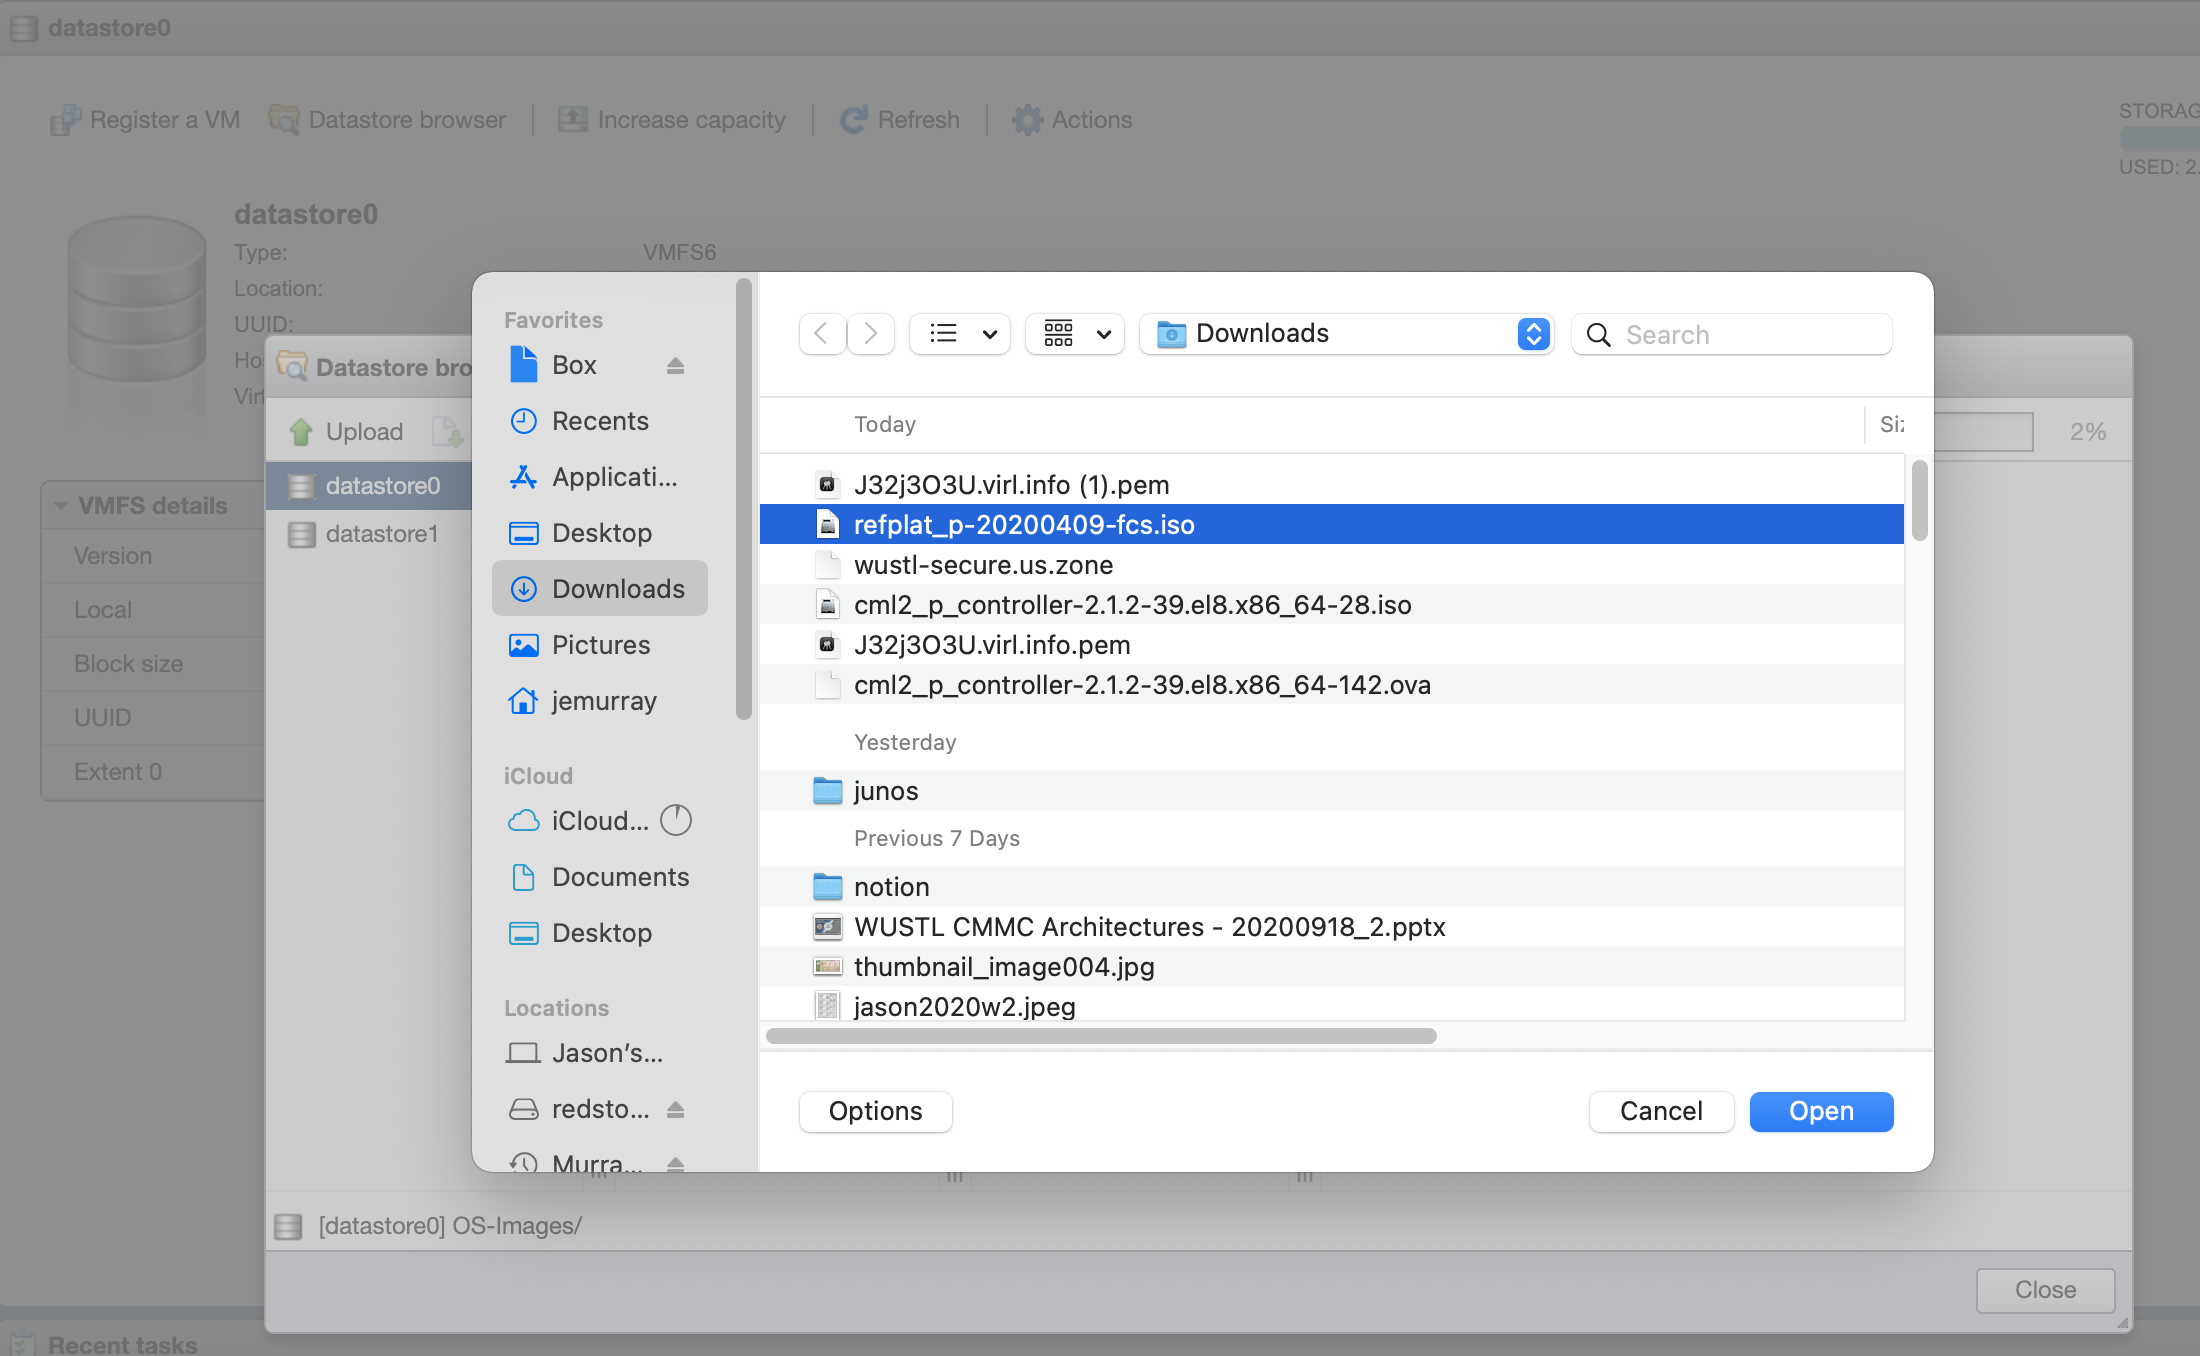
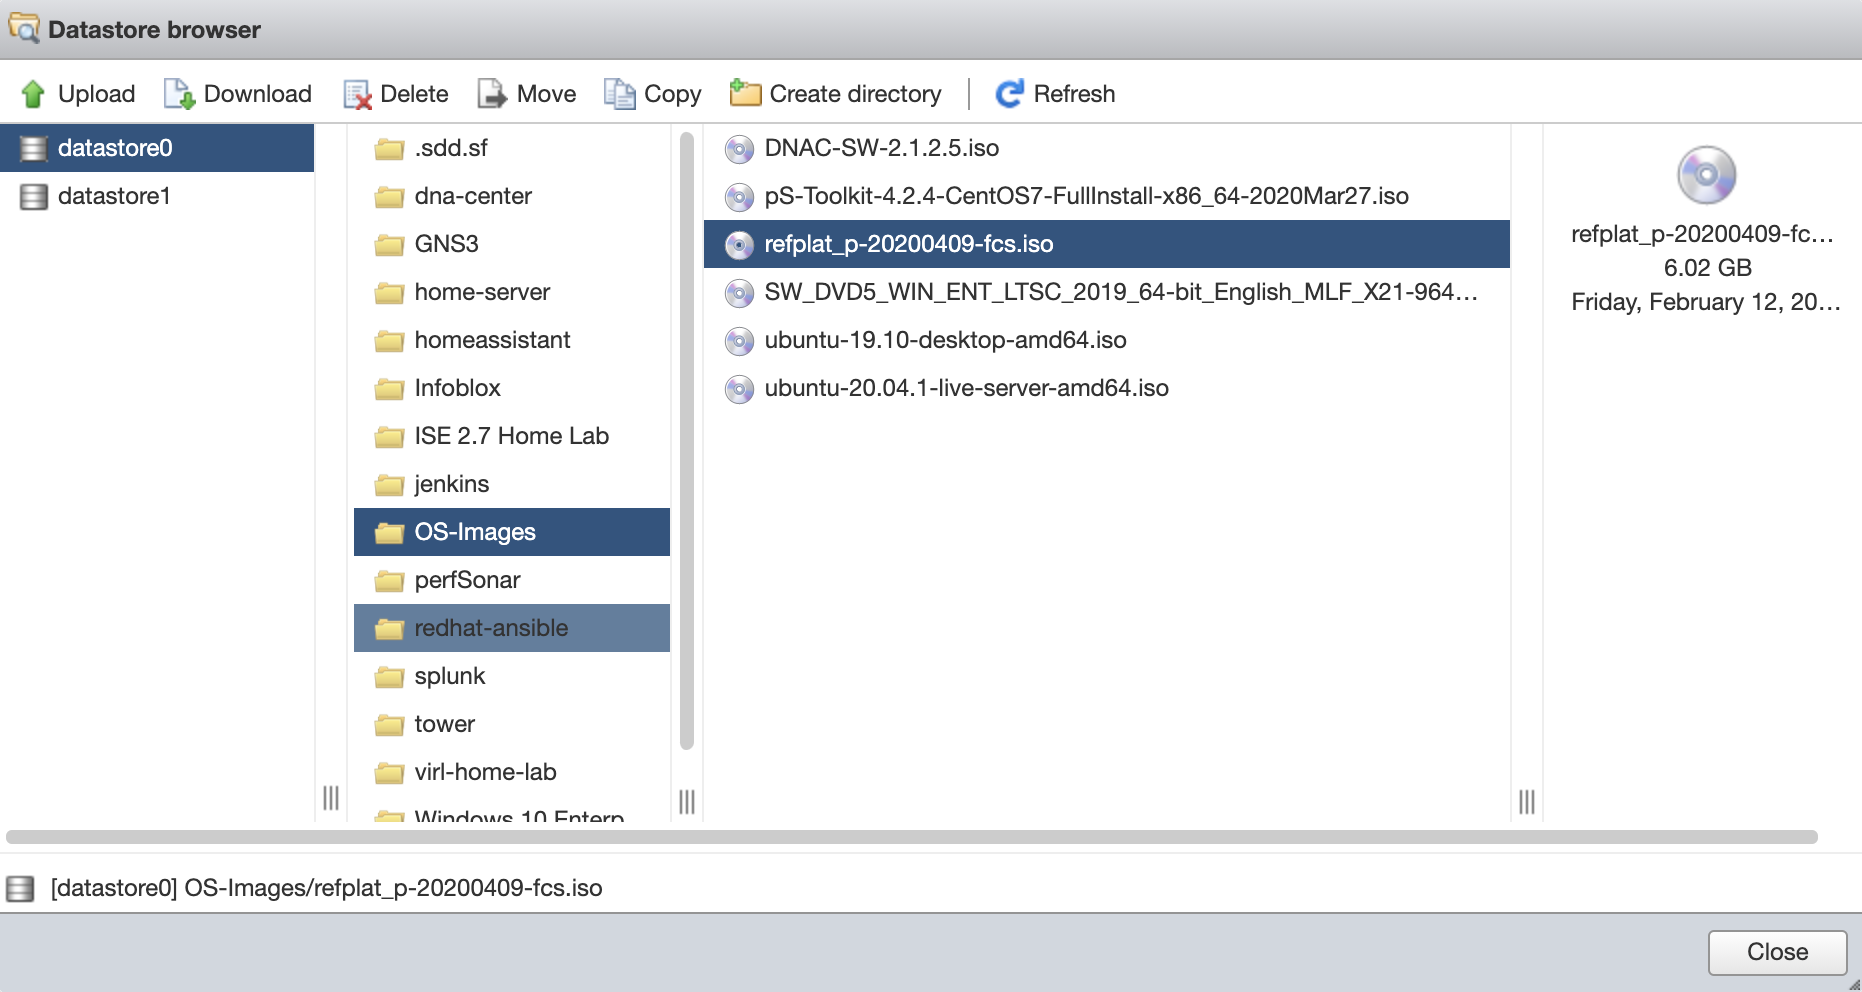
Validate the PRF image uploaded successfully:
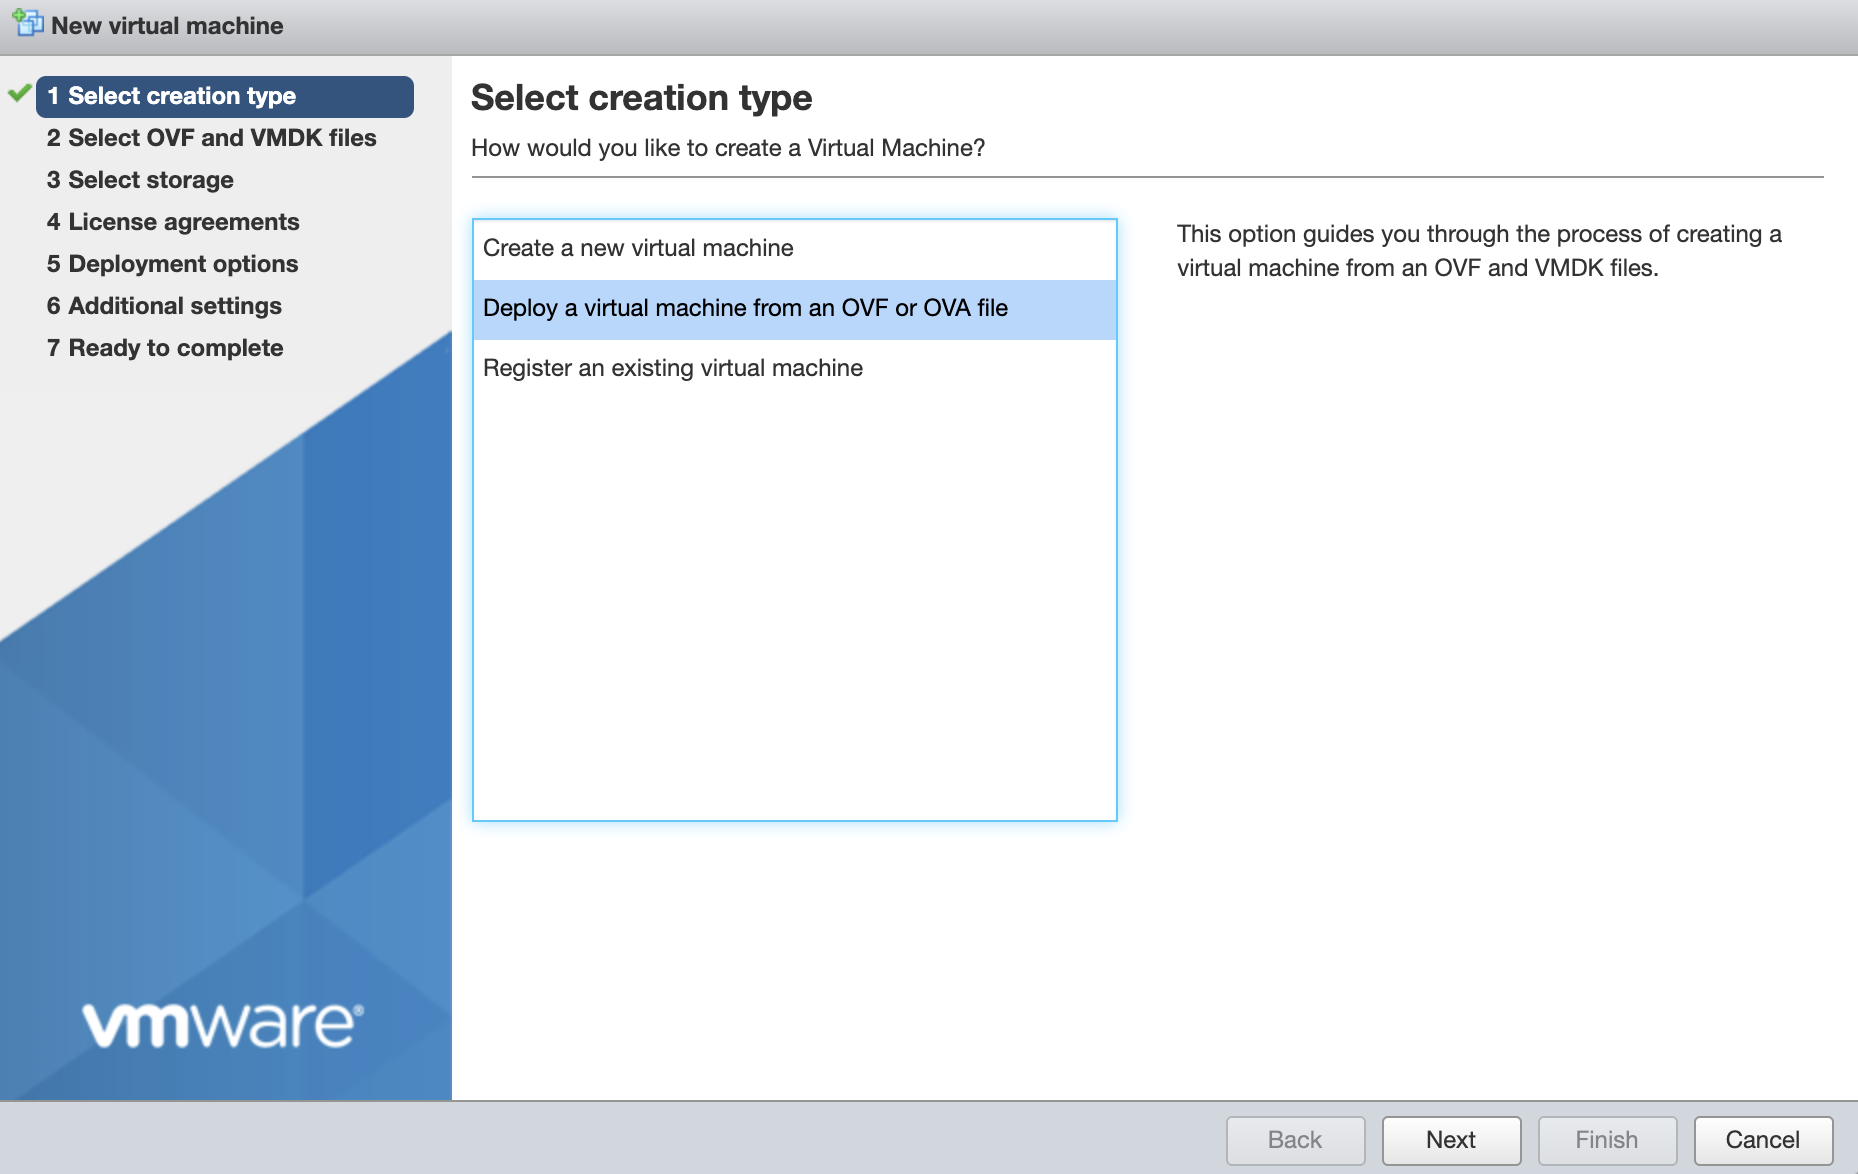
Start the installation by creating a new virtual machine from ova:
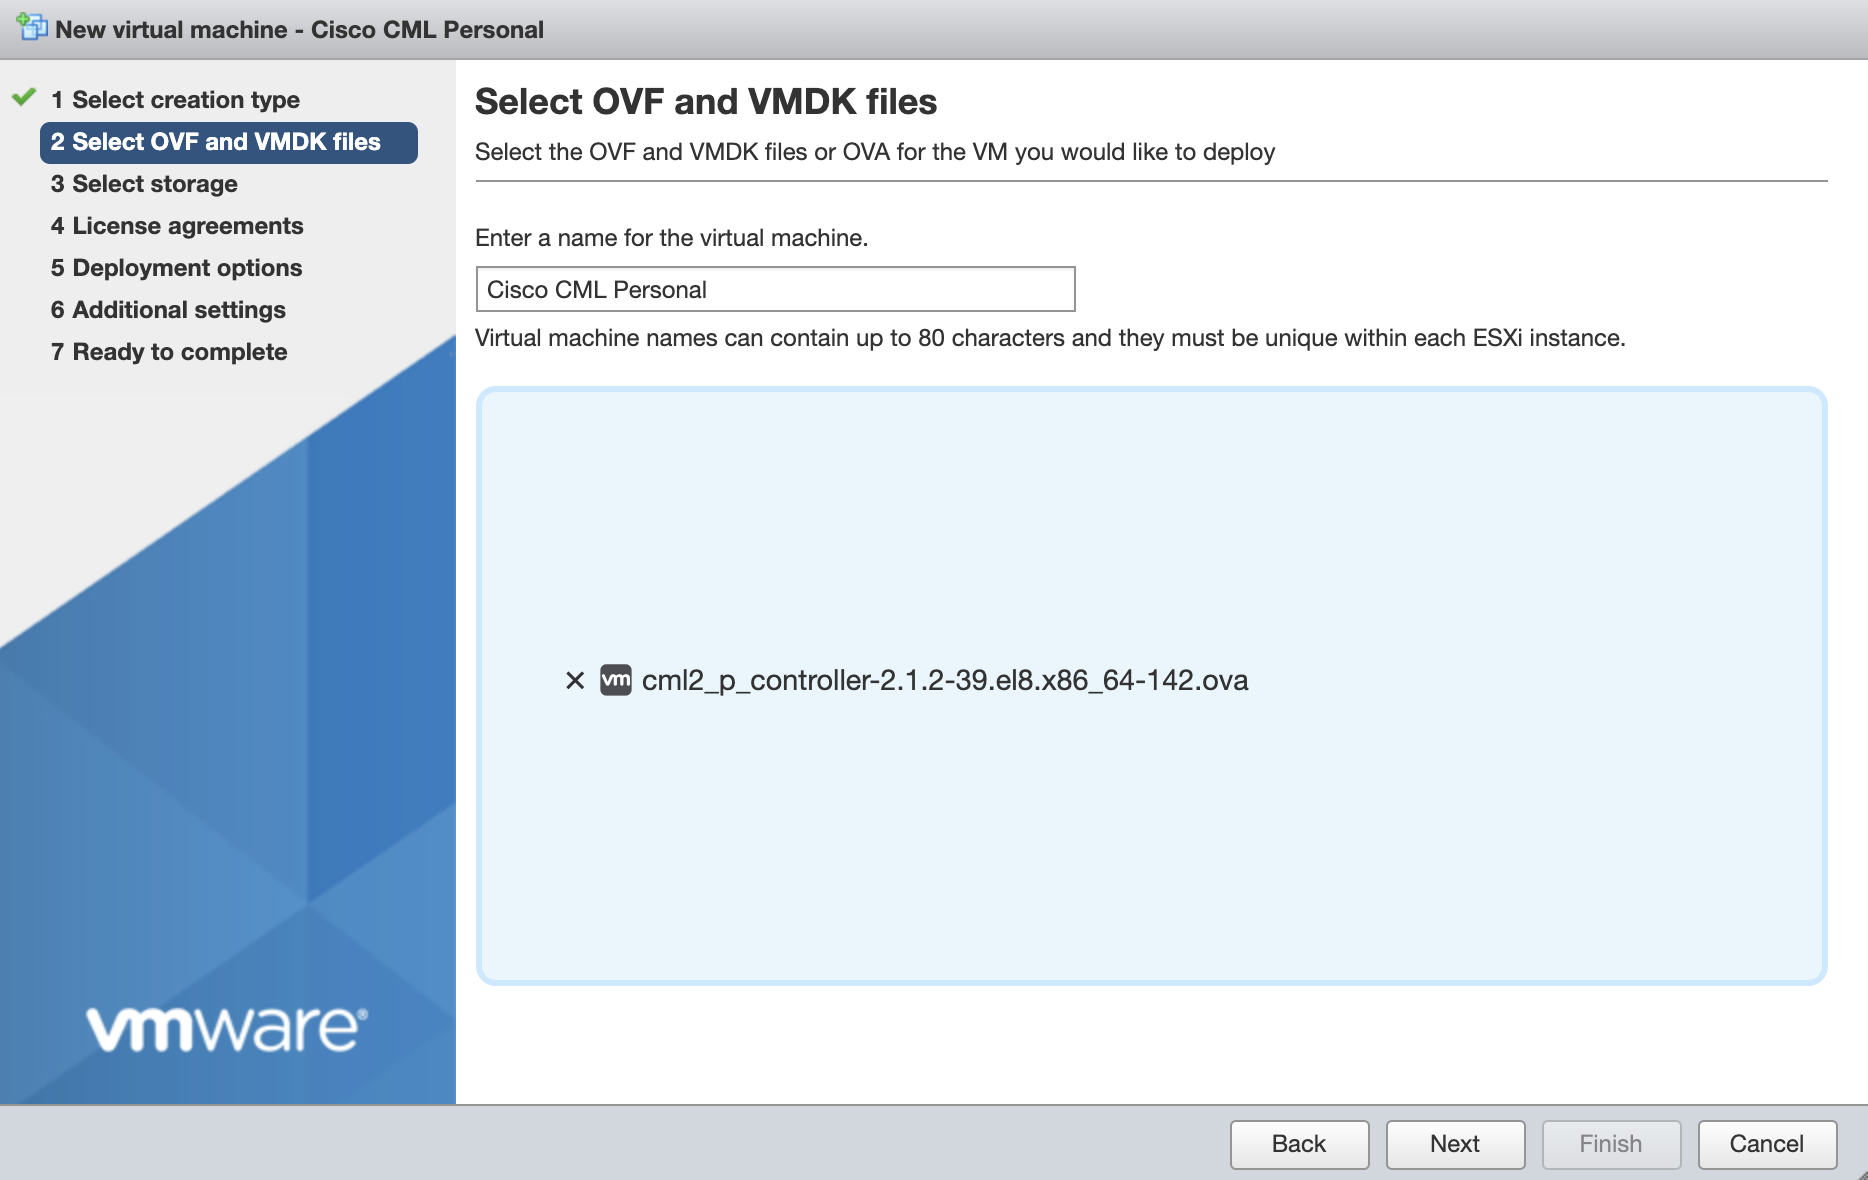
Name the image and select the OVA:
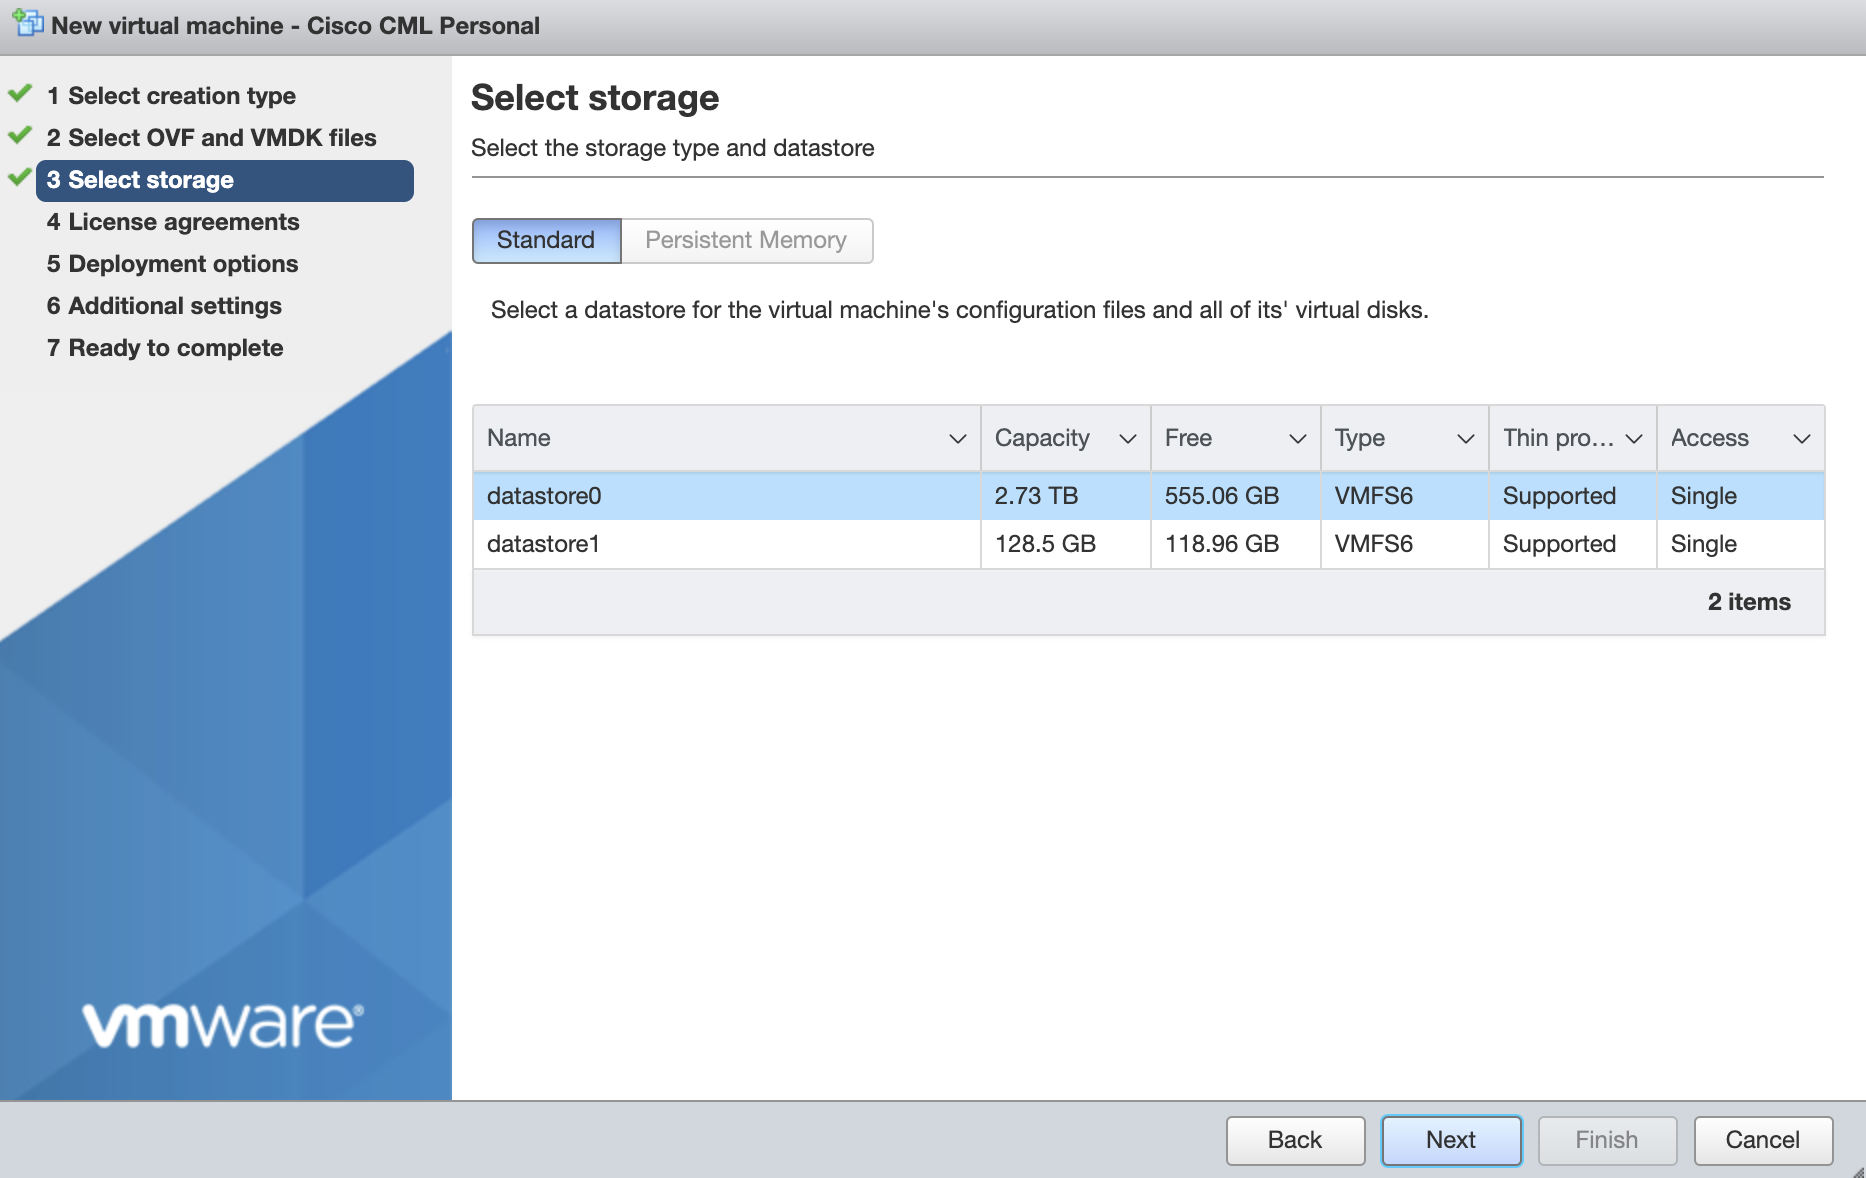
Select the datastore location for the OVA installation:
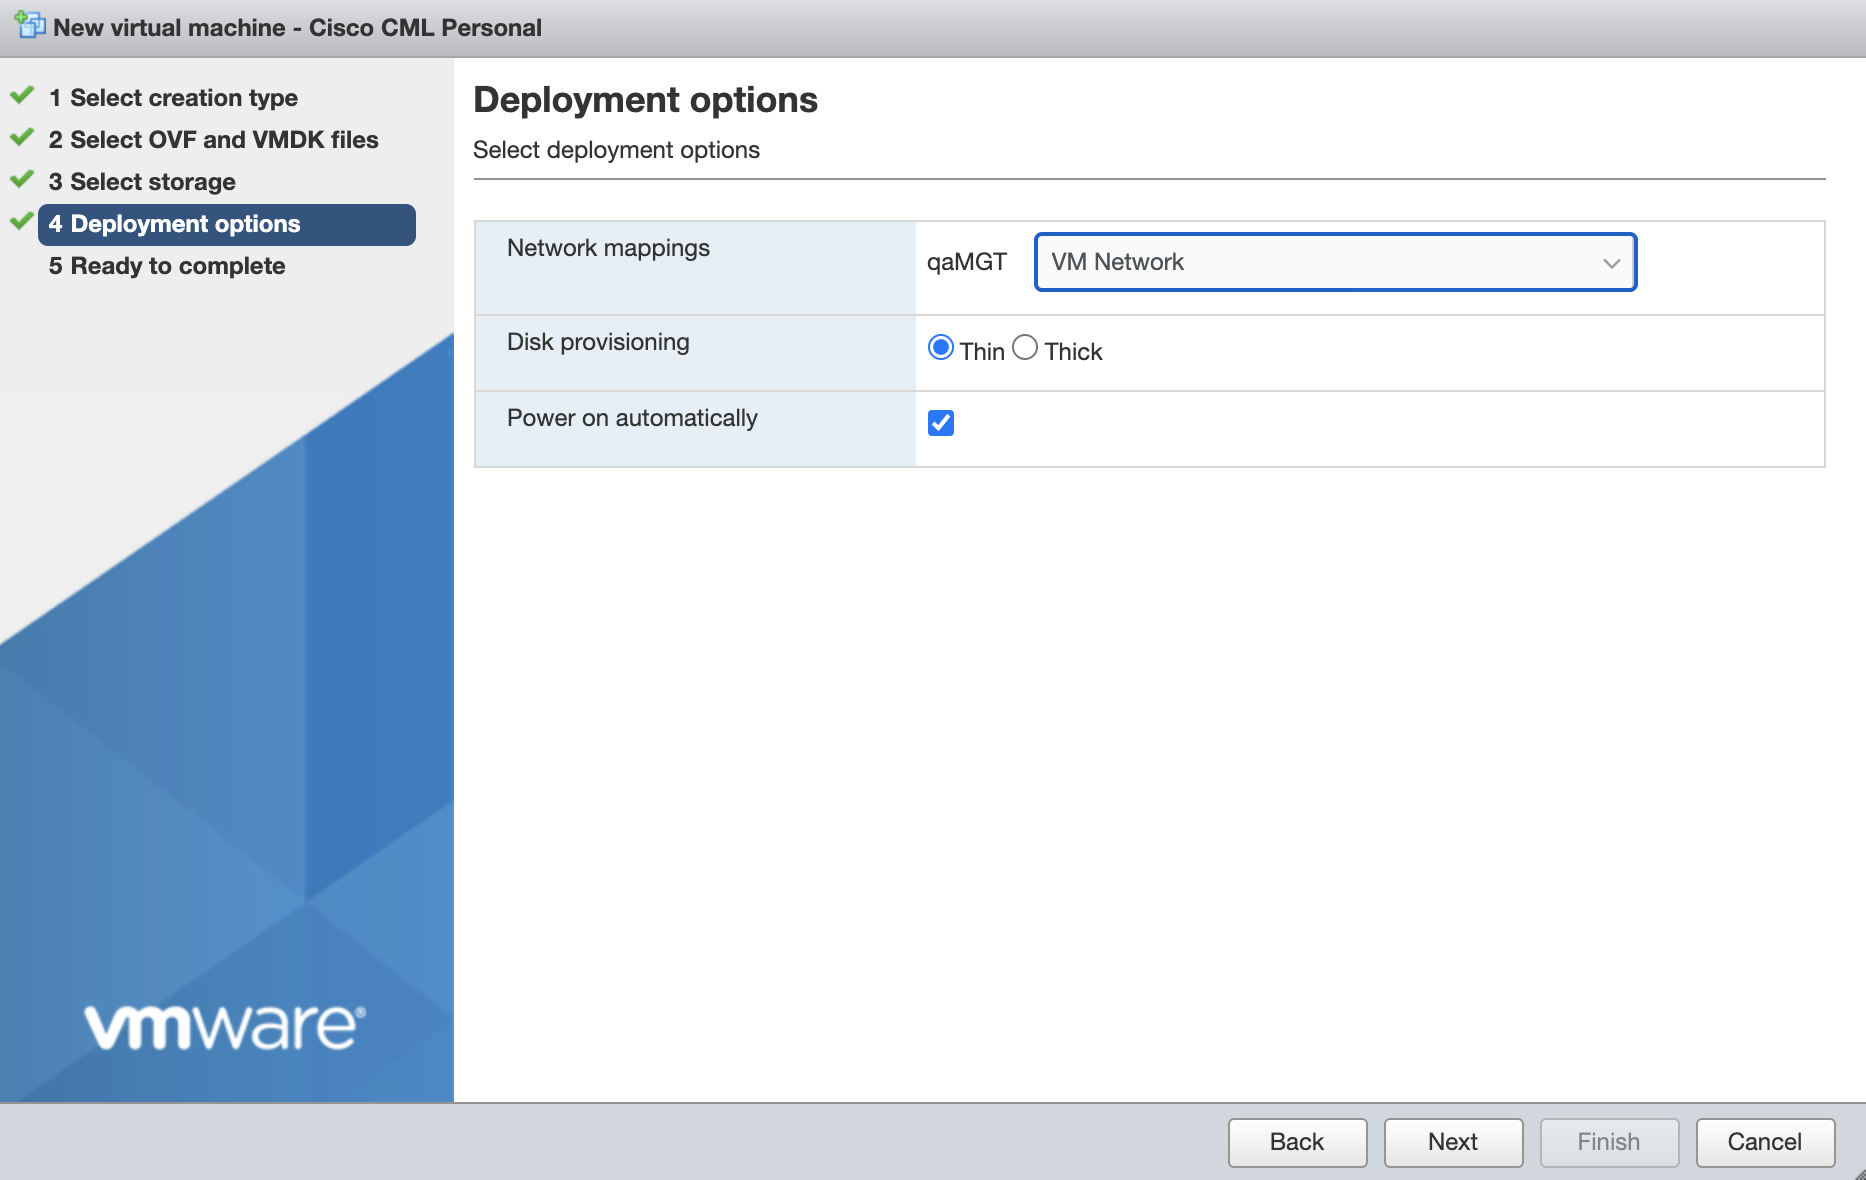
Select a network that provides the CML server access to the public Internet. Uncheck the Power on Automatically option (incorrect in the image). Before the system boots up for the first time, a few settings must be changed:
Watch the system build for a few minutes:

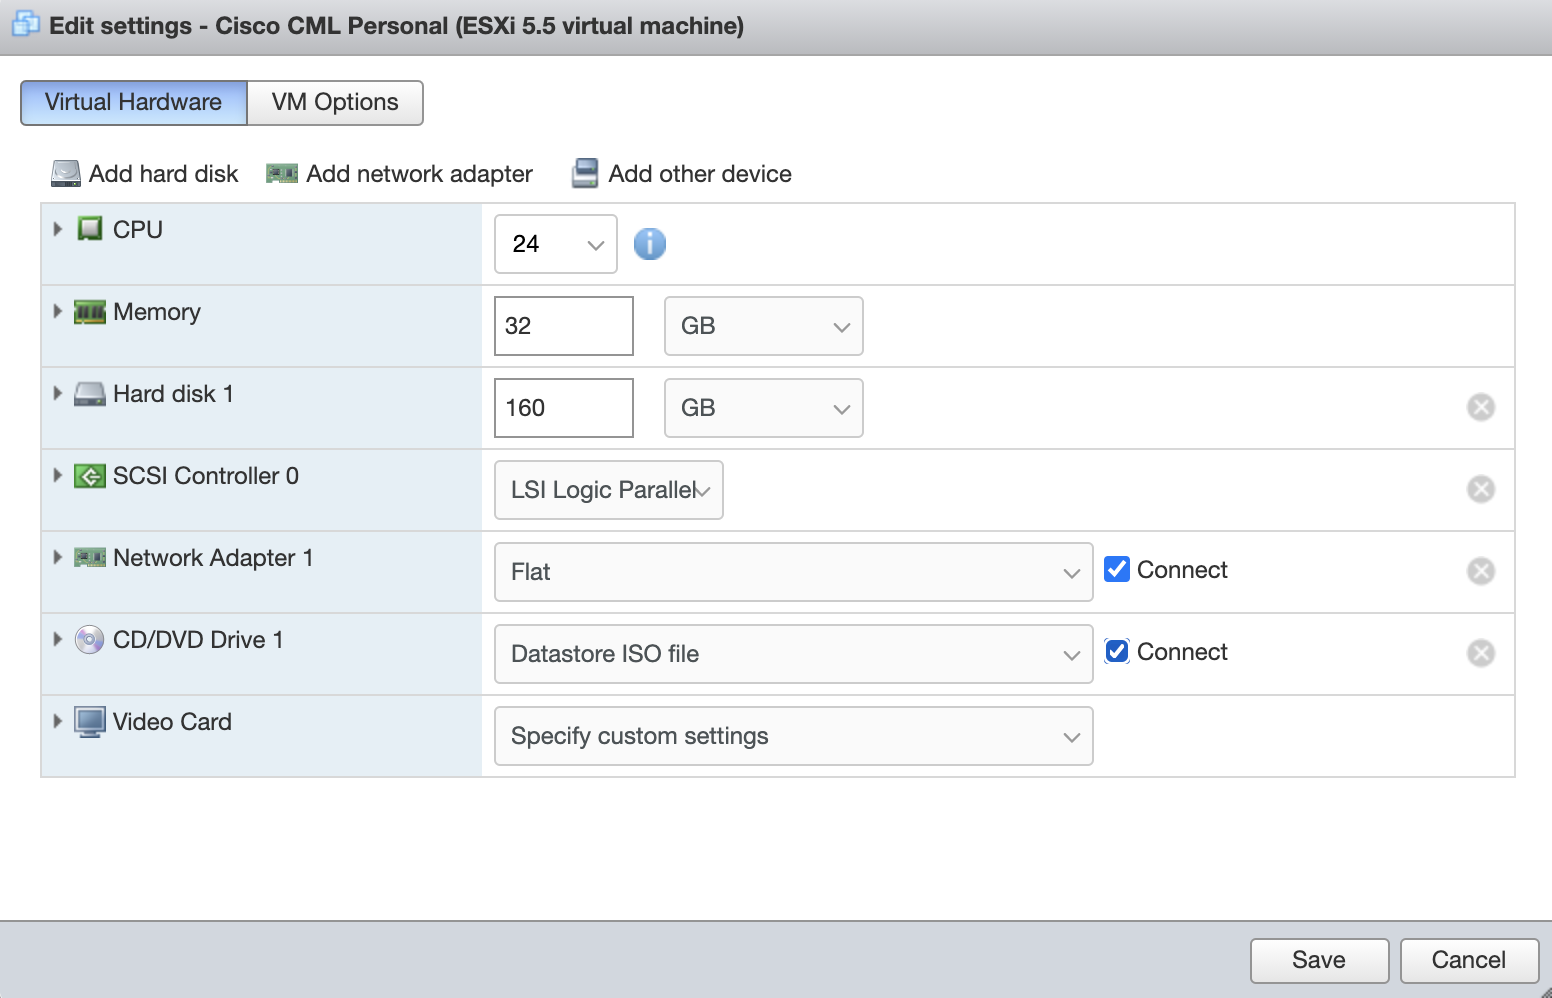
Before CML boots for the first time, change the CPU, Memory, and Disk settings. Minimum requirements are 4, 8G, and 16G respectively. However, modeling devices of any scale will require significantly more resources. Add as much as possible.
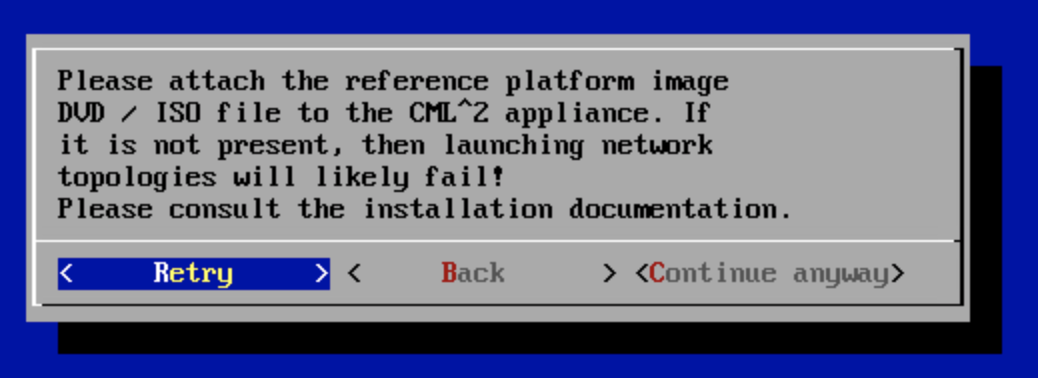
The Personal Reference Platform ISO DVD must be mounted and configured to Connect at startup. If the DVD is not connected, the Cisco router and switch images will not install:
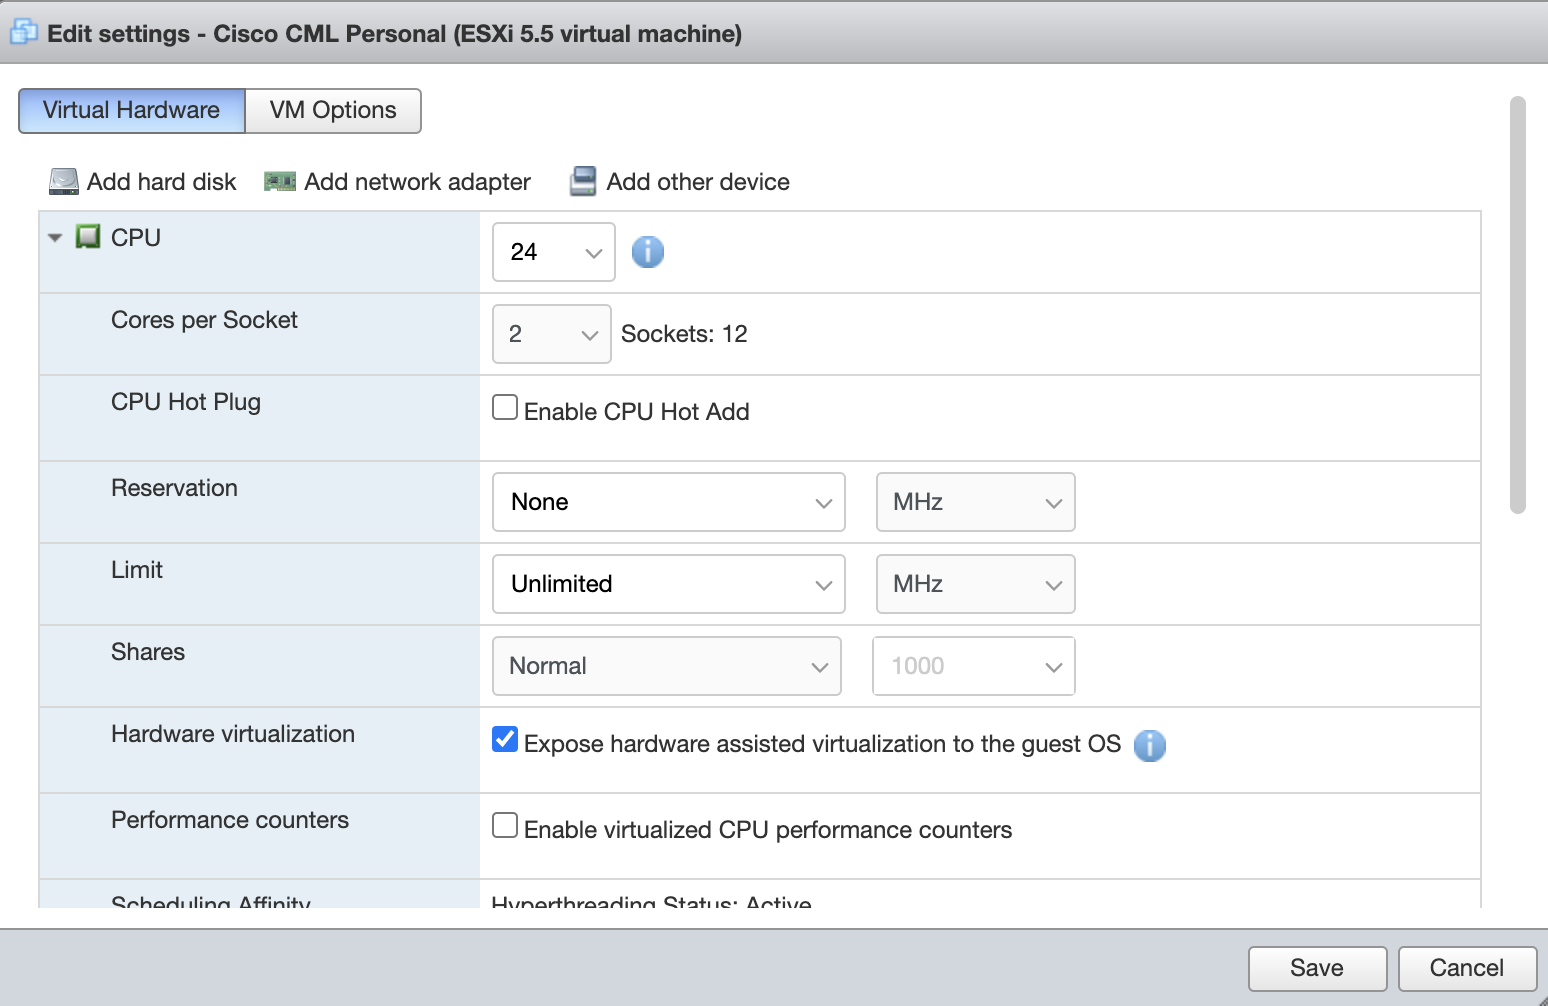
The following ESXi option Expose hardware assisted virtualization to guest OS must be enabled:
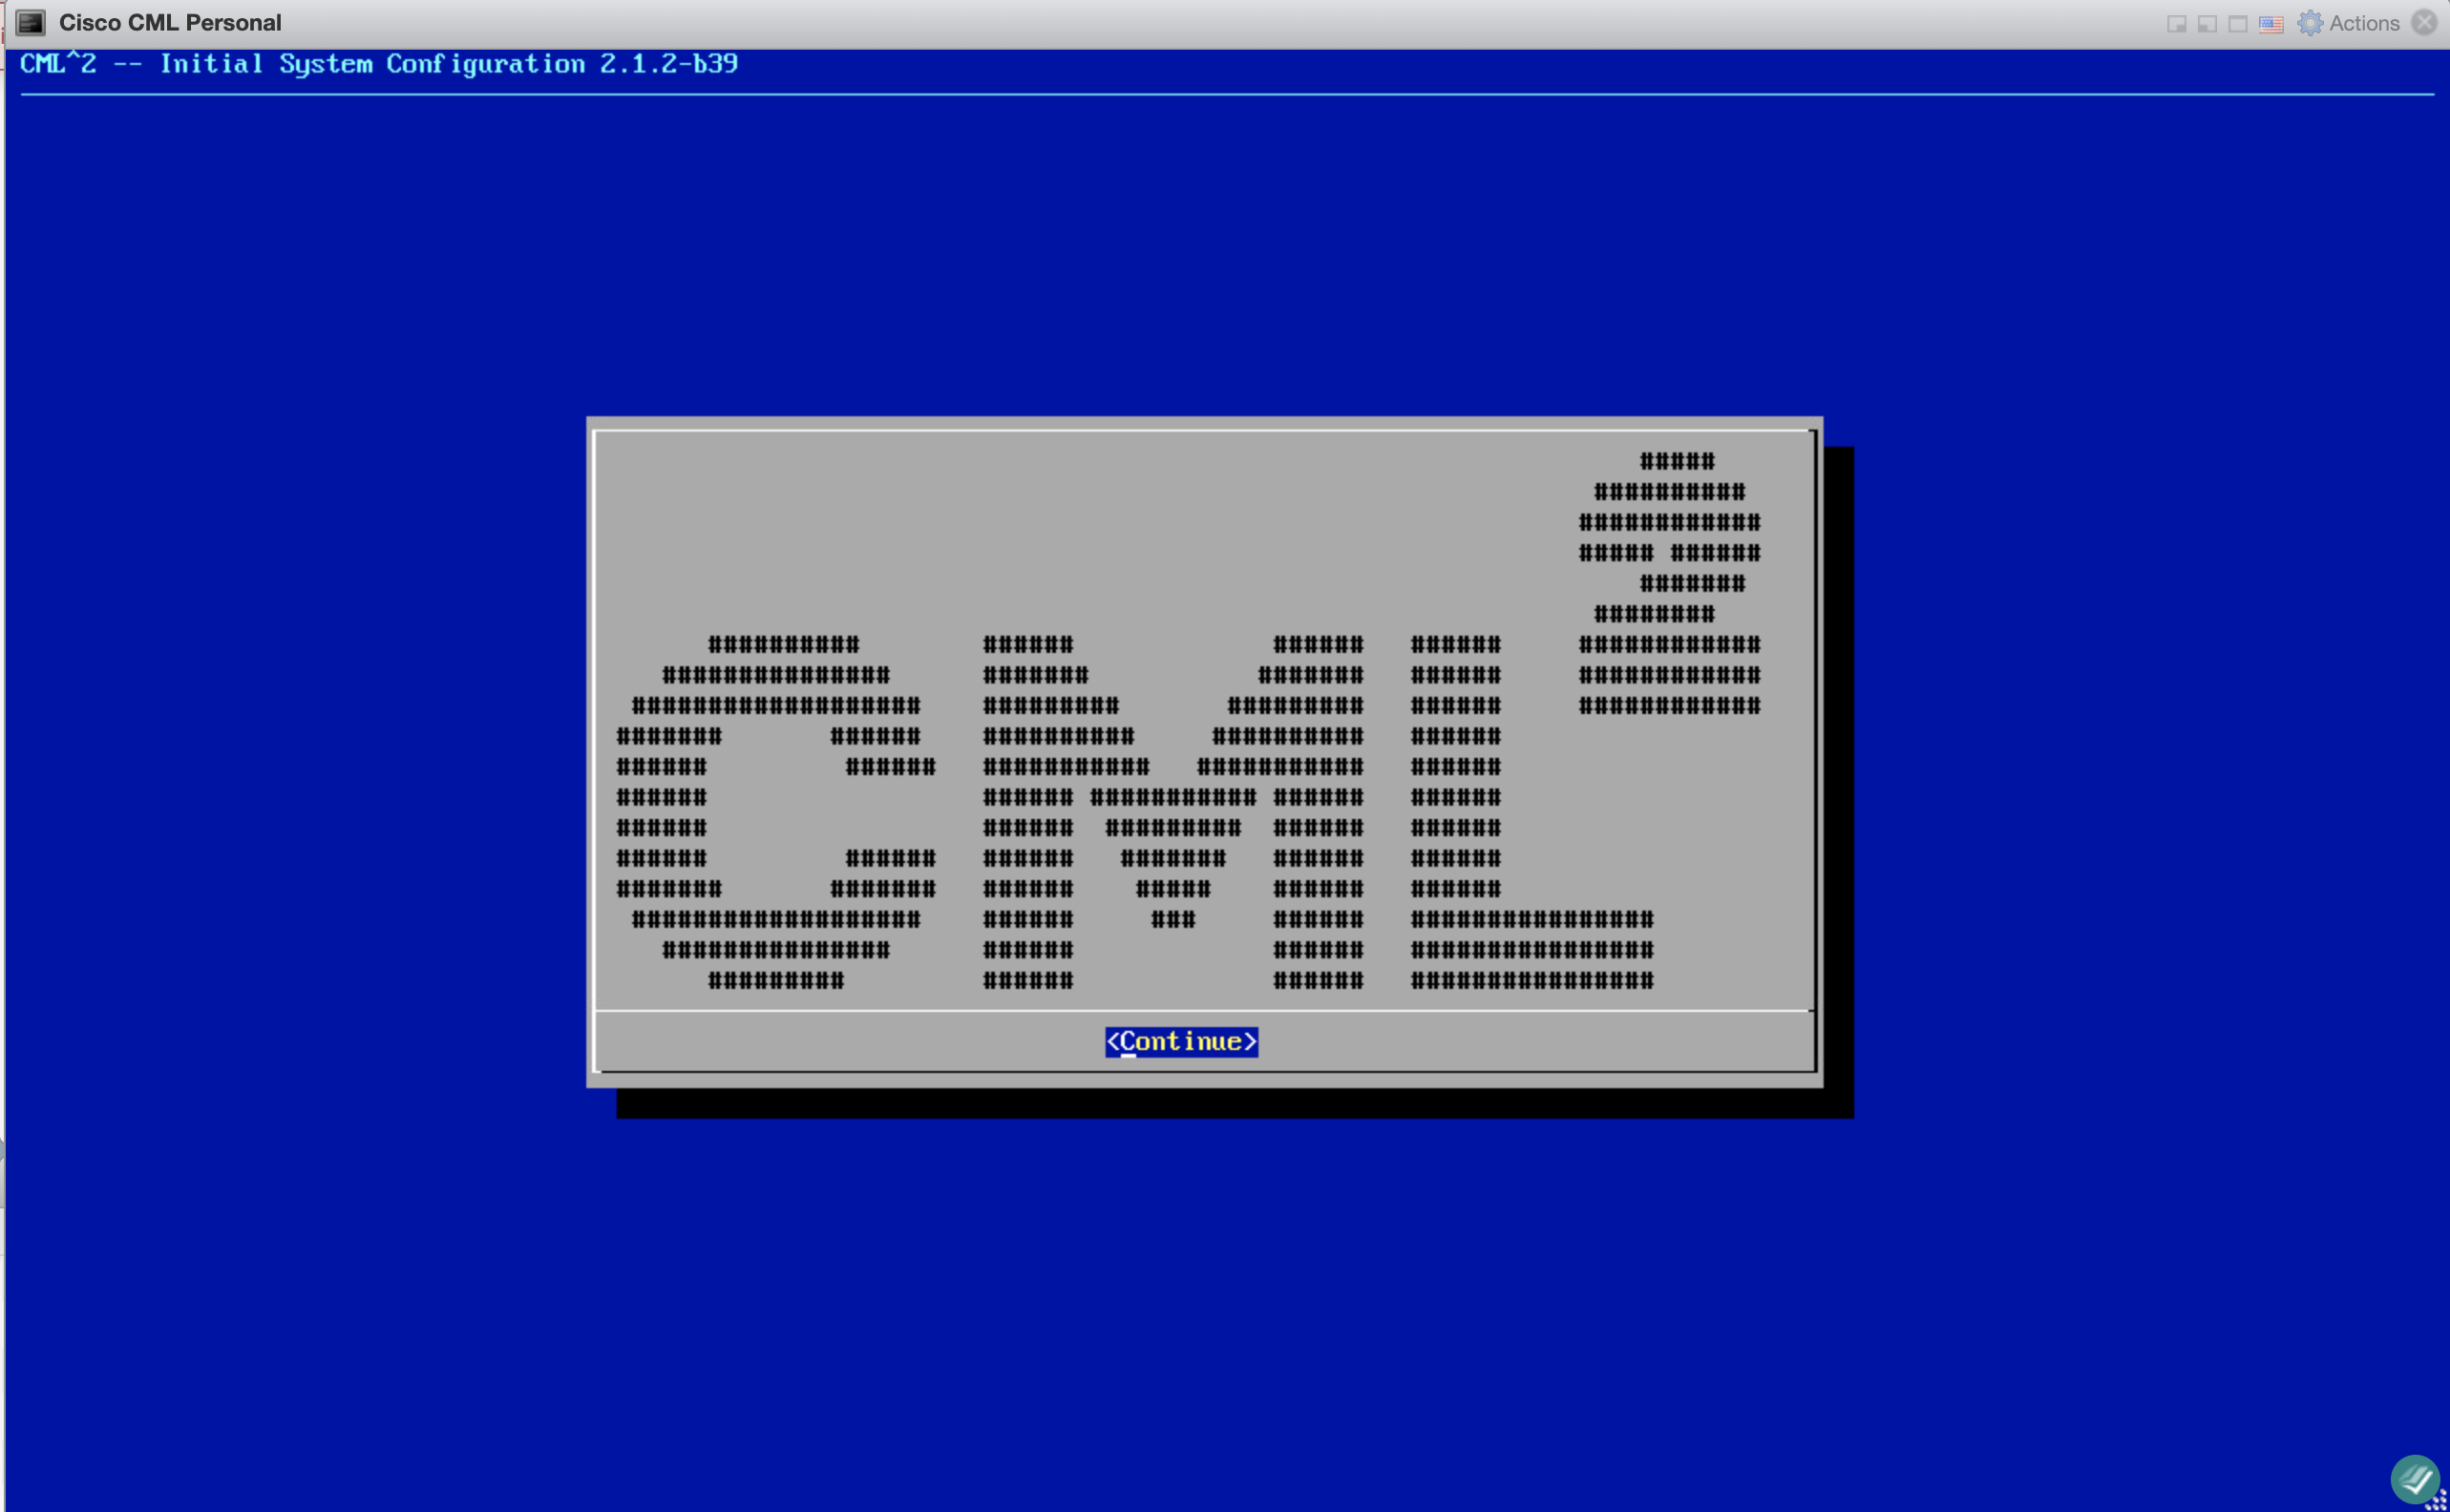
Boot the system:
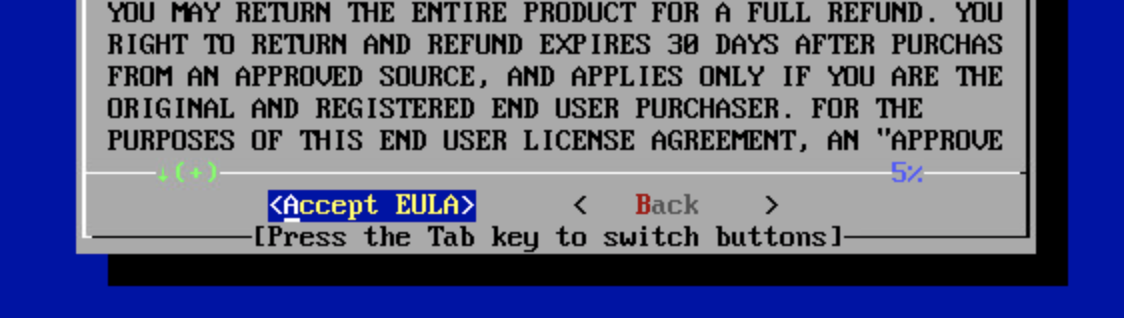
Accept the EULA:
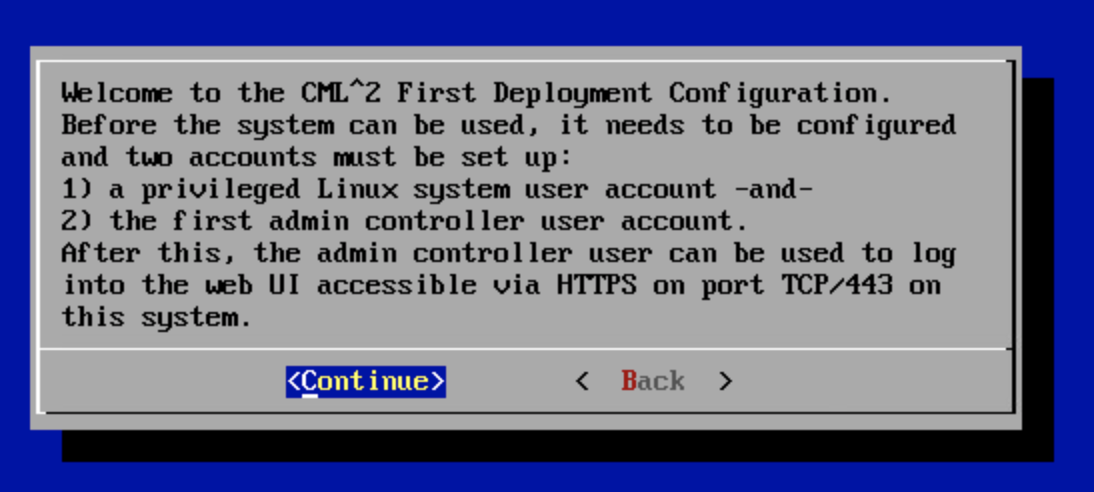
Information about account creation and networking:
Information about screen navigation and shortcuts:

If the DVD is not mounted during installation, the following error will display. The installation will not have the Cisco router and switch images if this error is not resolved. Edit settings and Connect the DVD image:
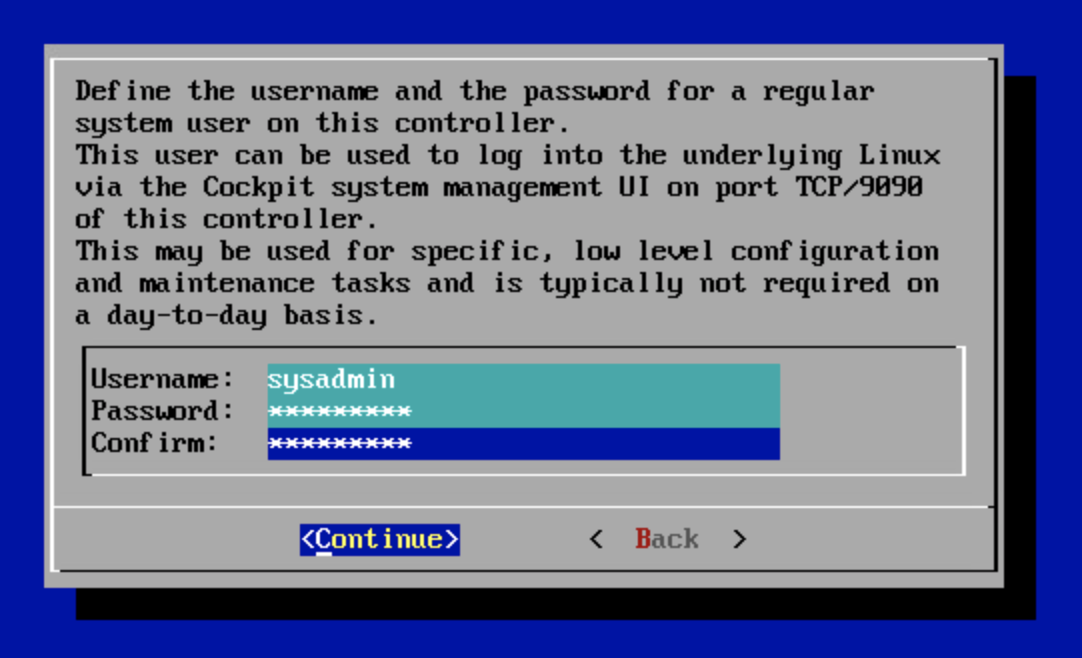
Create sysadmin account:
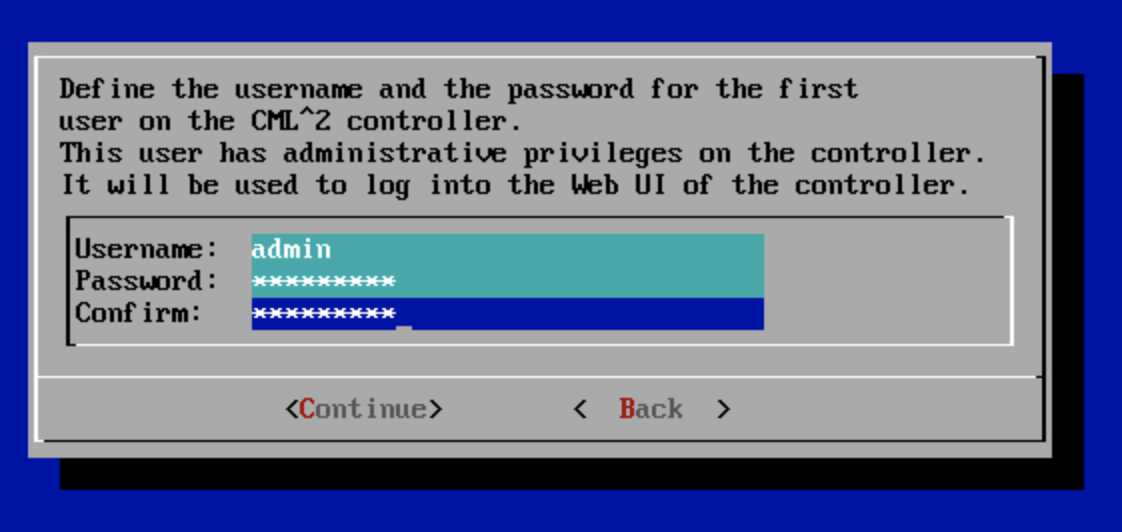
Create admin account:
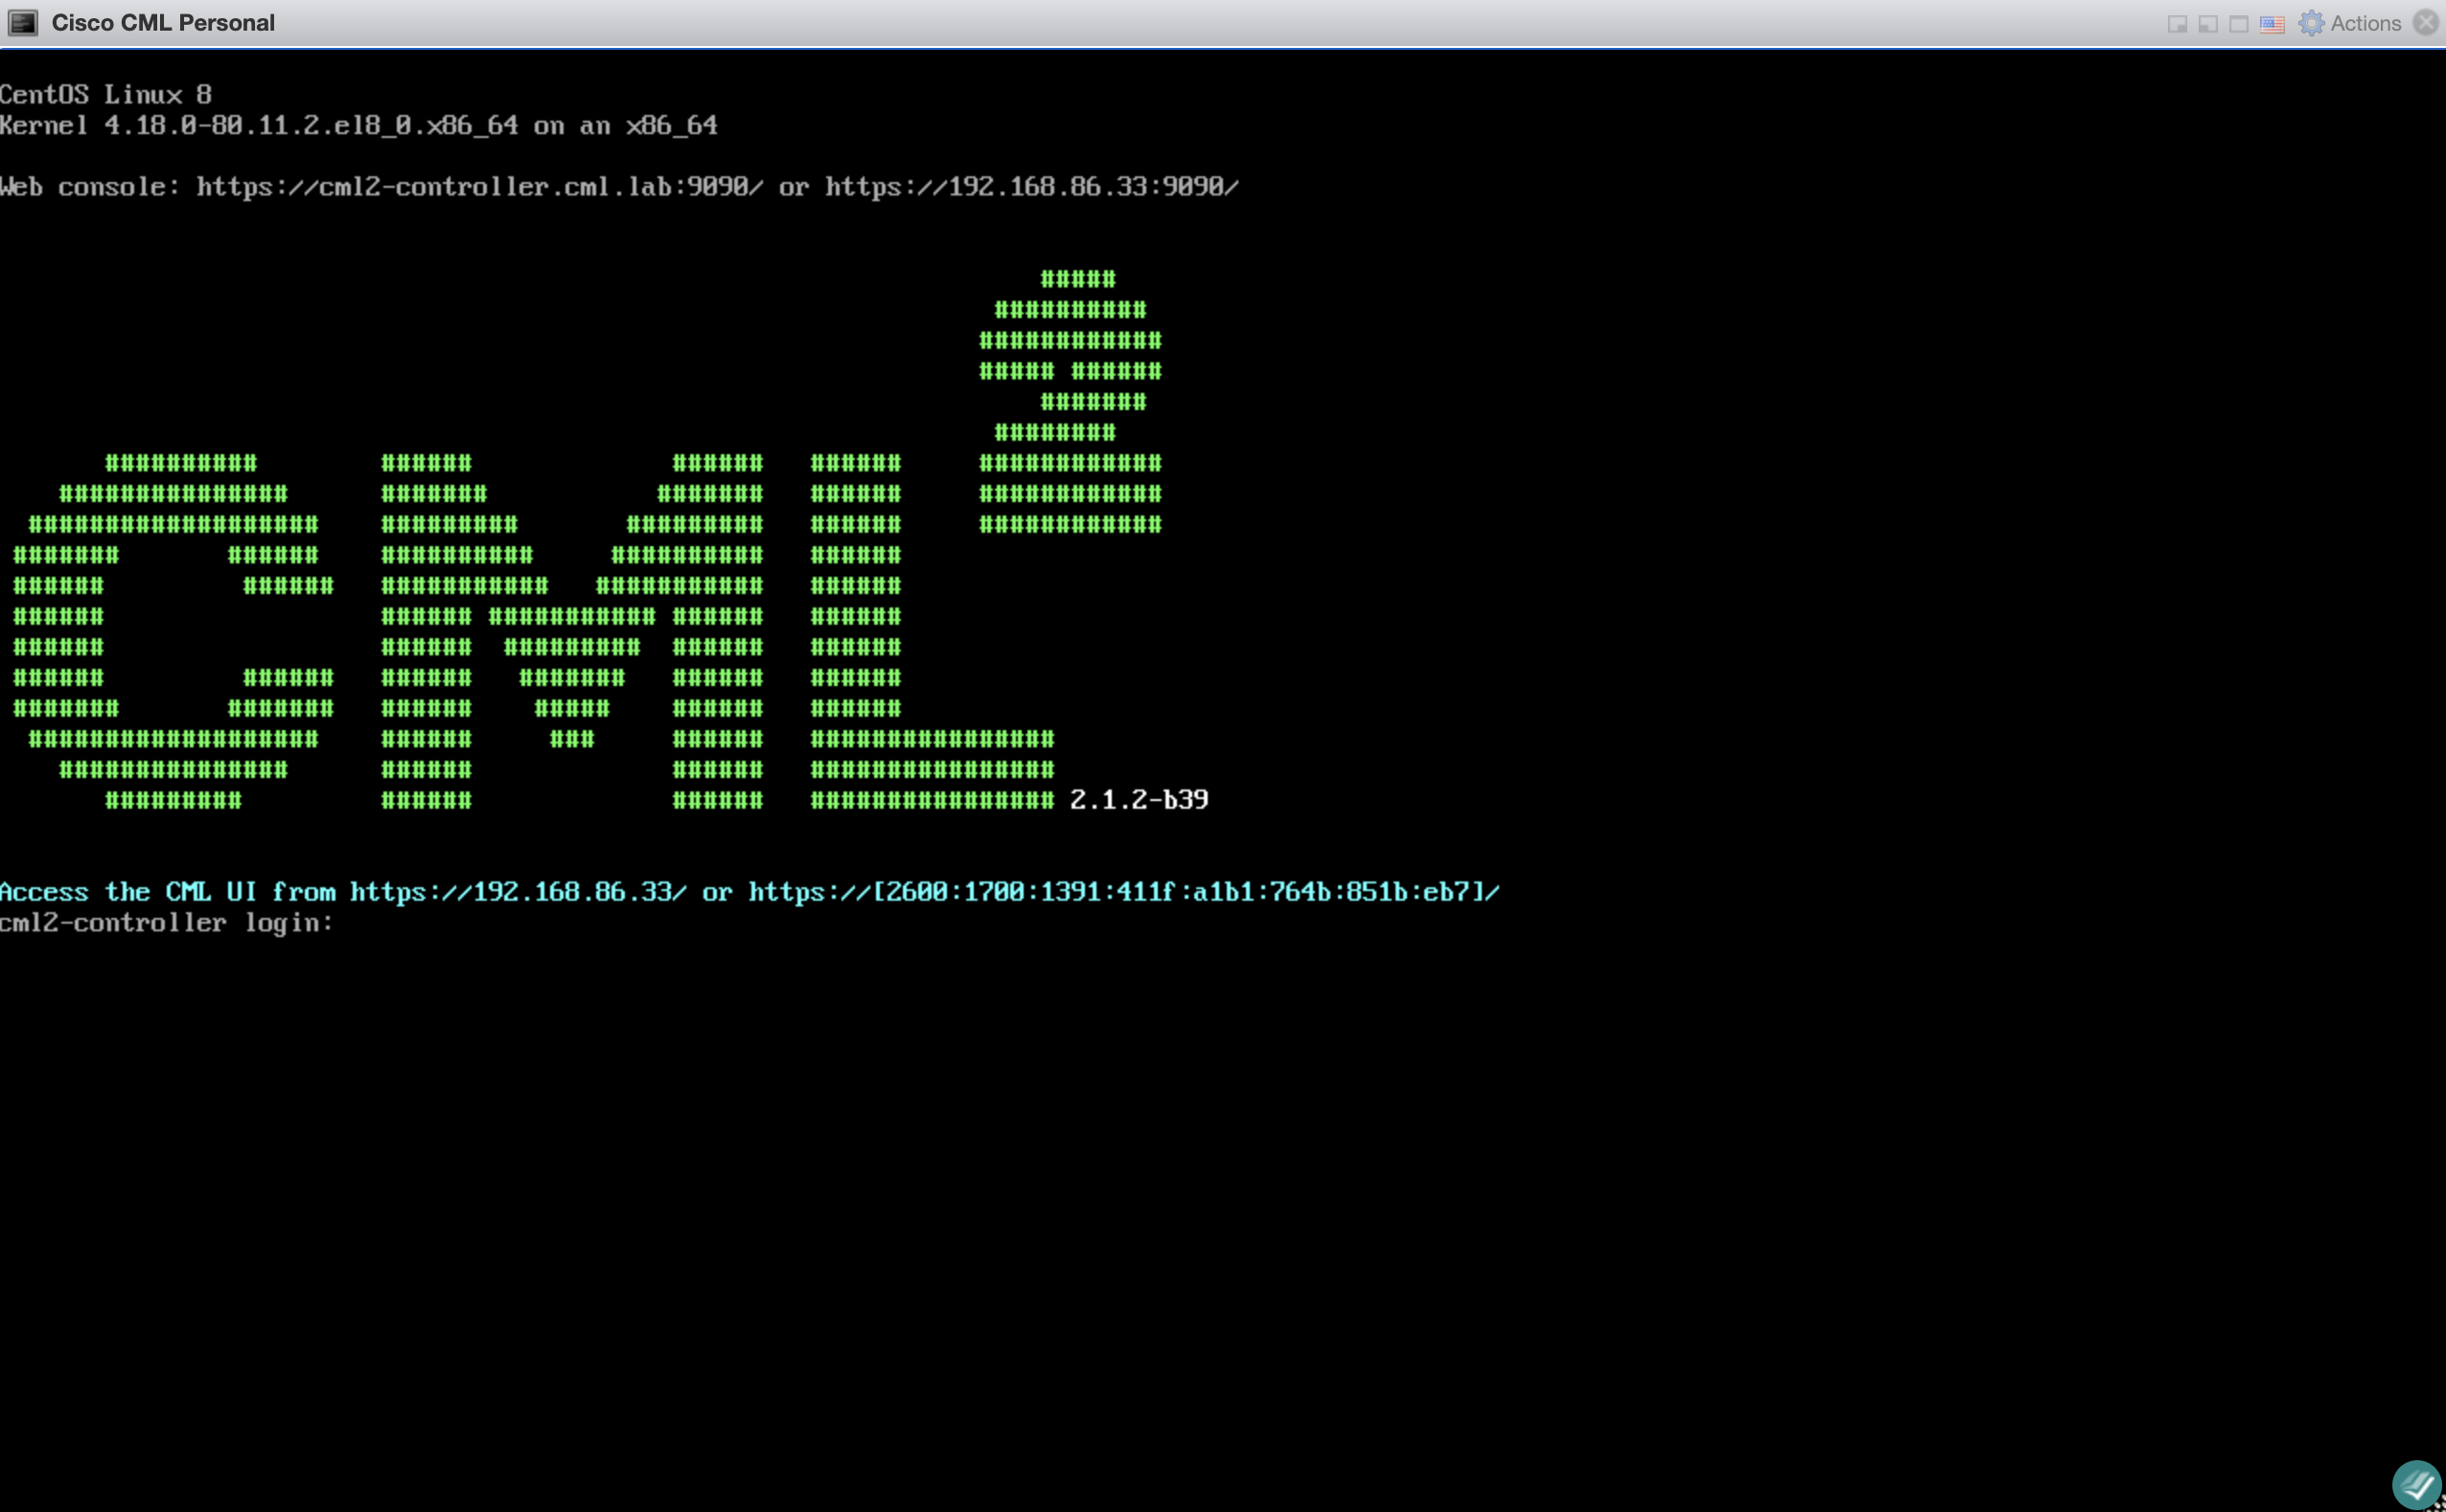
Once installation is complete, the console displays the IP address necessary to access the web interface:
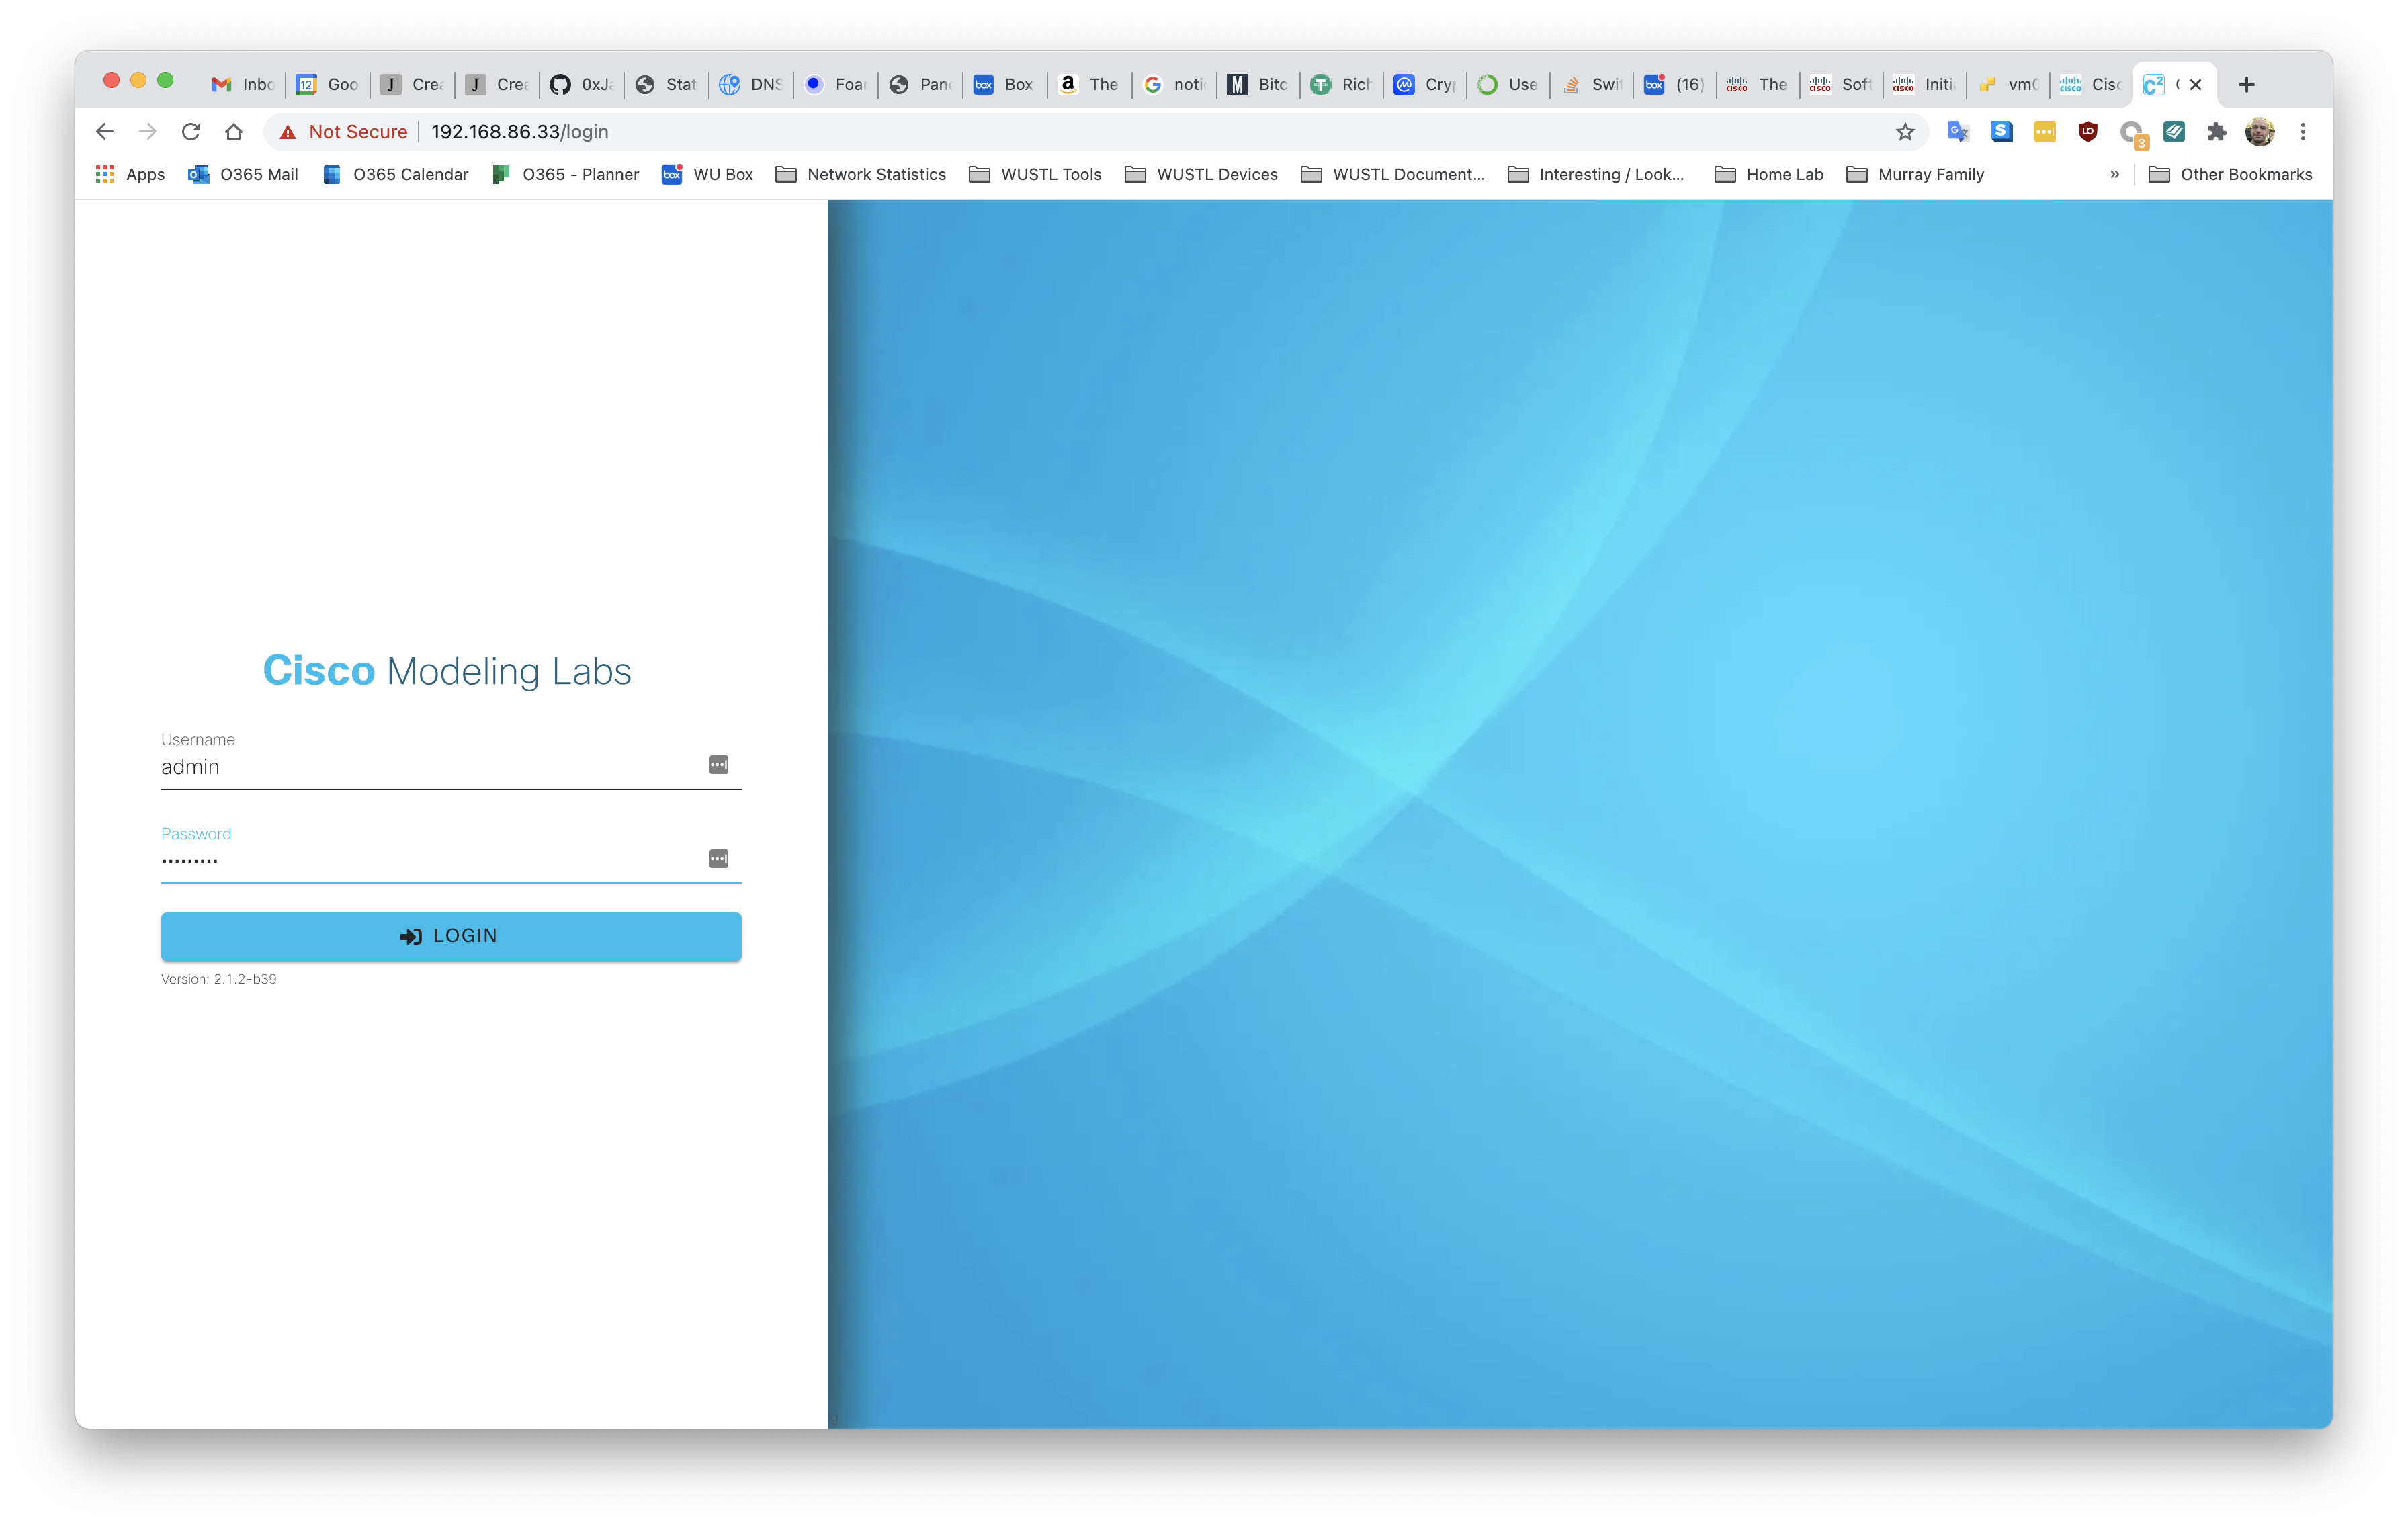
Browse to the IP address displayed in the console window and login with the admin account:
A new installation has no license:
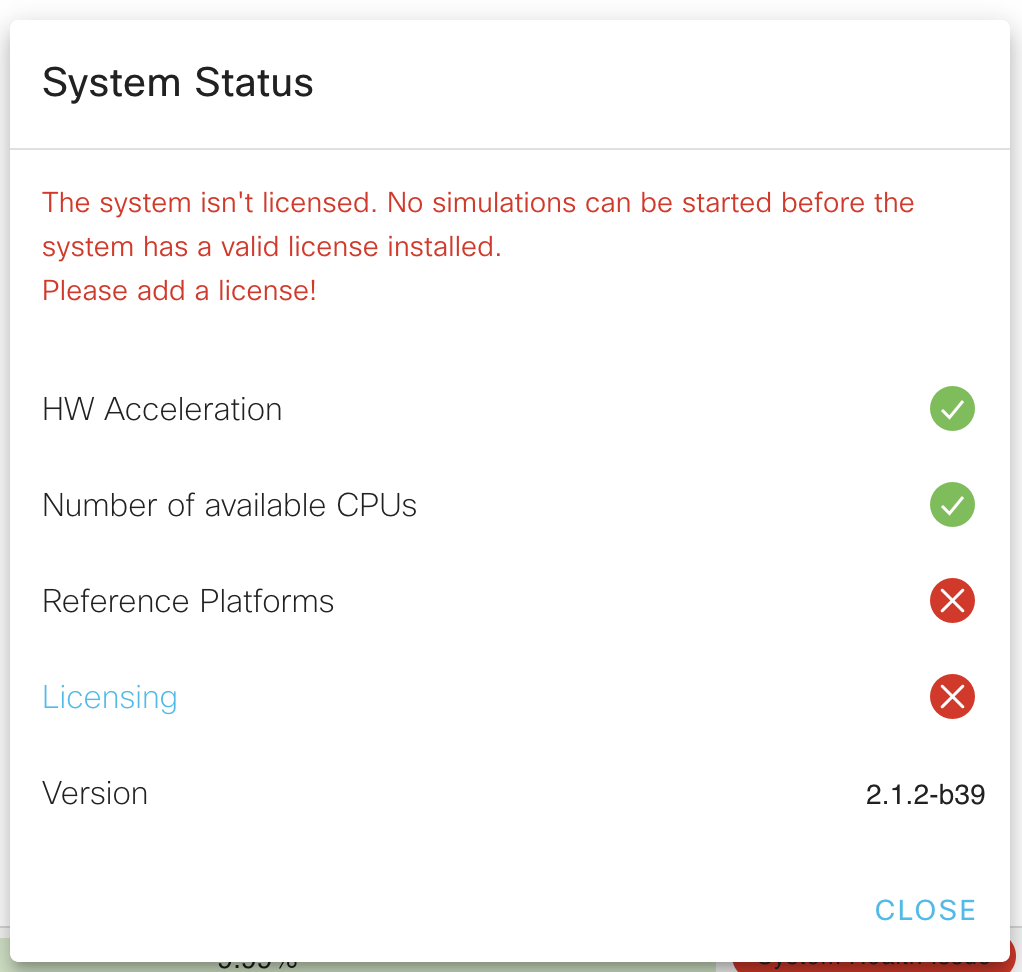
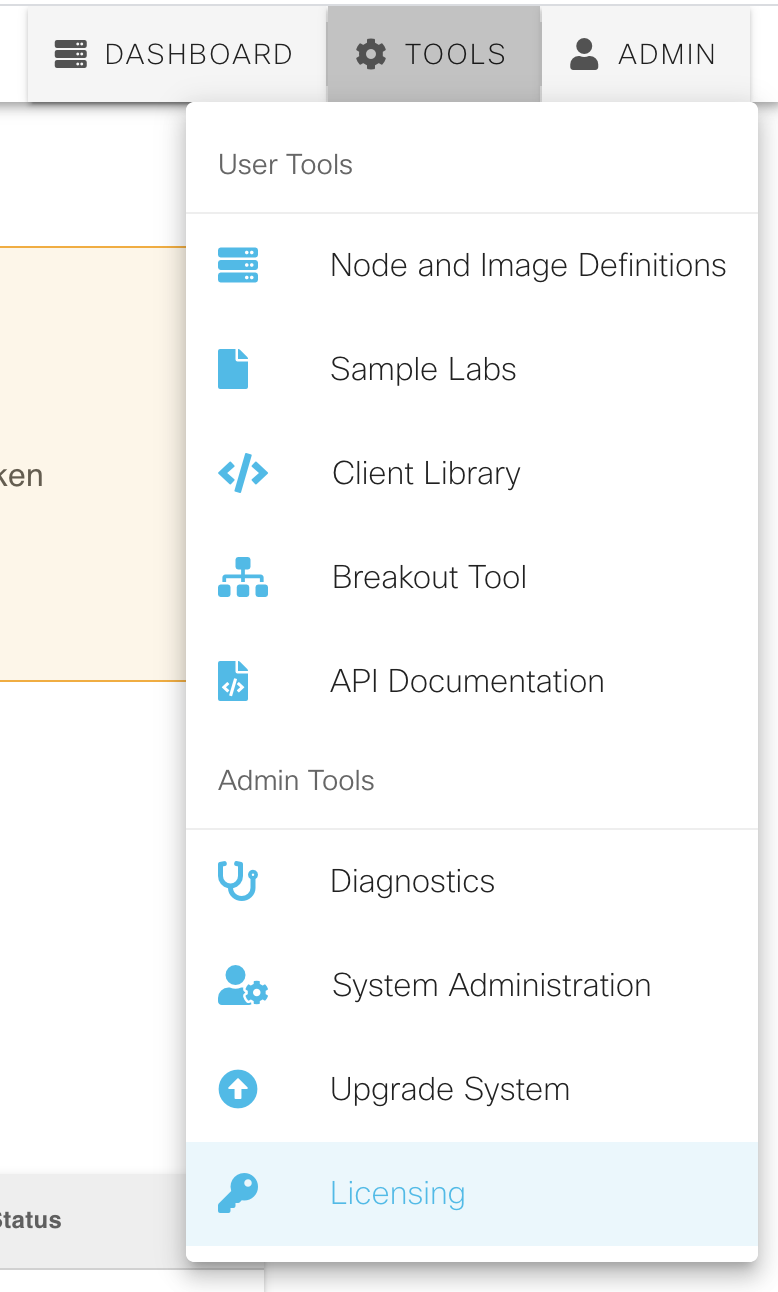
Open the license menu Tools -> Licensing:
The license key is found on the Cisco website https://learningnetworkstore.cisco.com/myaccount. Select the 2.0 Licensee and copy the string:
Click the Register button:
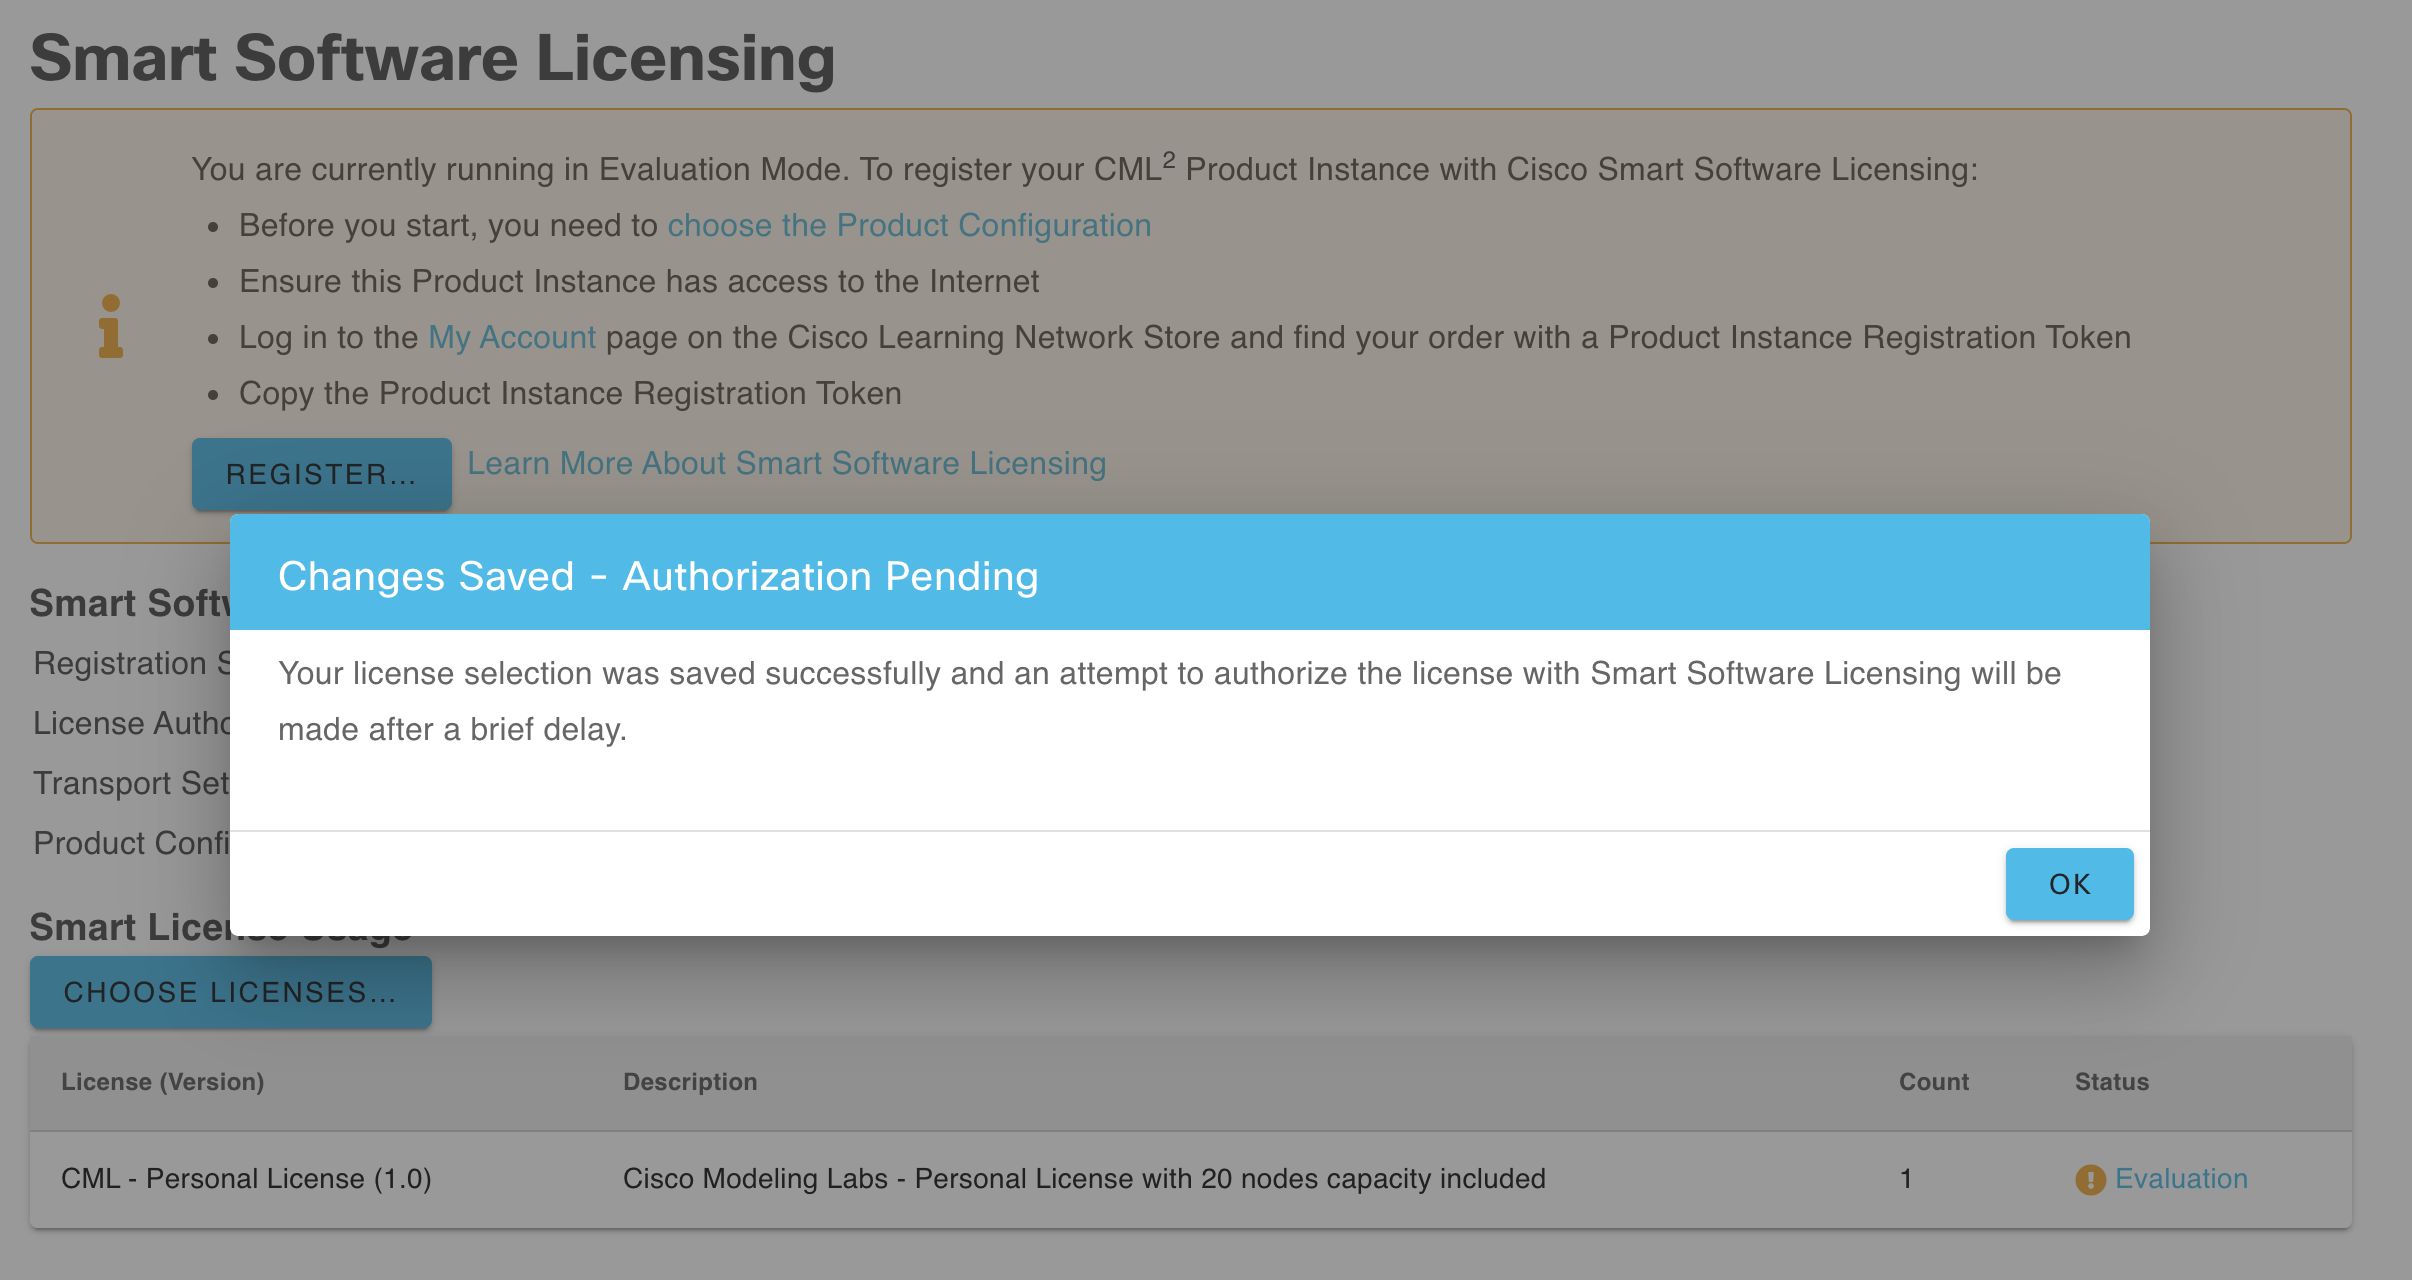
Paste in the license code:

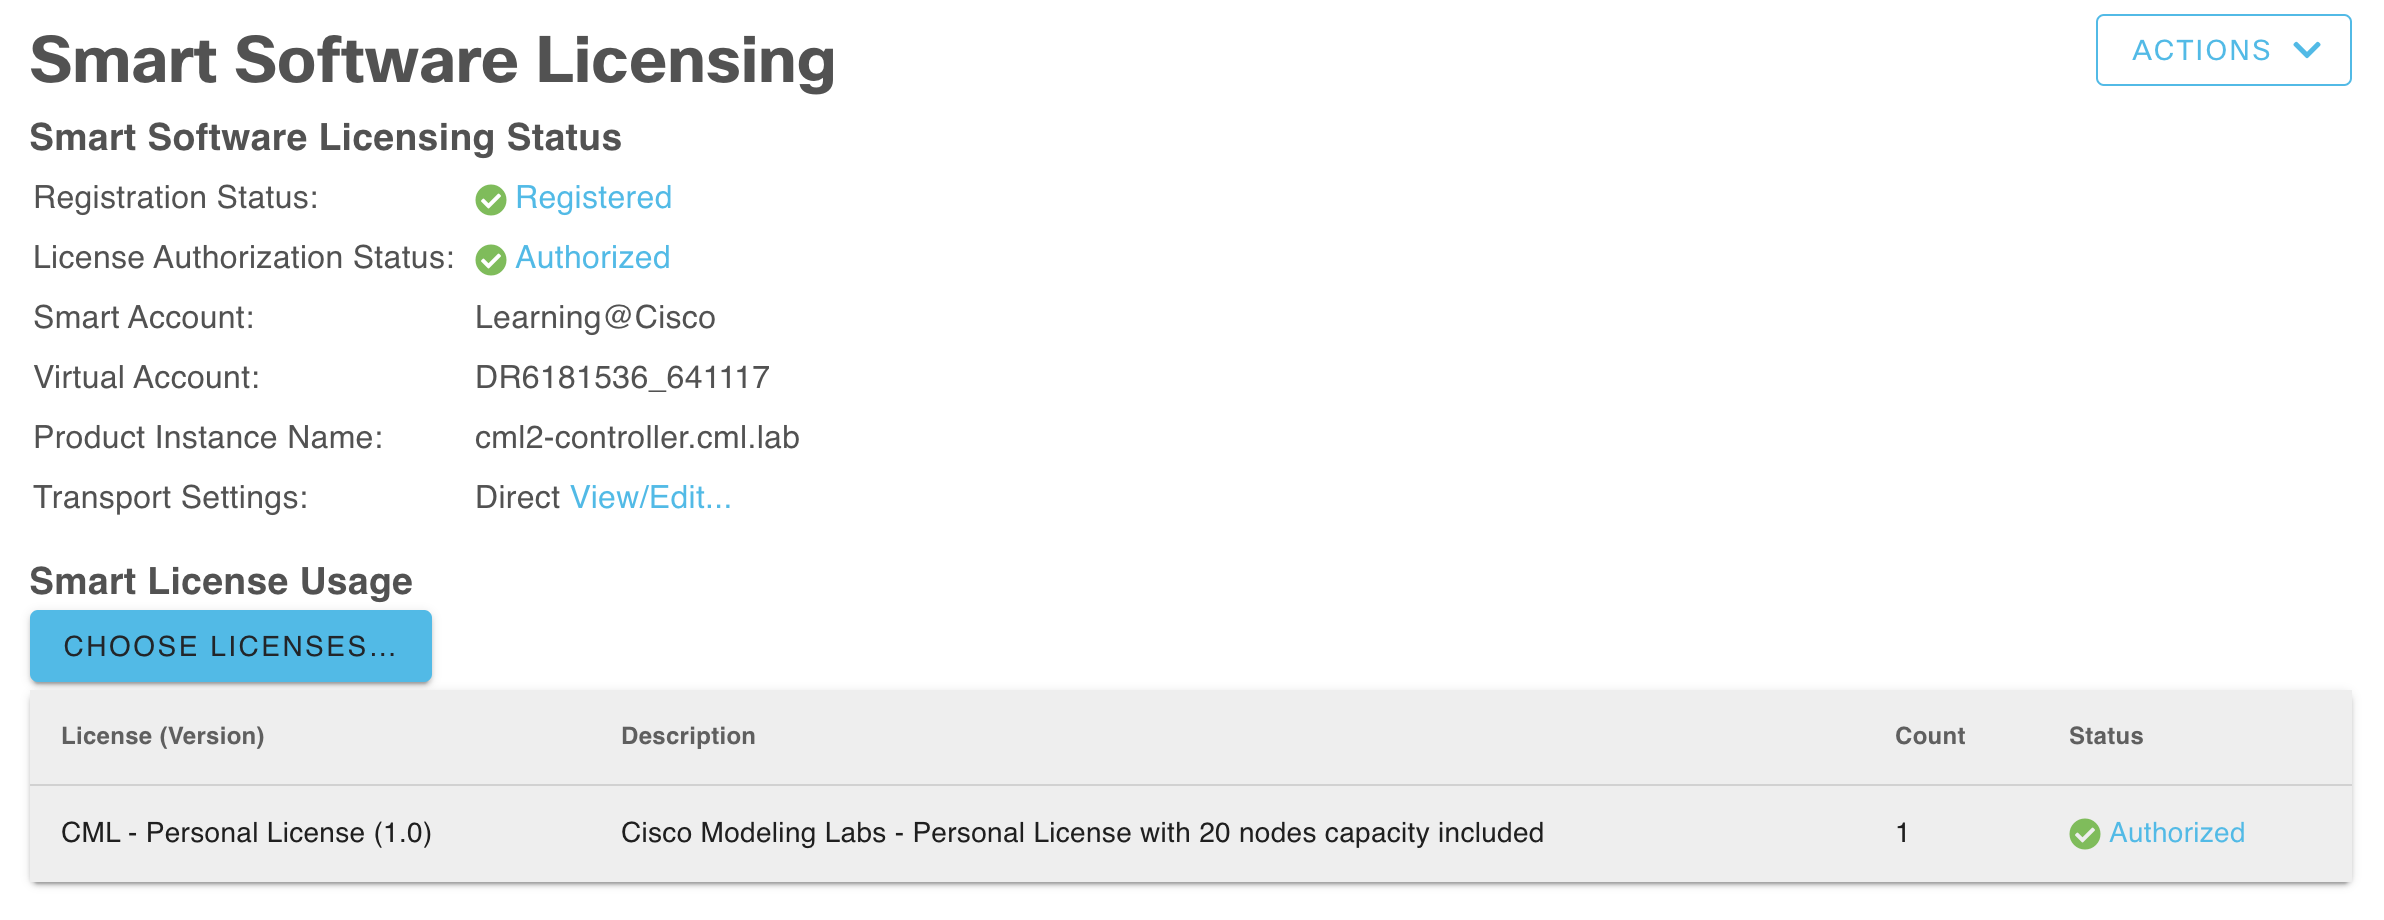
Status will change to Authorized once the key is validated with the Cisco licensing server:
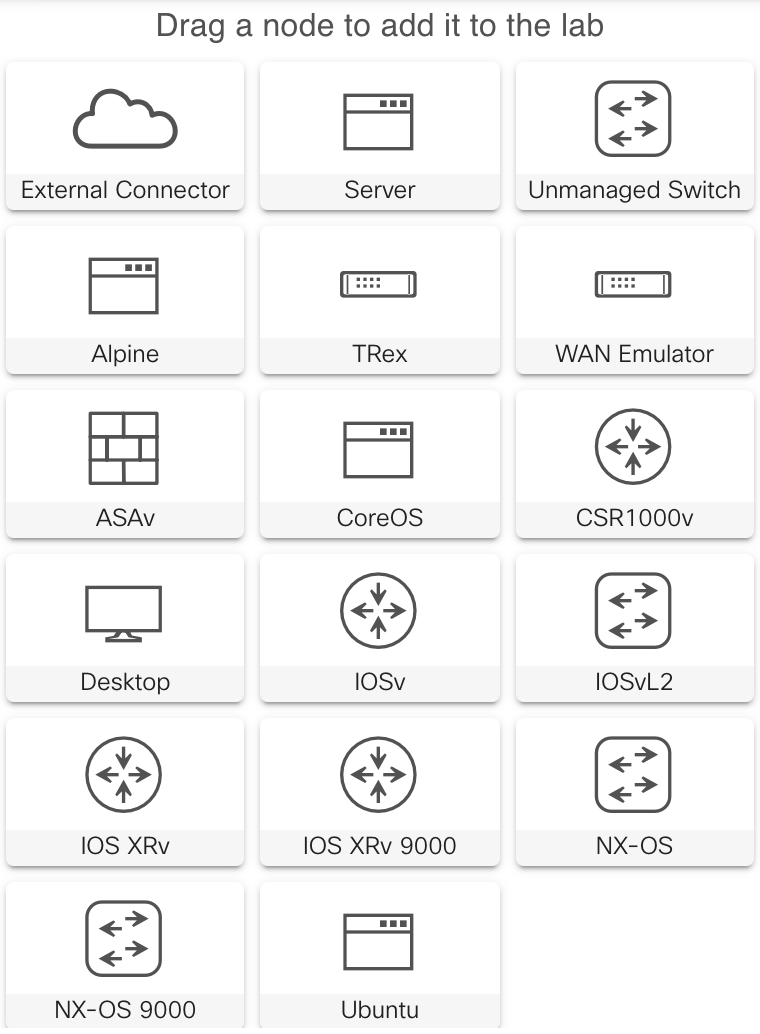
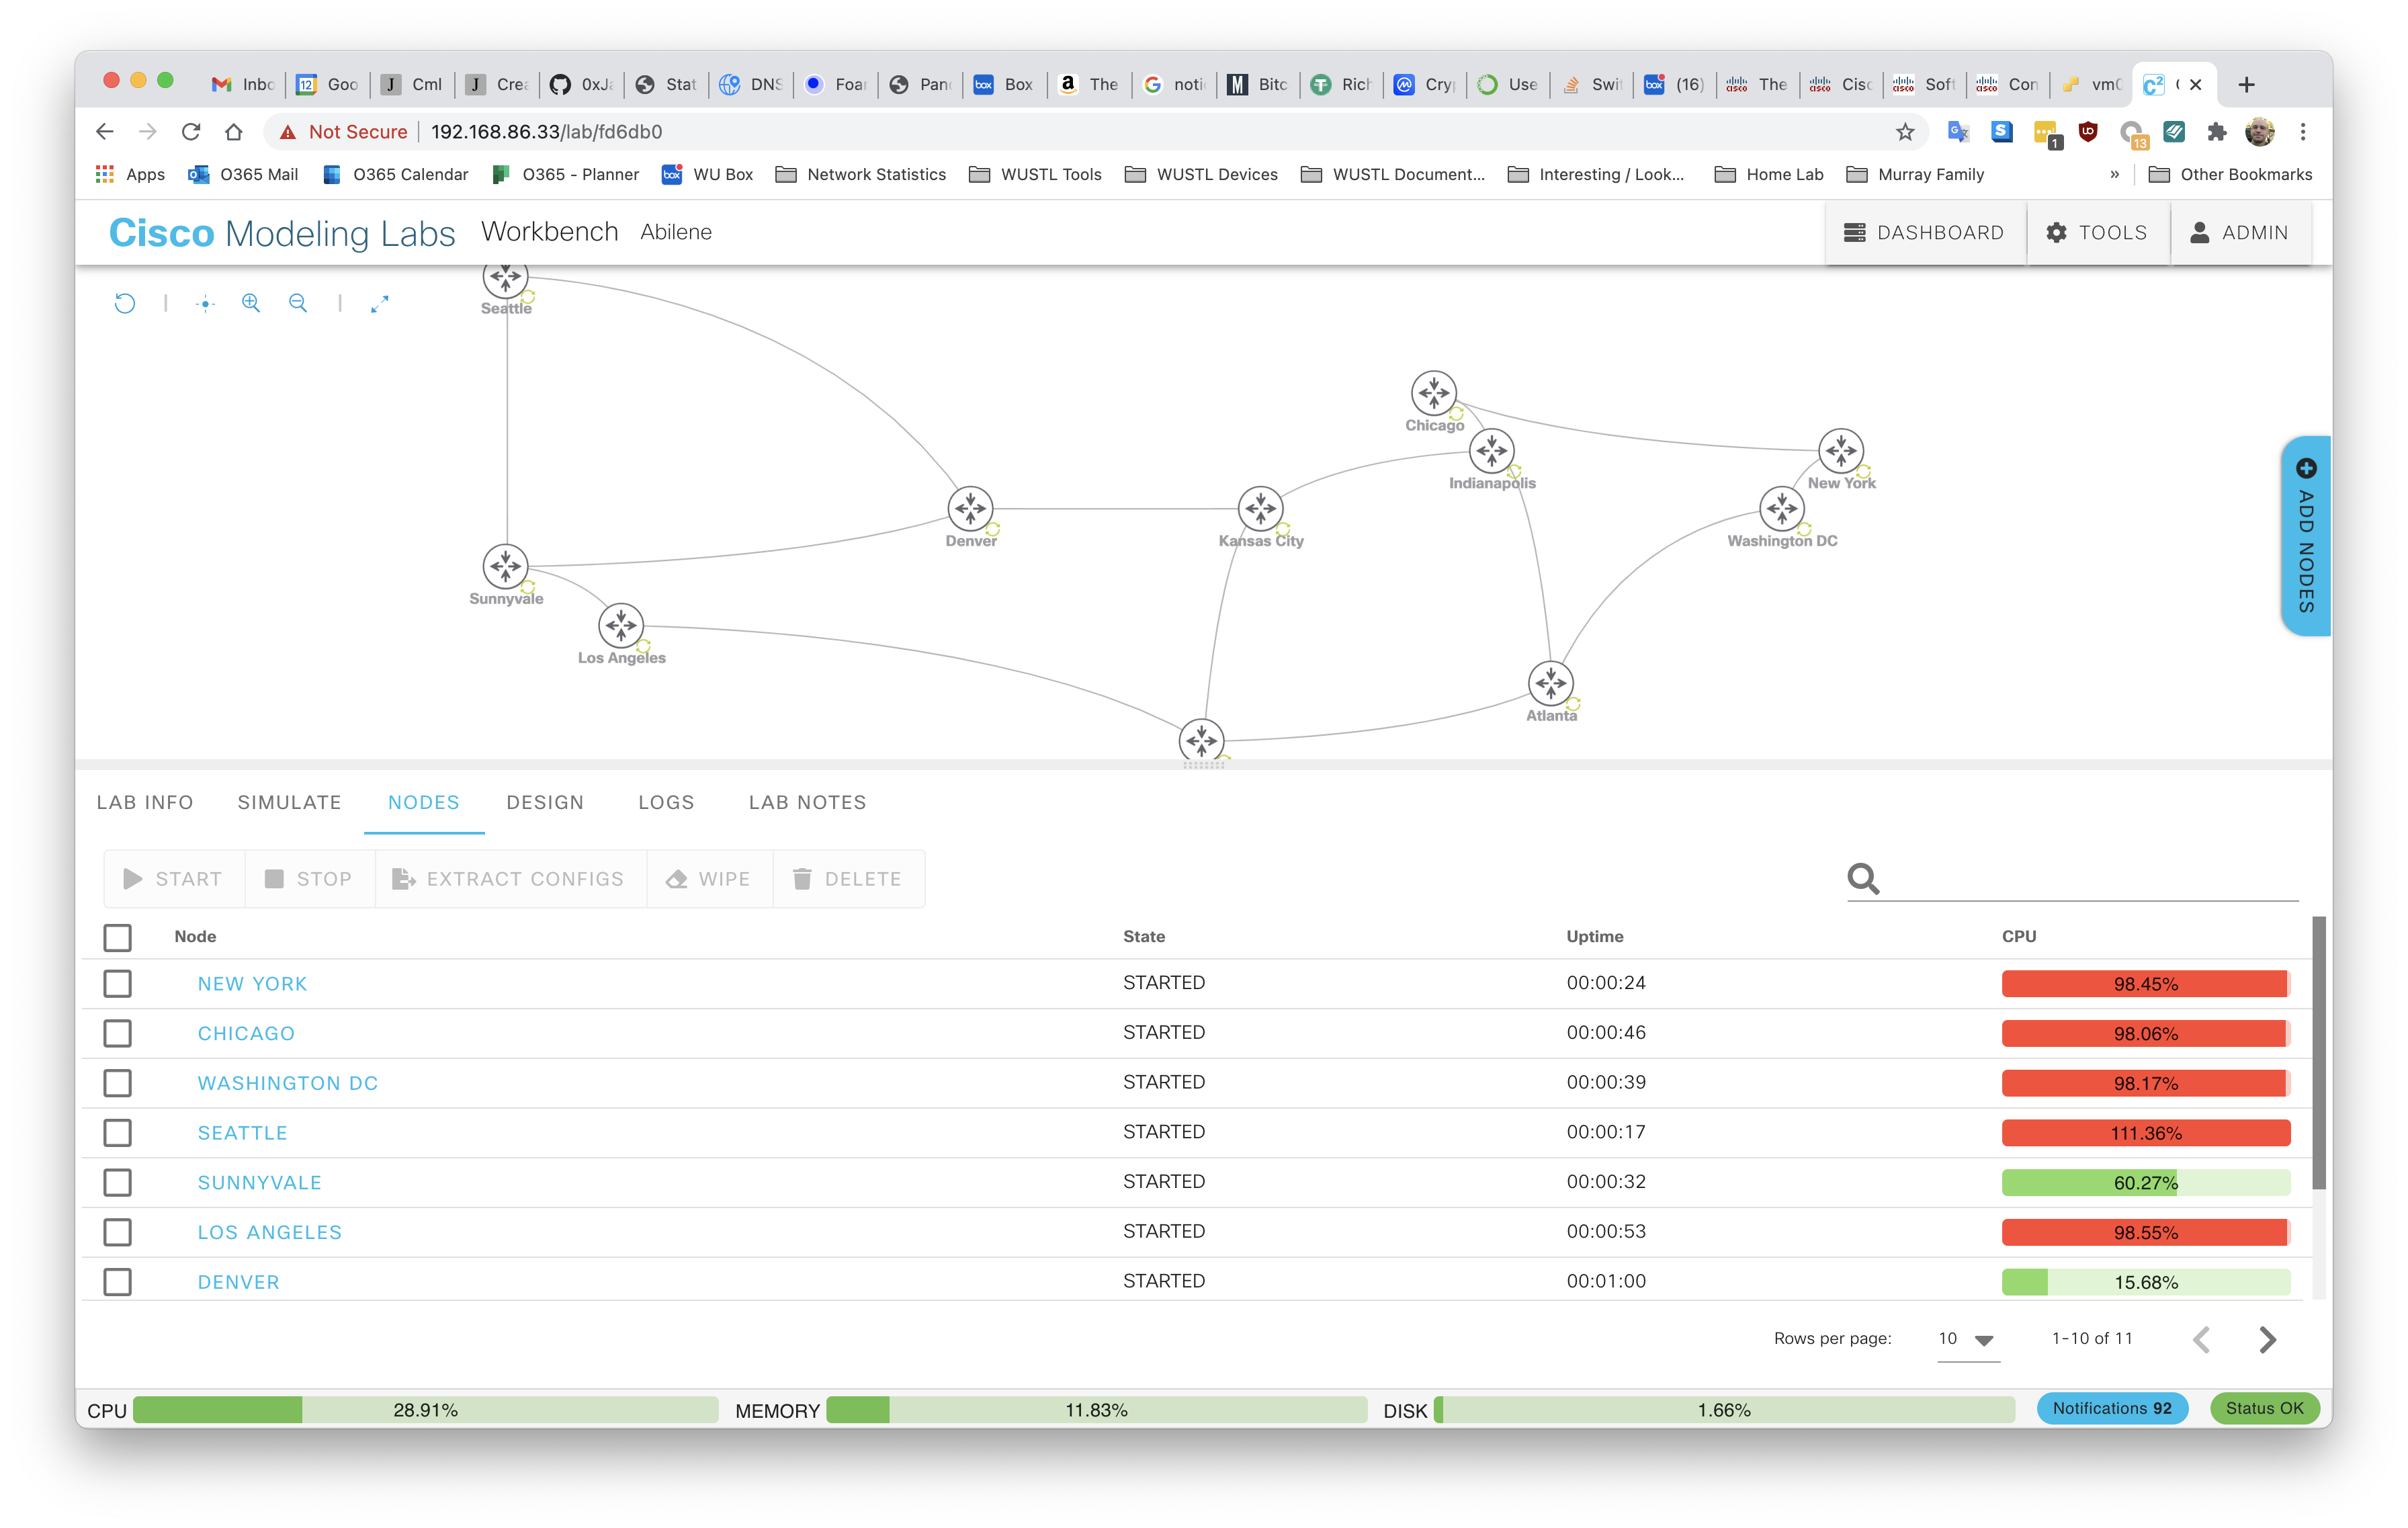
Start building a lab. Try a few samples in Tools -> Sample Labs:
Examples of the routers, switches, and servers available for provisioning: