Create a network topology in Cisco Modeling Lab (CML)
Guide for creating a basic networking topology in Cisco Modeling Lab (CML).
312 Words
2021-02-25 06:21 -0600
Overview
Cisco Modeling Lab is a commercial network virtualization environment. All routers, switches, and security devices are licensed and included within the CML system. Refer to this post for more information and installation instructions.
In this guide, we will journey through the steps required to create and link a basic network topology with no configuration.
Details
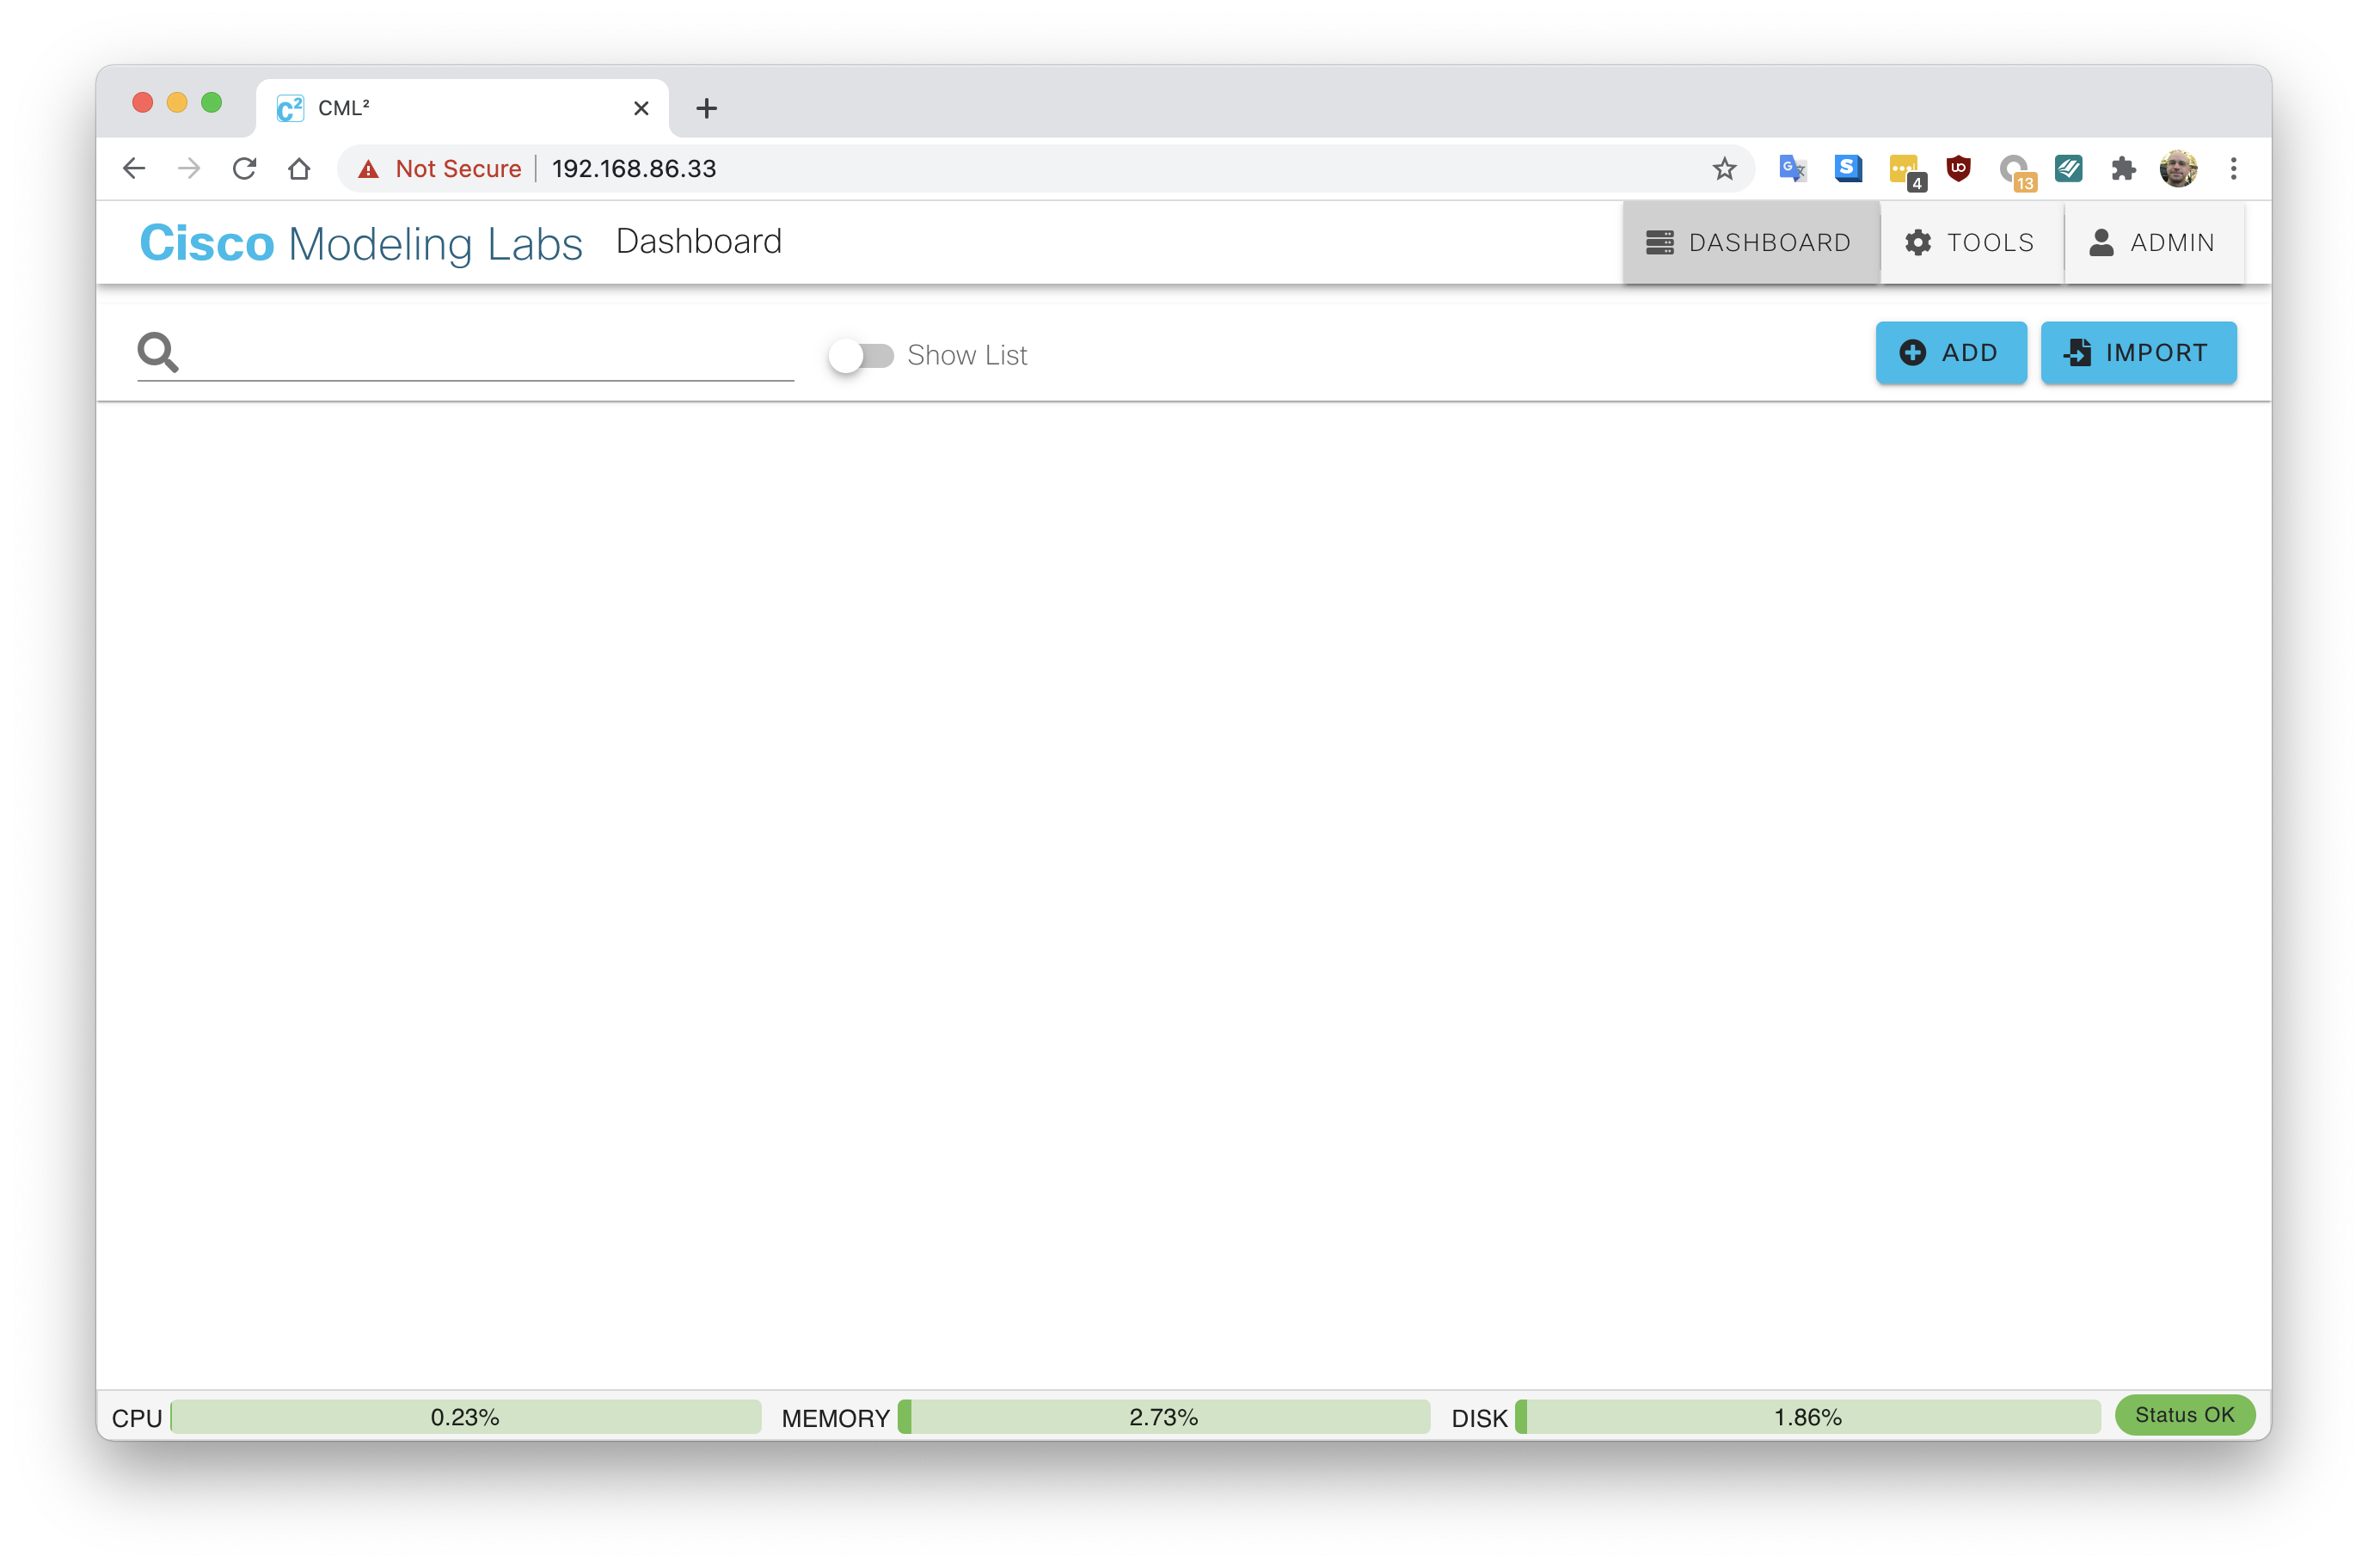
Start with a blank canvas by clicking the Dashboard button in the upper right corner of the screen:
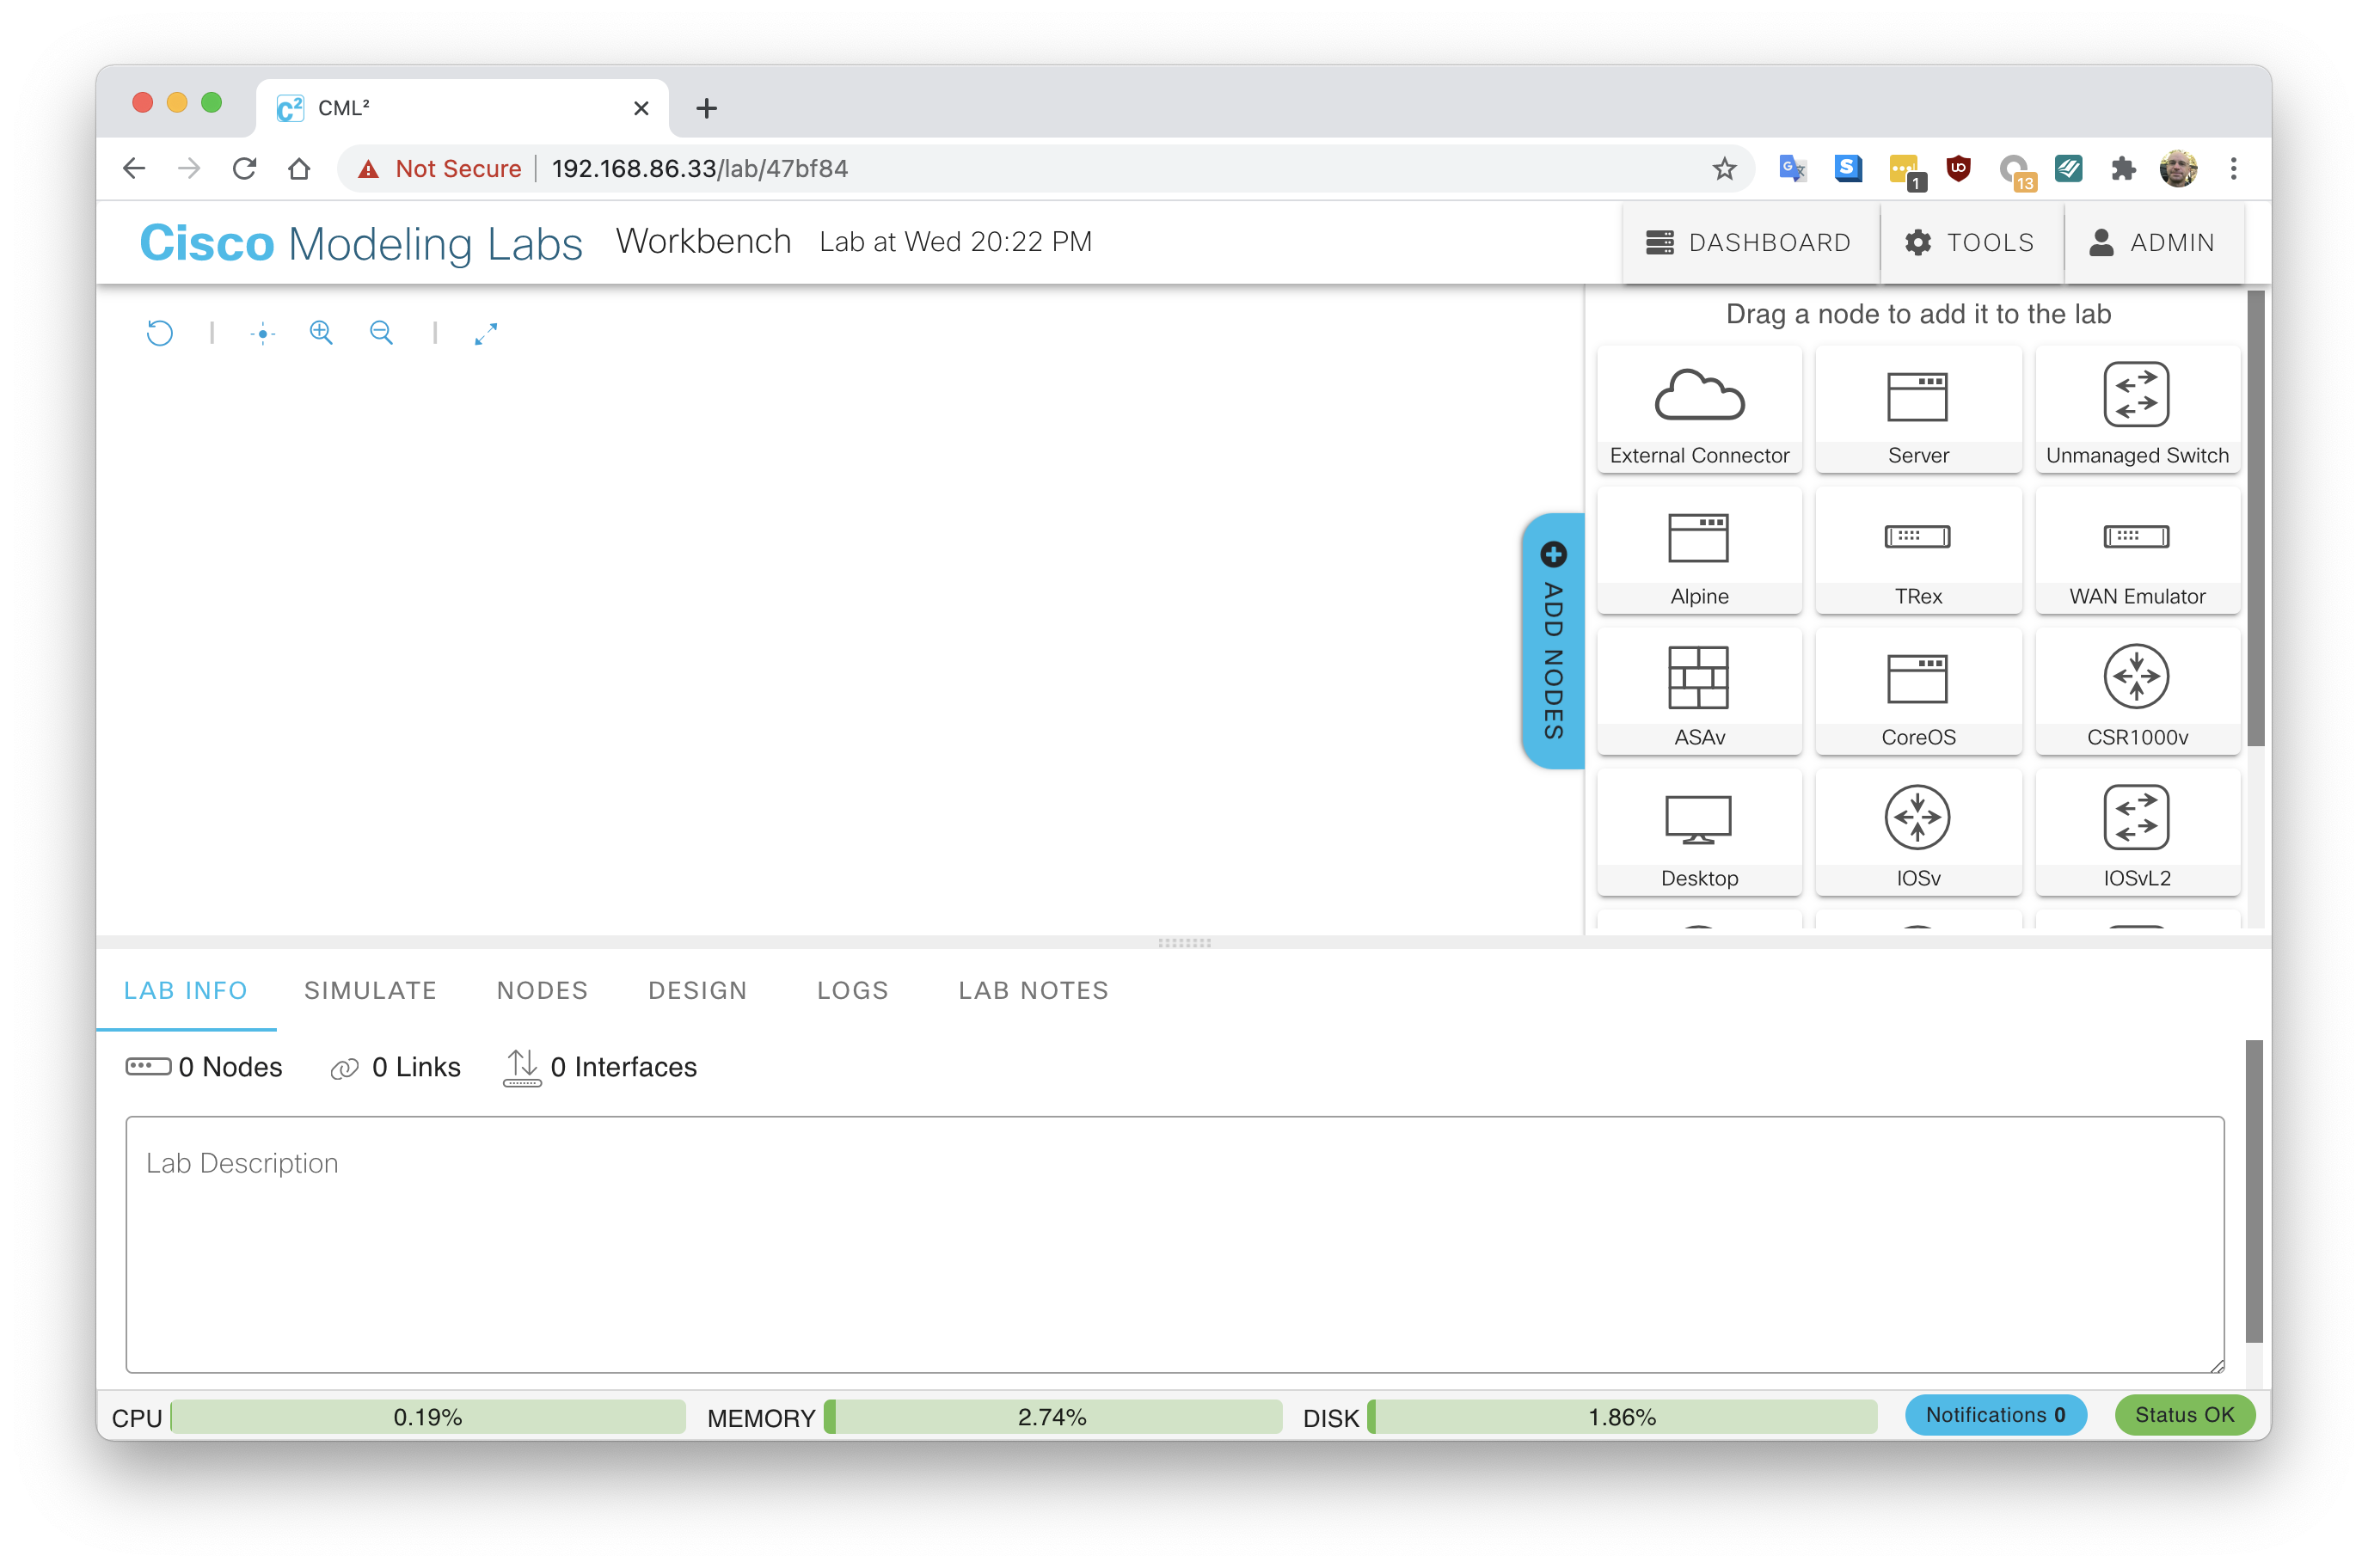
Click the Add Nodes bar of the right side of the screen to expose the available routers and servers:
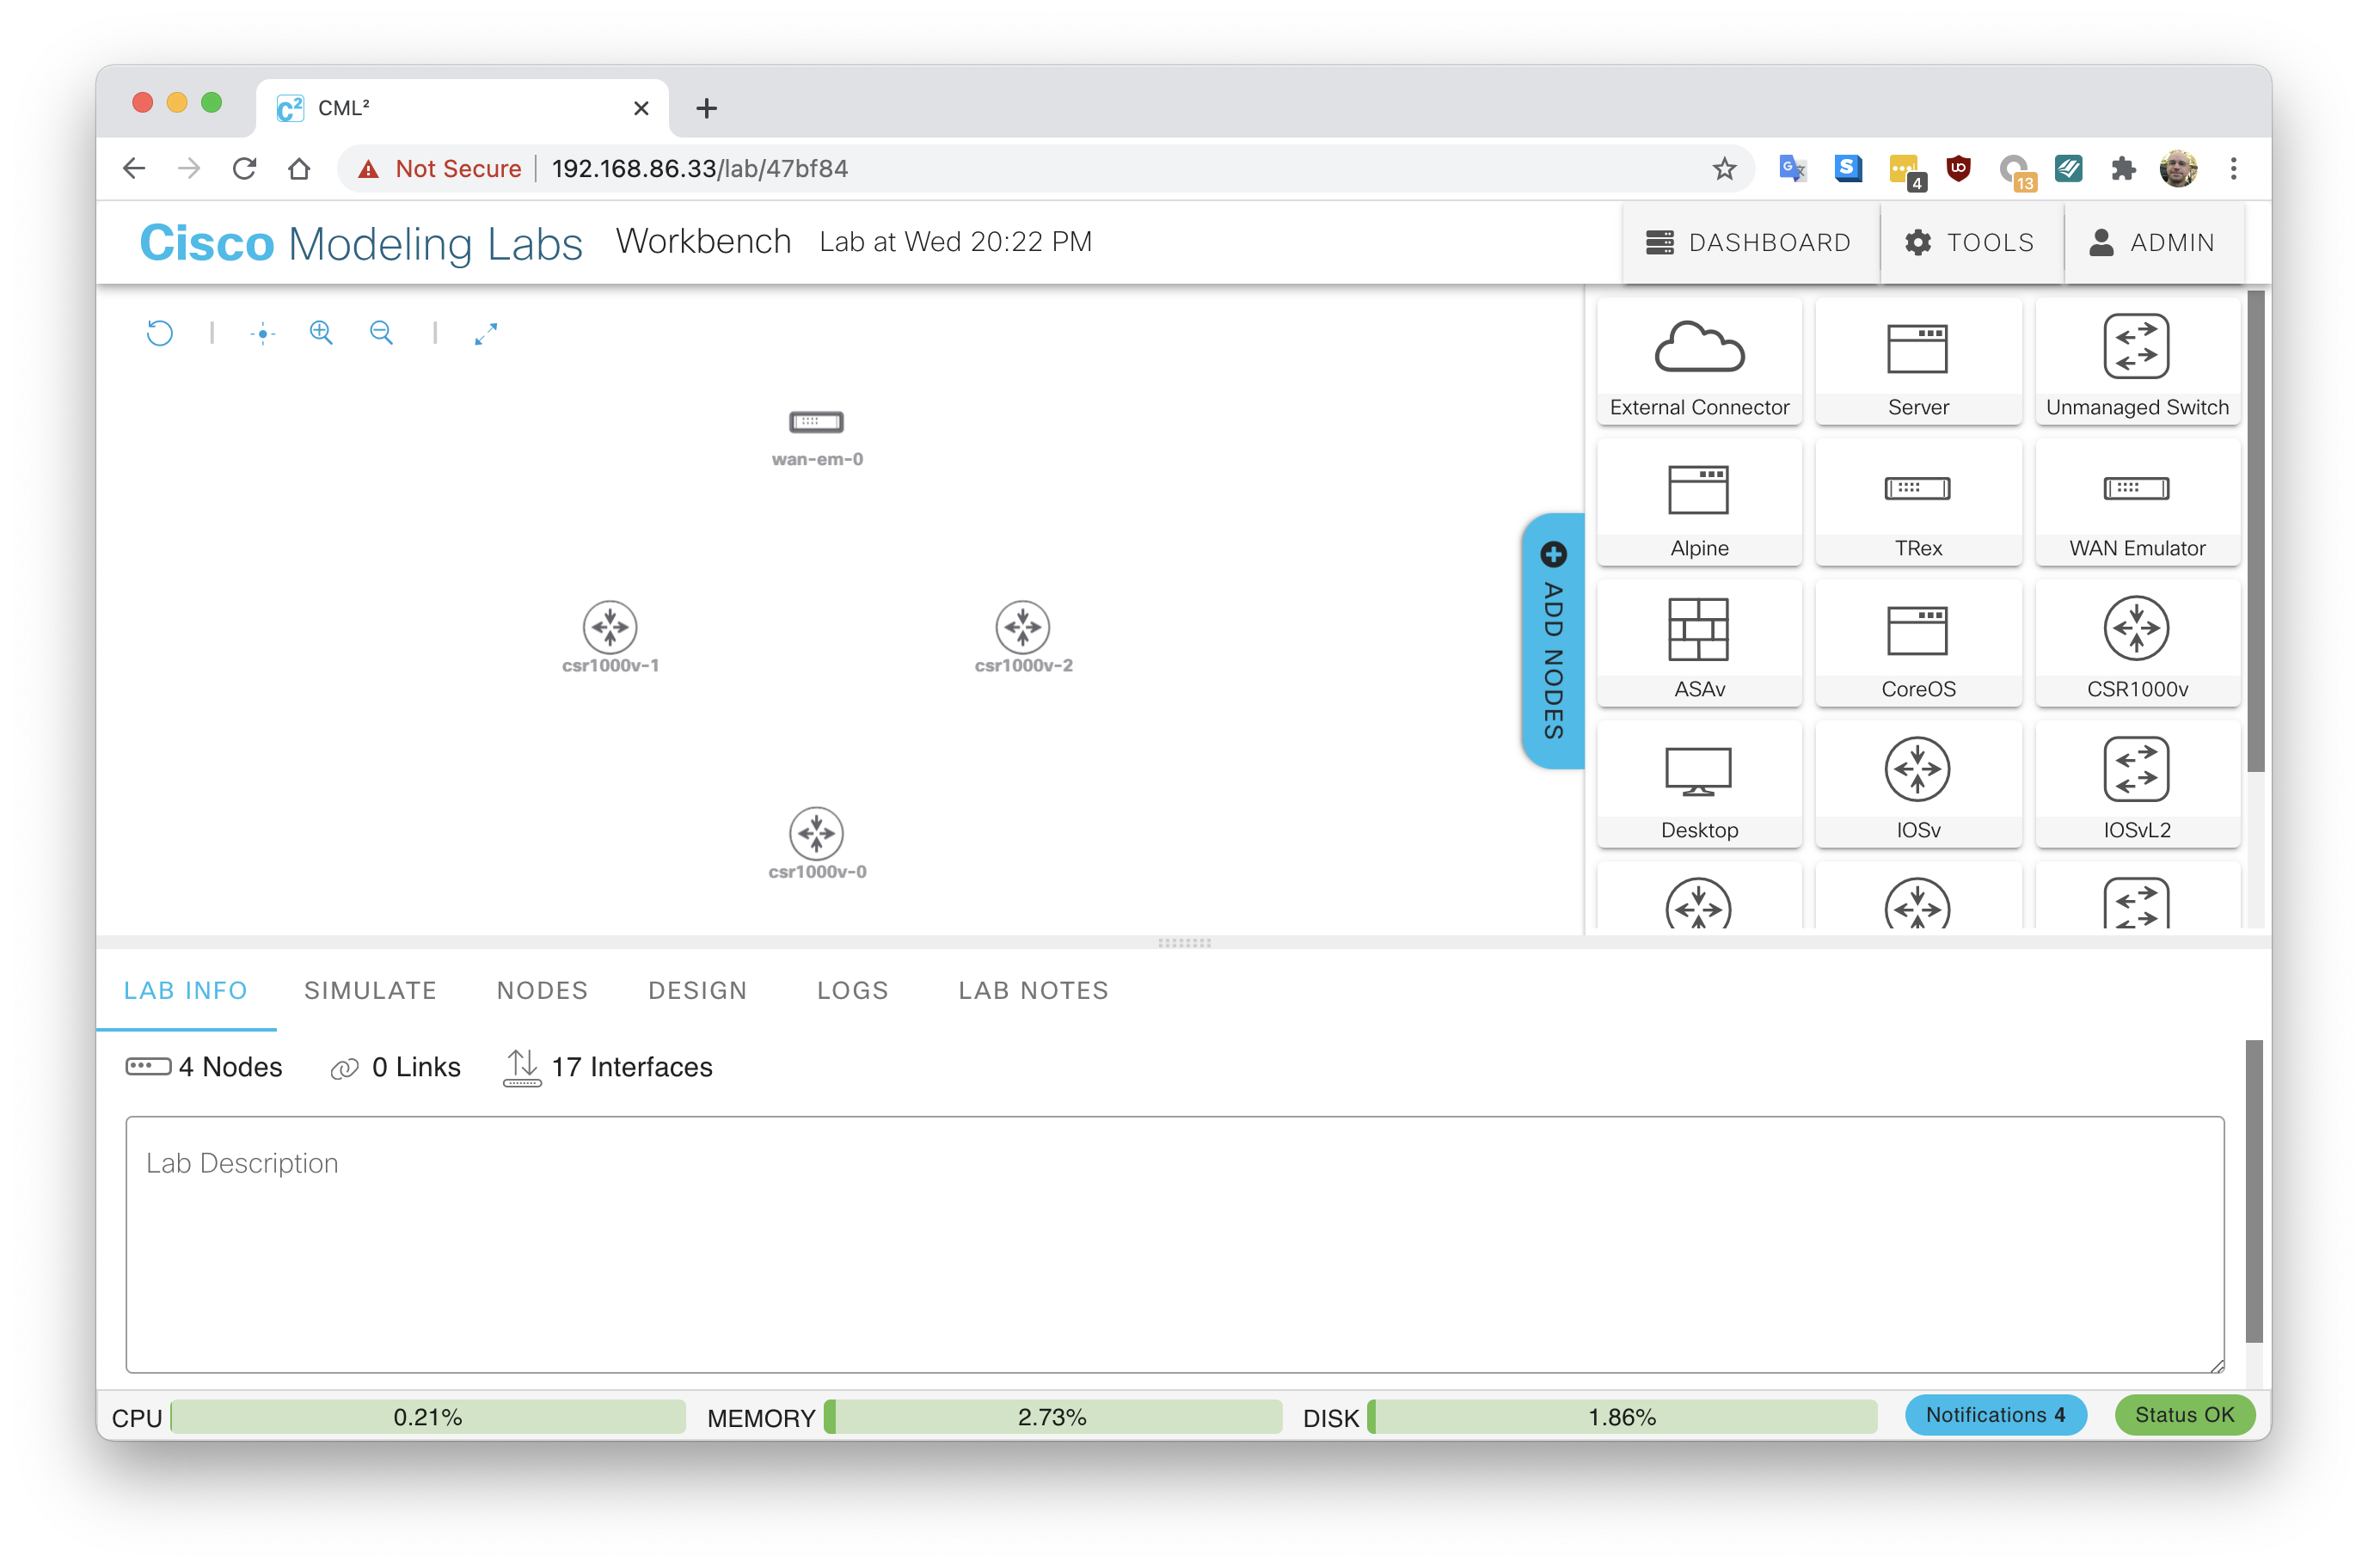
From the device menu, click and drag routers onto the canvas:
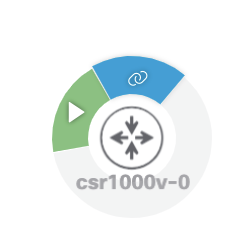
To create a network link between devices, click the router until the following menu appears. Then click and hold the blue button with the chain-links. Drag the link to the device appropriate router:
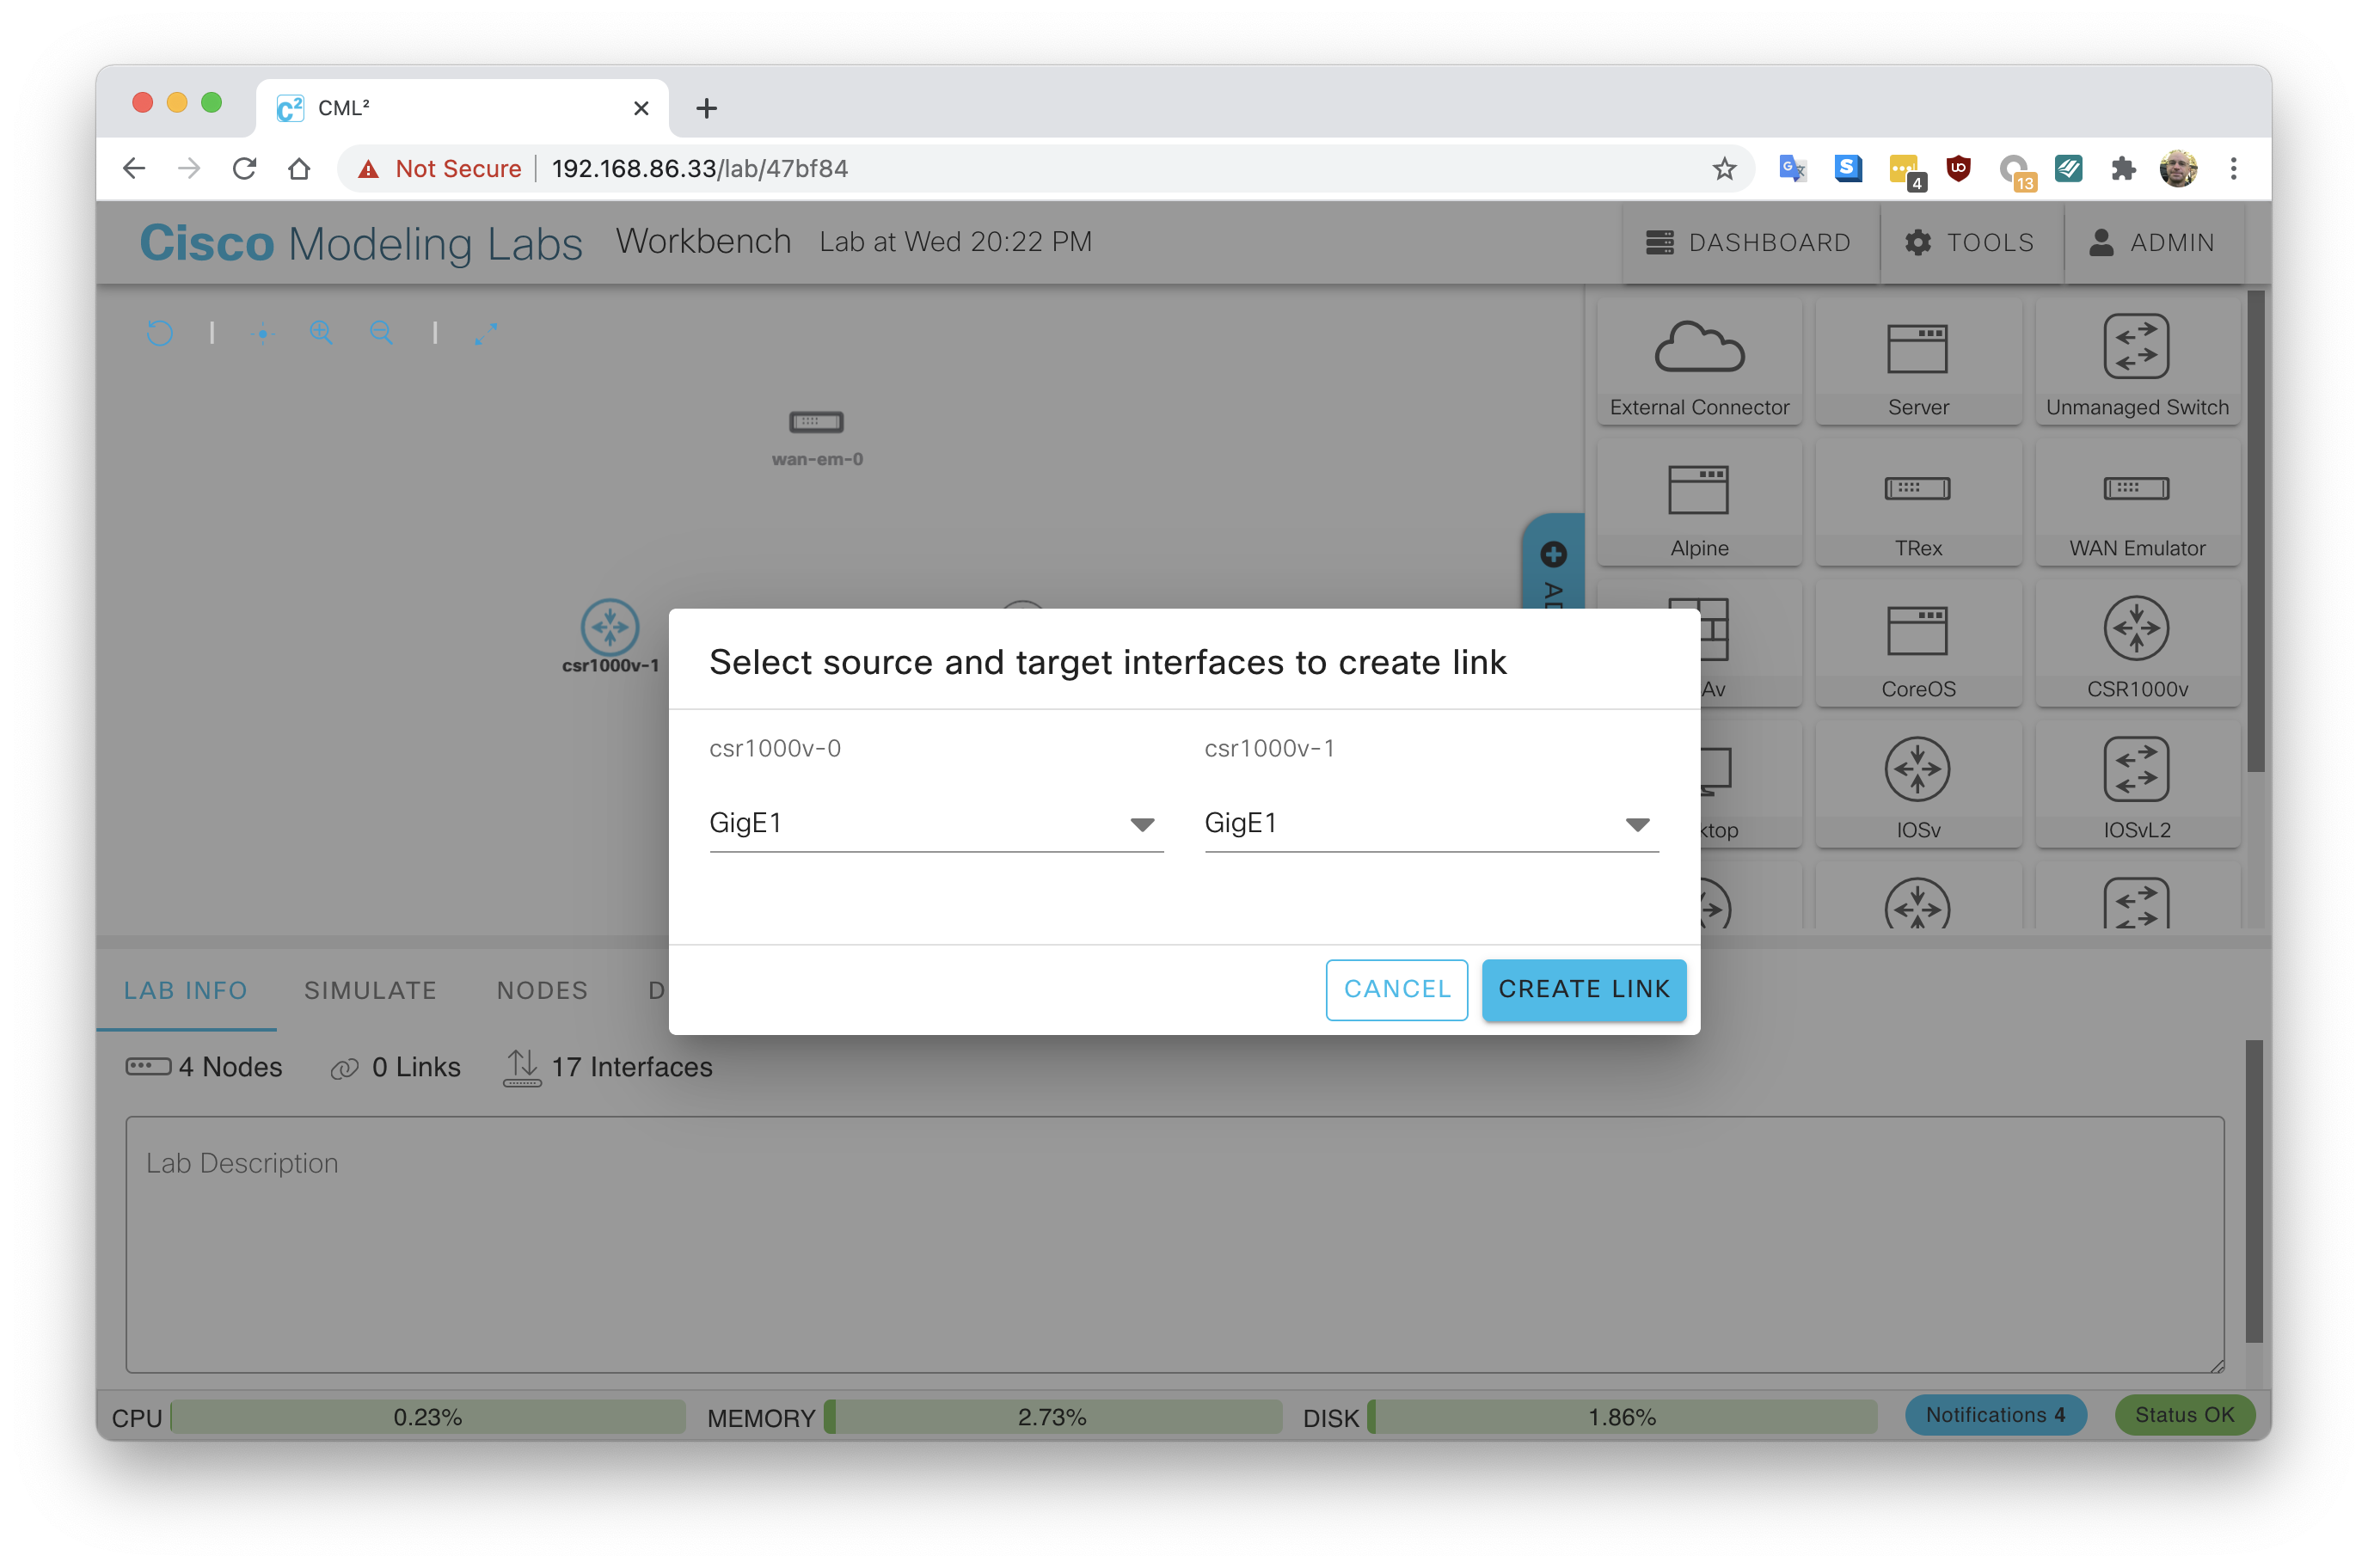
When the mouse button is released, an interface menu appears. Select the appropriate interfaces to make the connection:
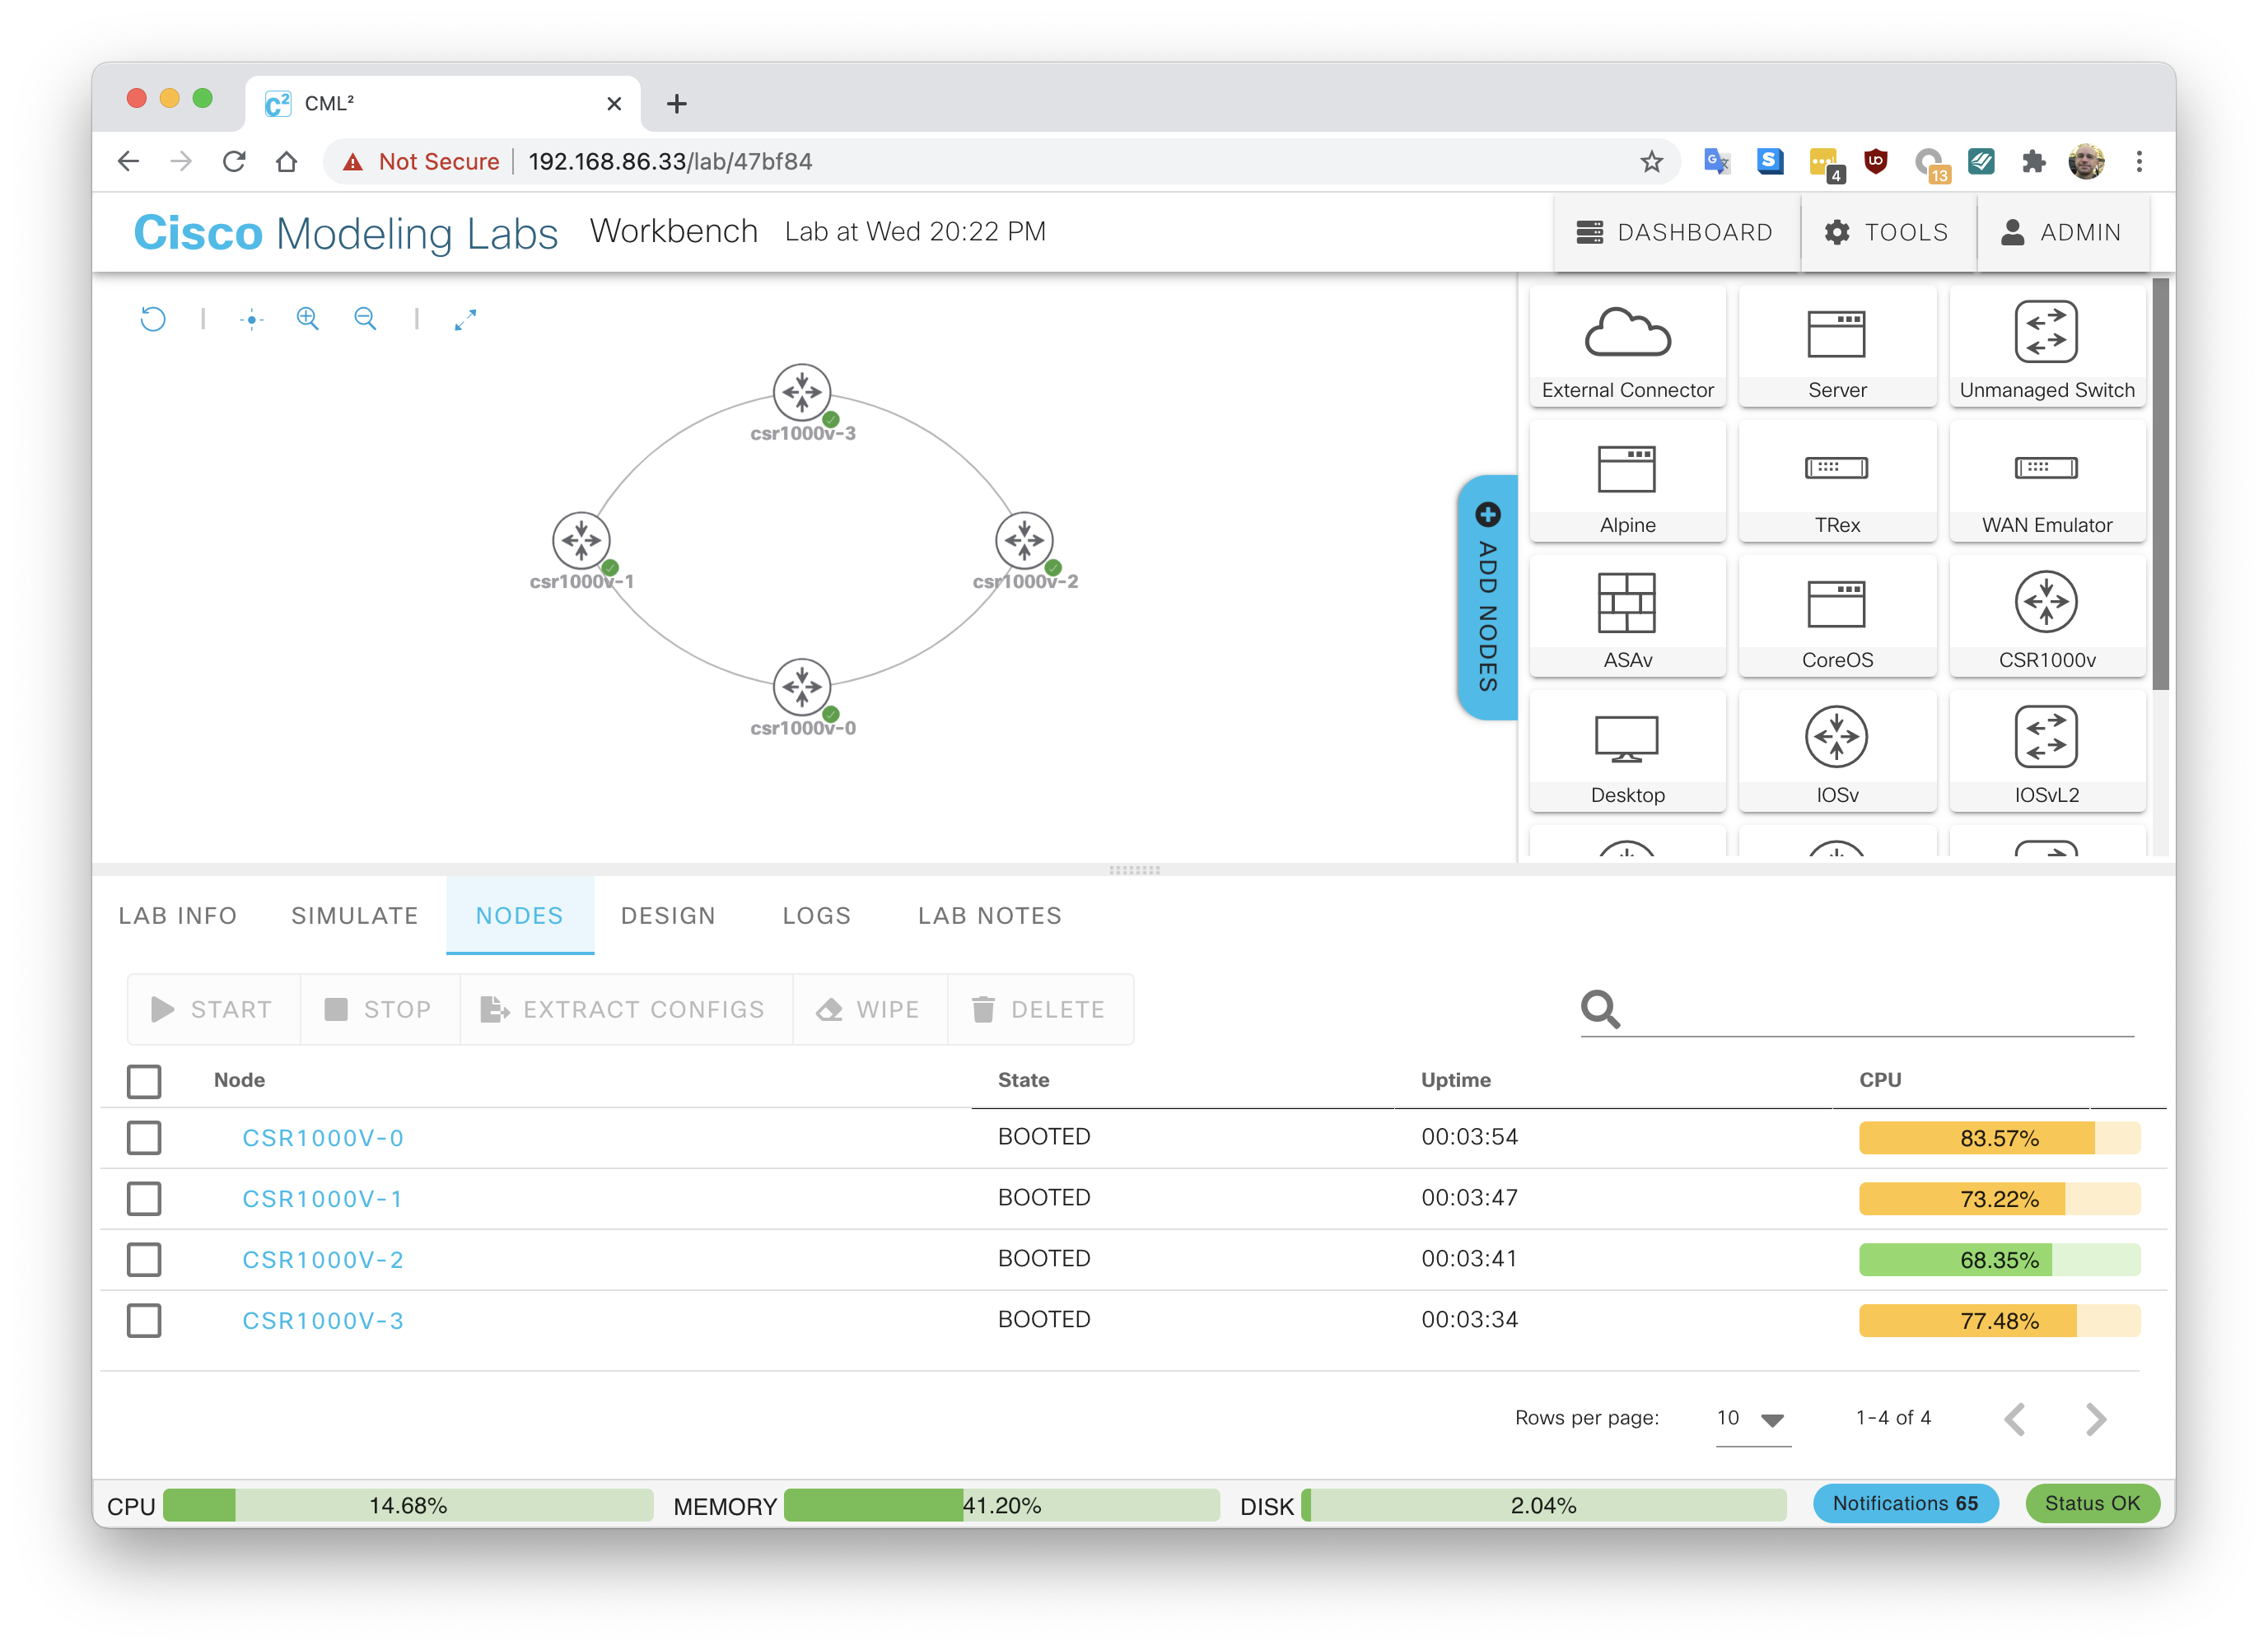
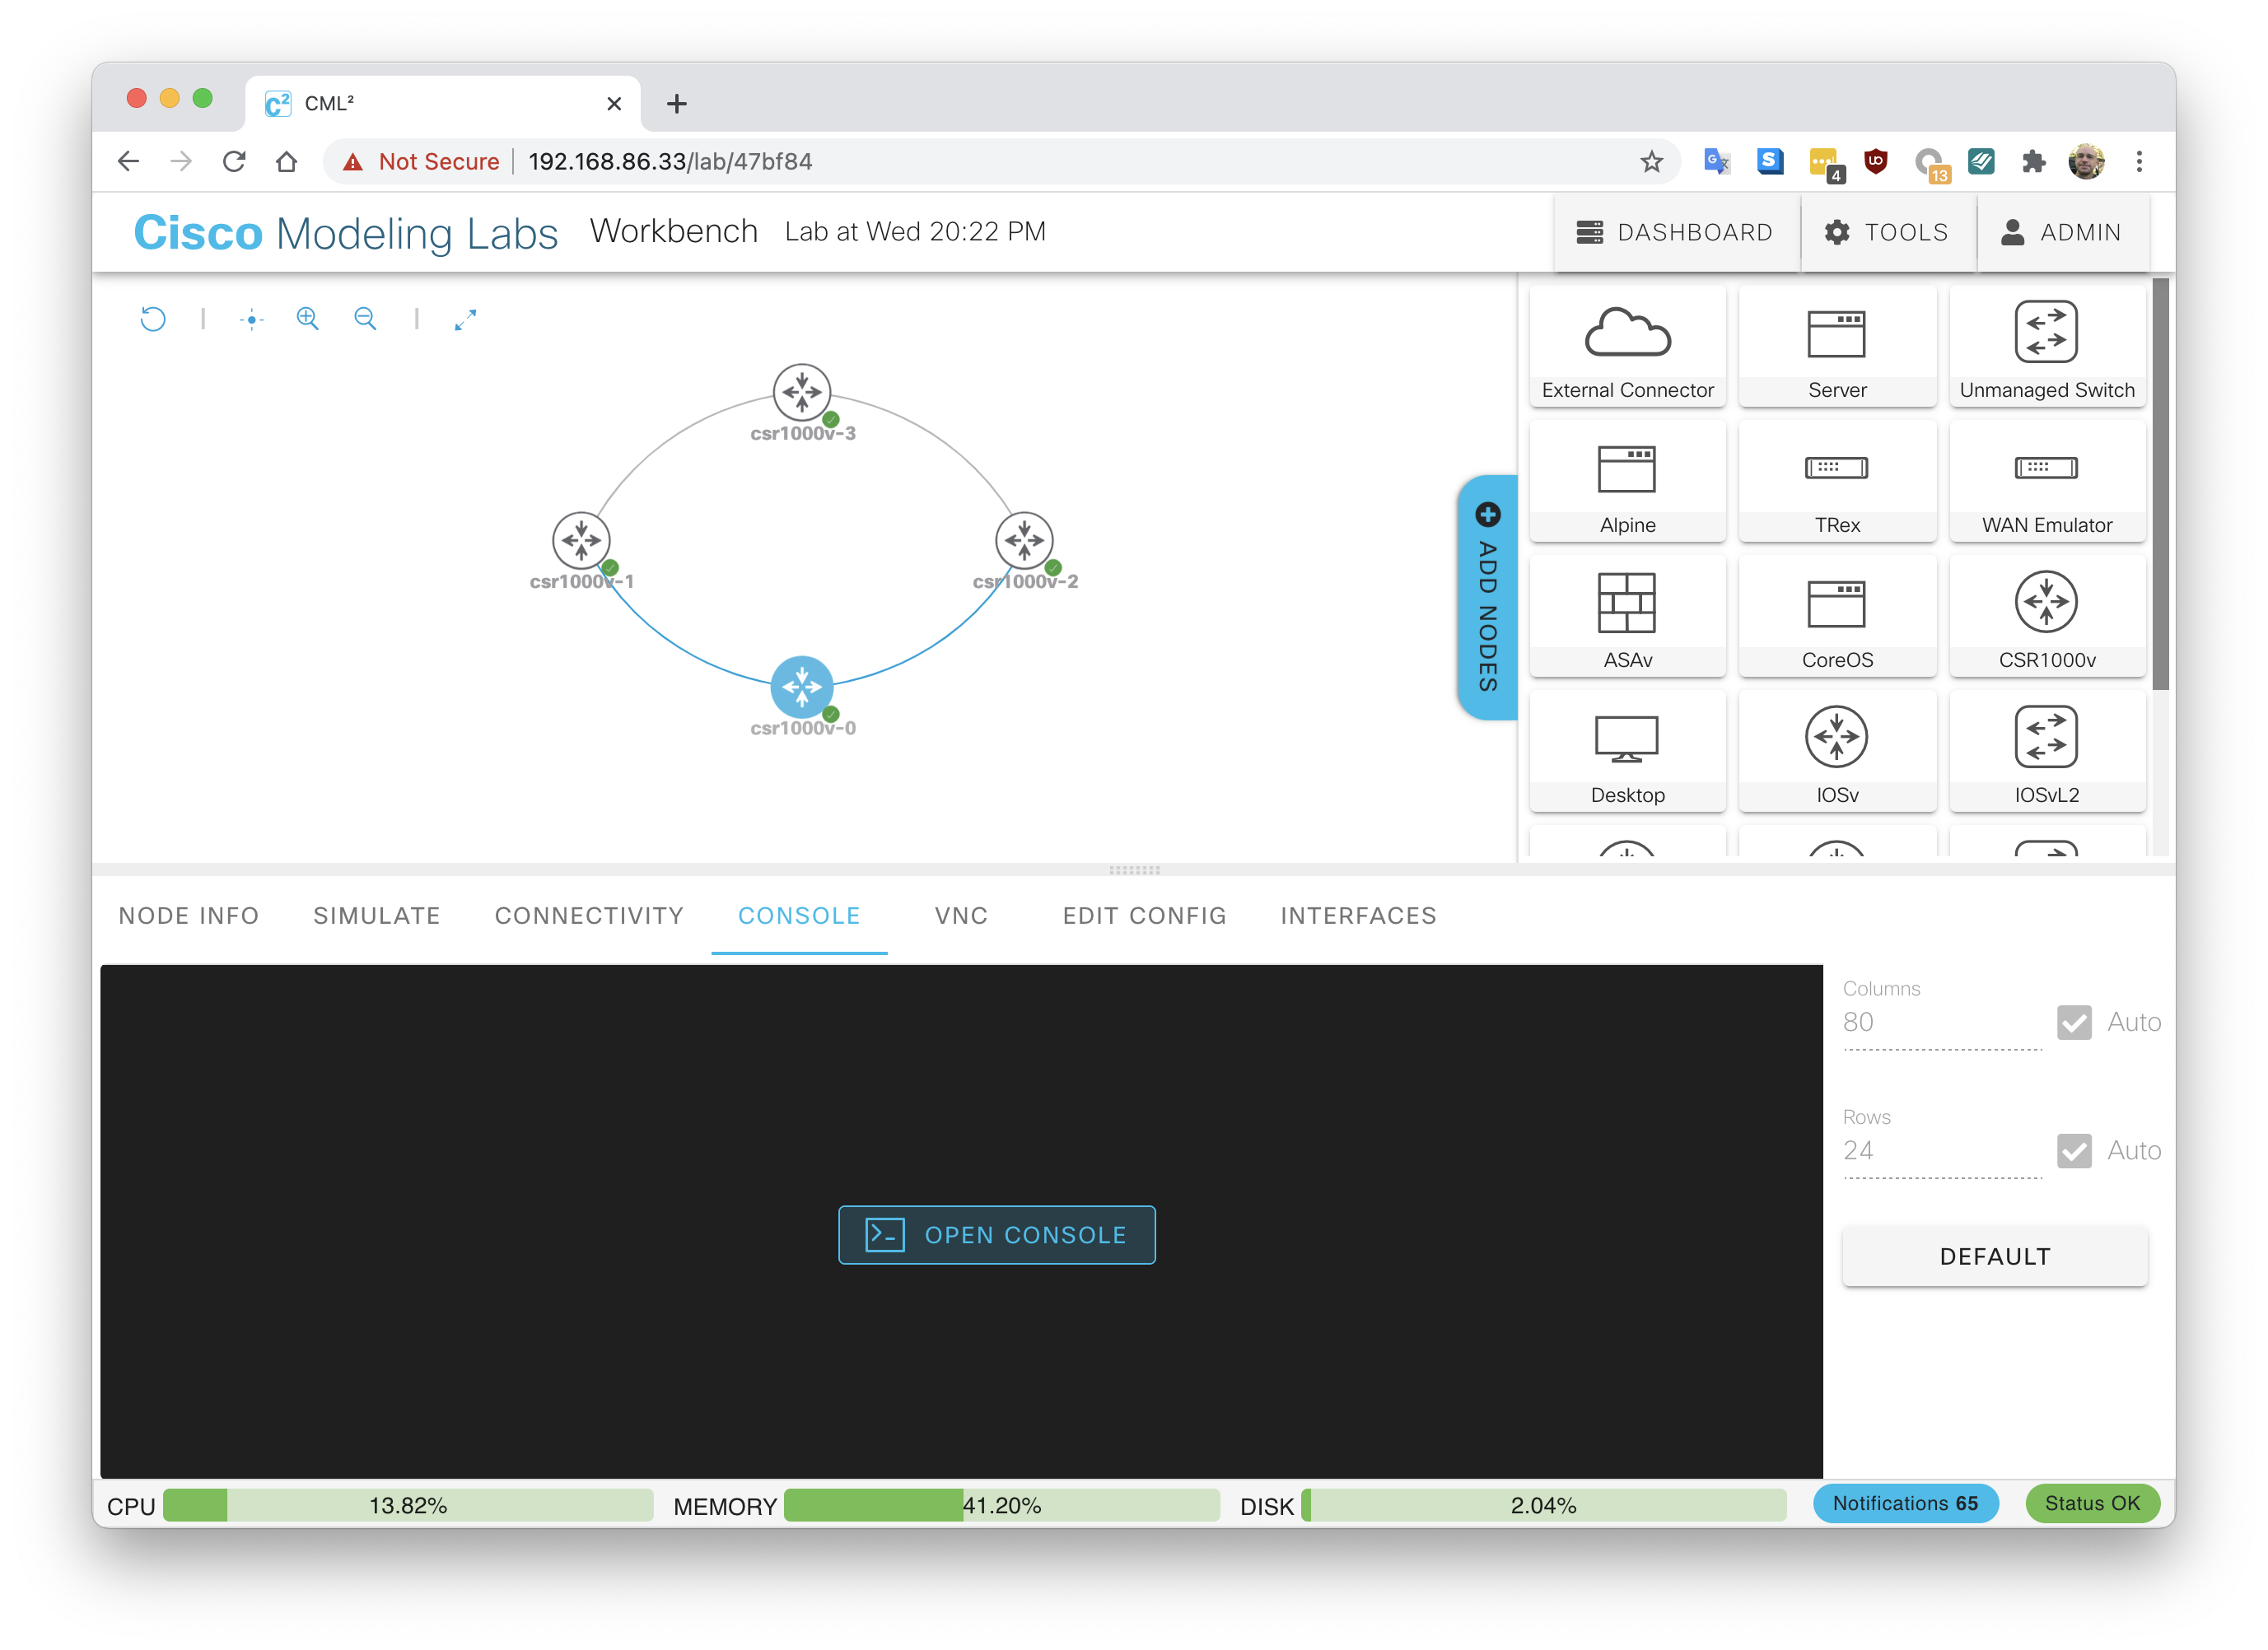
Example lab with all four routers connected:

If desired, CML will create basic configurations on each device. This includes setting the hostname, enabling interfaces, and setting usernames and passwords:

Once the topology creation is complete, boot up devices by navigating to the Simulate menu and clicking the Start Lab button:

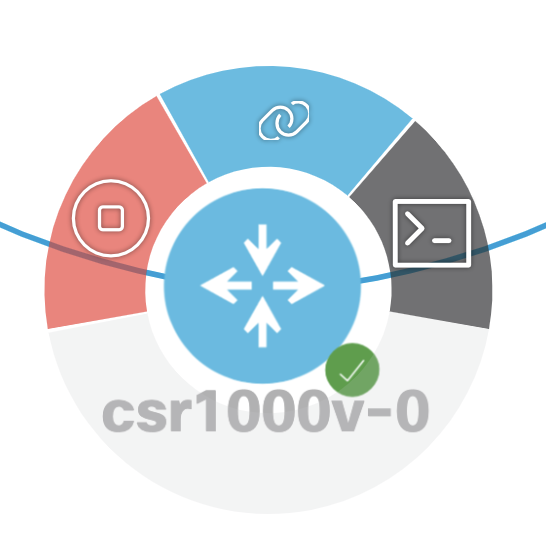
In the bottom right corner of each router is a status indicator. It will turn solid green once the router is fully booted:

We can see from this view, the lab is fully booted as indicated by the green status button by each router. In the Node menu, Status, Uptime, and CPU statistics are displayed for each device:
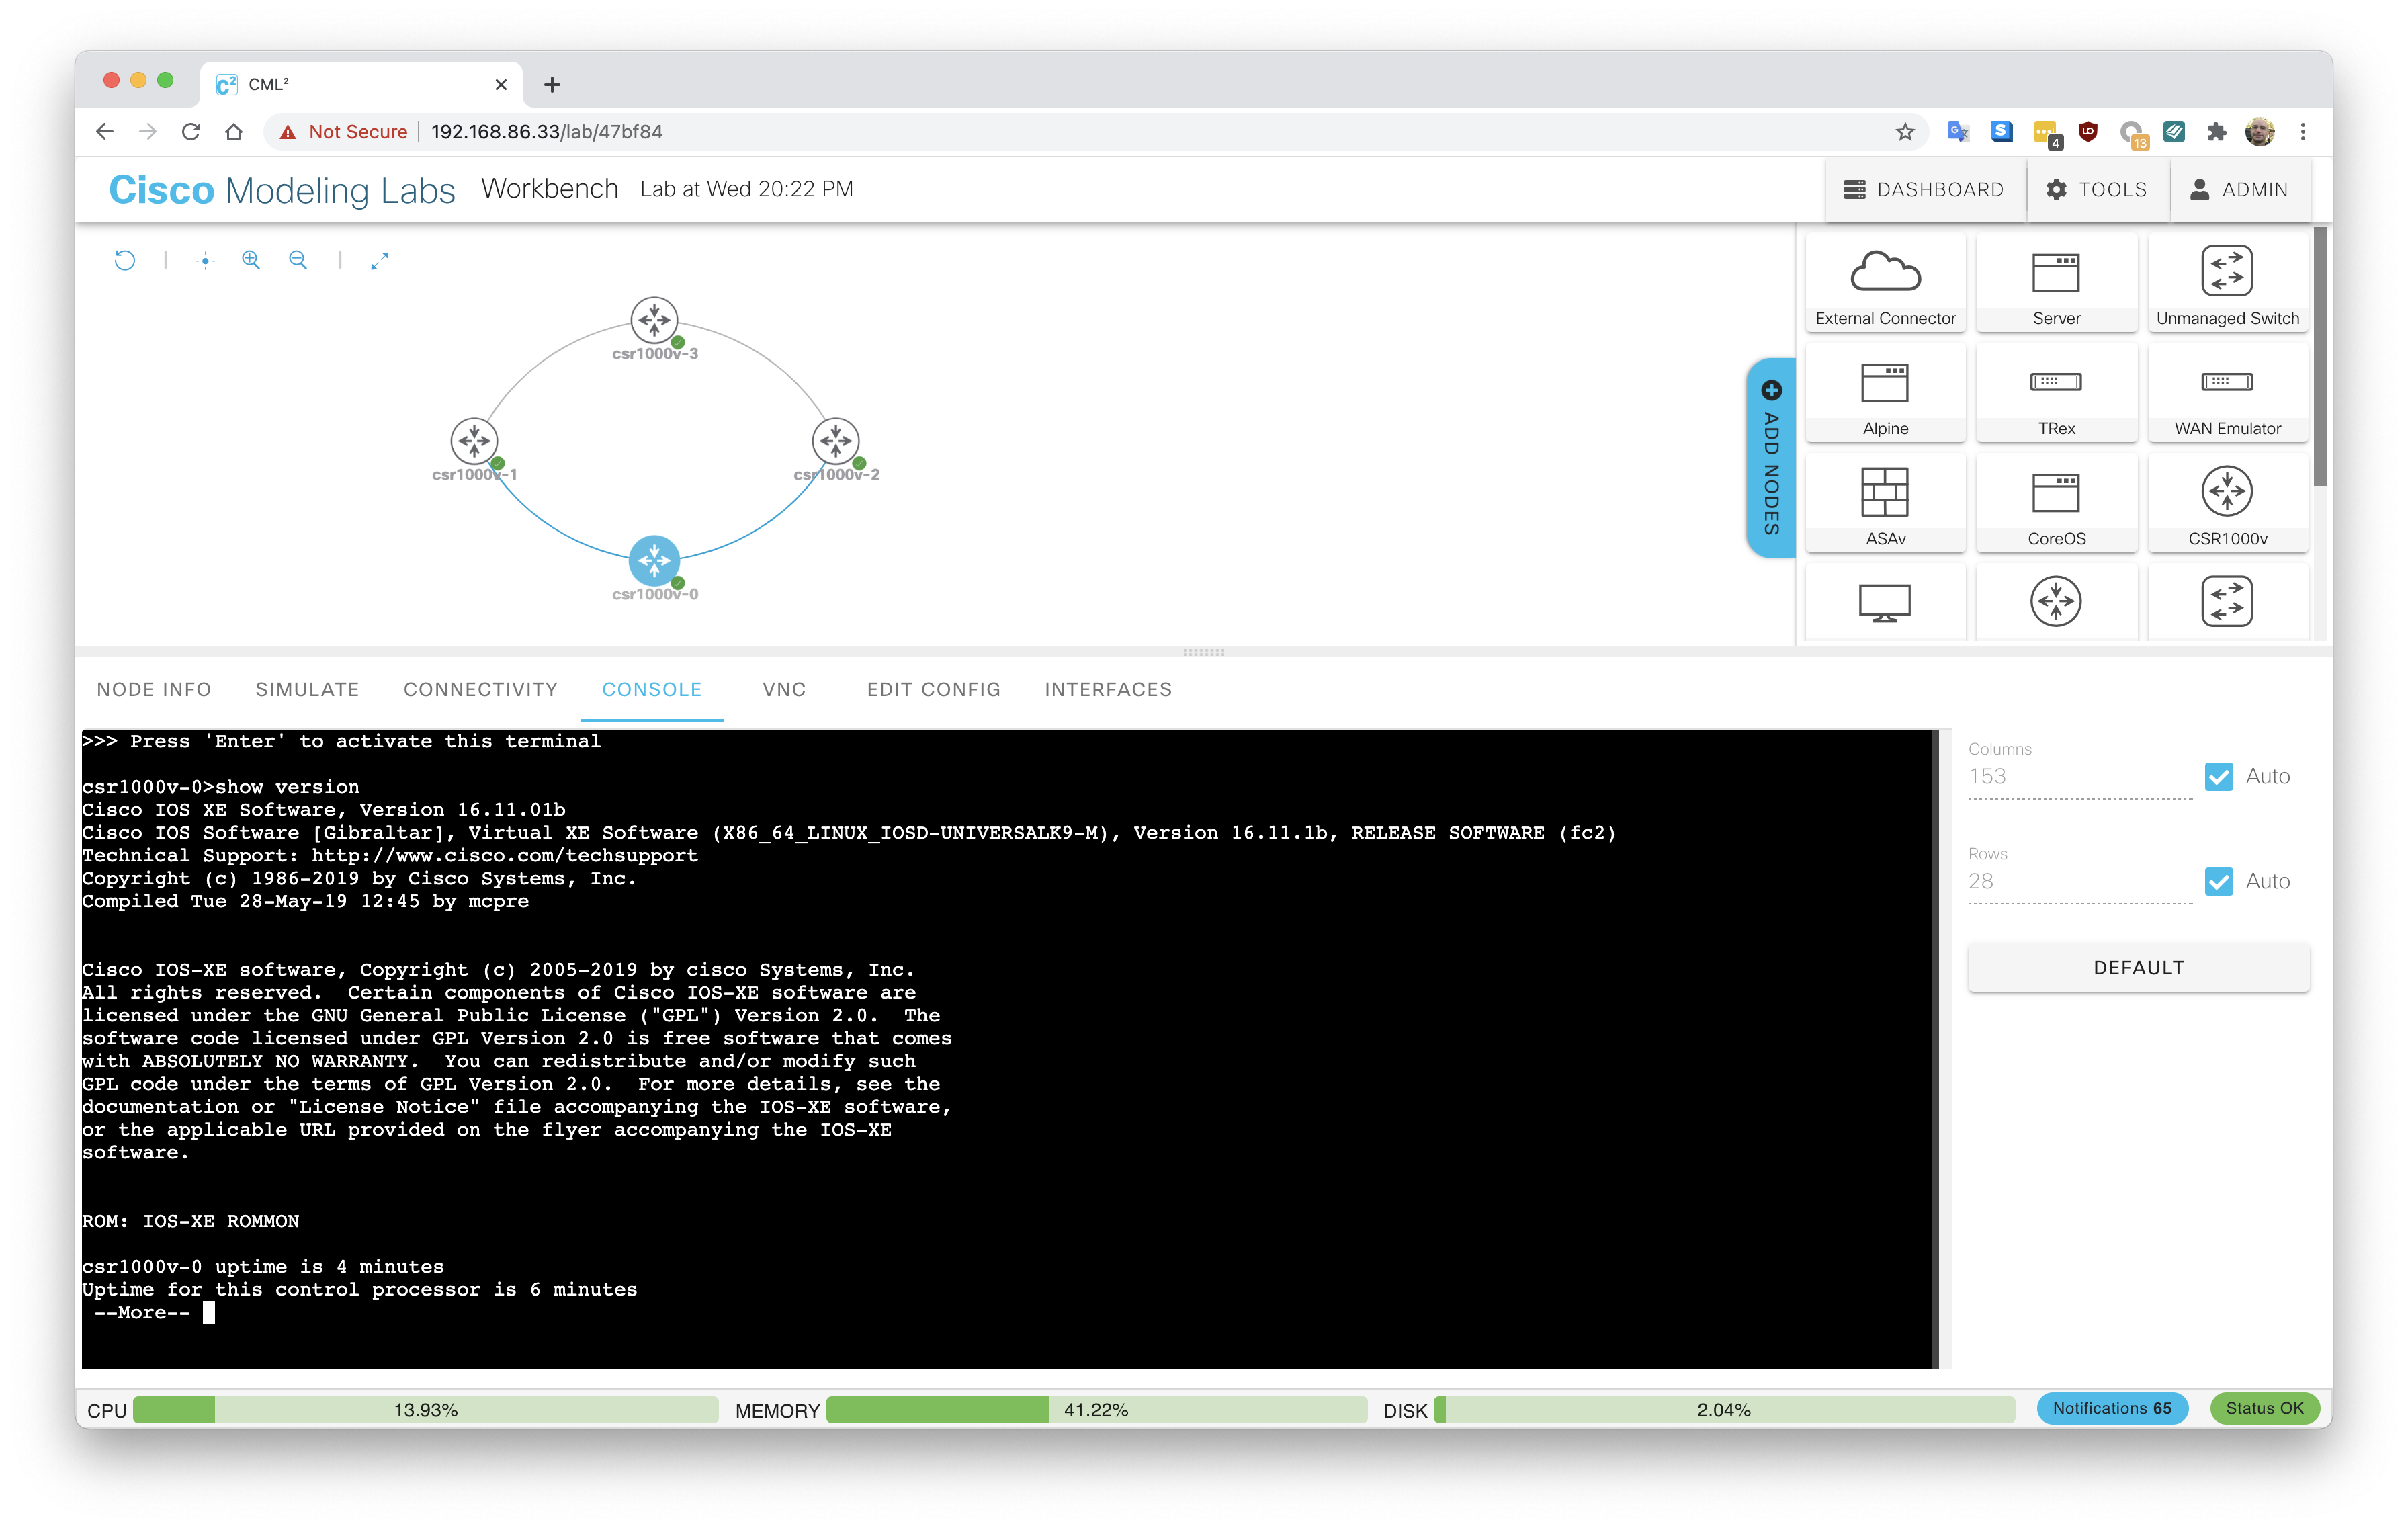
Access the console by clicking the router and selecting the grey box that looks like a console display:
A console menu option pops up below. Click Open Console in the black box:
Full access is provided to the router. By default the username and password is cisco / cisco: