Install Win11 Dev VMware Image on the Proxmox Hypervisor
Overview
In addition to a variety of servers running critical Internet services, understanding the desktop environment is another core part of my home lab. In this guide, we will go over what it takes to install a Windows 11 development environment on a Proxmox virtualization server.
Details
Assumptions and Environment
- This guide assumes there is a working Proxmox environment.
- VM hypervisor setup:
- Proxmox version: Virtual Environment 7.2-11
- System memory: 1T memory
- System drive: 10T drive, the majority is dedicated ZFS storage pool
Download the Windows 11 Dev Image
- Start by downloading the free Windows 11 development environment from Microsoft: https://developer.microsoft.com/en-us/windows/downloads/virtual-machines/
sshinto the Proxmox server:ssh root@192.168.86.2cdto a directory with sufficient storage to download a 45G image. In my environment I have a 10T ZFS pool where I store OS images:cd /storage-pool-1/OS-images/win11-devwgetthe file VMware image:wget https://aka.ms/windev_VM_vmwareunzipthe file:- I had to install
unzipfirst, it is not included with Proxmox:apt install unzip unzipthe file:unzip WinDev2210Eval.VMWare.zip
- I had to install
Create a new VM
- Configure the VM either from the GUI or the command line with the following settings (replace 666 with the next available VM ID):
qm create 666 --bios ovmf --efidisk0 storage-pool-1-dir:1 --cores 4 --cpu host --machine pc-q35-7.0 --memory 32000 --name 1229-win11-2 --net0 e1000,bridge=vmbr0,firewall=1 --onboot yes --ostype win11 --ide0 storage-pool-1-dir:16 --scsihw virtio-scsi-pci --sockets 4 --memory 32000 --tpmstate0 storage-pool-1-dir:1
Convert Win11 VMDK to QCOW2
- Use the
qemu-imgtool to convert the image fromvmdktoqcow2and place it into the VM image directory. Depending on disk and CPU speed, this may take a while:qemu-img convert -f vmdk /storage-pool-1/OS-images/win11-dev/WinDev2210Eval-disk1.vmdk -O qcow2 /storage-pool-1/vz/images/666/vm-666-disk-1.qcow2 - Check and remember the size of the newly created qcow2 disk image. In this example, it is 43G:
ls -alh /storage-pool-1/vz/images/666/vm-666-disk-1.qcow2 -rw-r--r-- 1 root root 43G Oct 30 14:11 /storage-pool-1/vz/images/666/vm-666-disk-1.qcow2 - When the VM was created, a default raw disk image was created. This is not need and should be deleted:
rm /storage-pool-1/vz/images/666/vm-666-disk-1.raw
Edit the VM configuration to use the new qcow2 image
- Edit the VM config:
vi /etc/pve/local/qemu-server/666.conf - Change the line:
to (this is where you will change the image size to the file image size gathered above, in this example 43G)ide0: storage-pool-1-dir:666/vm-666-disk-1.raw,size=16Gide0: storage-pool-1-dir:666/vm-666-disk-1.qcow2,size=43G
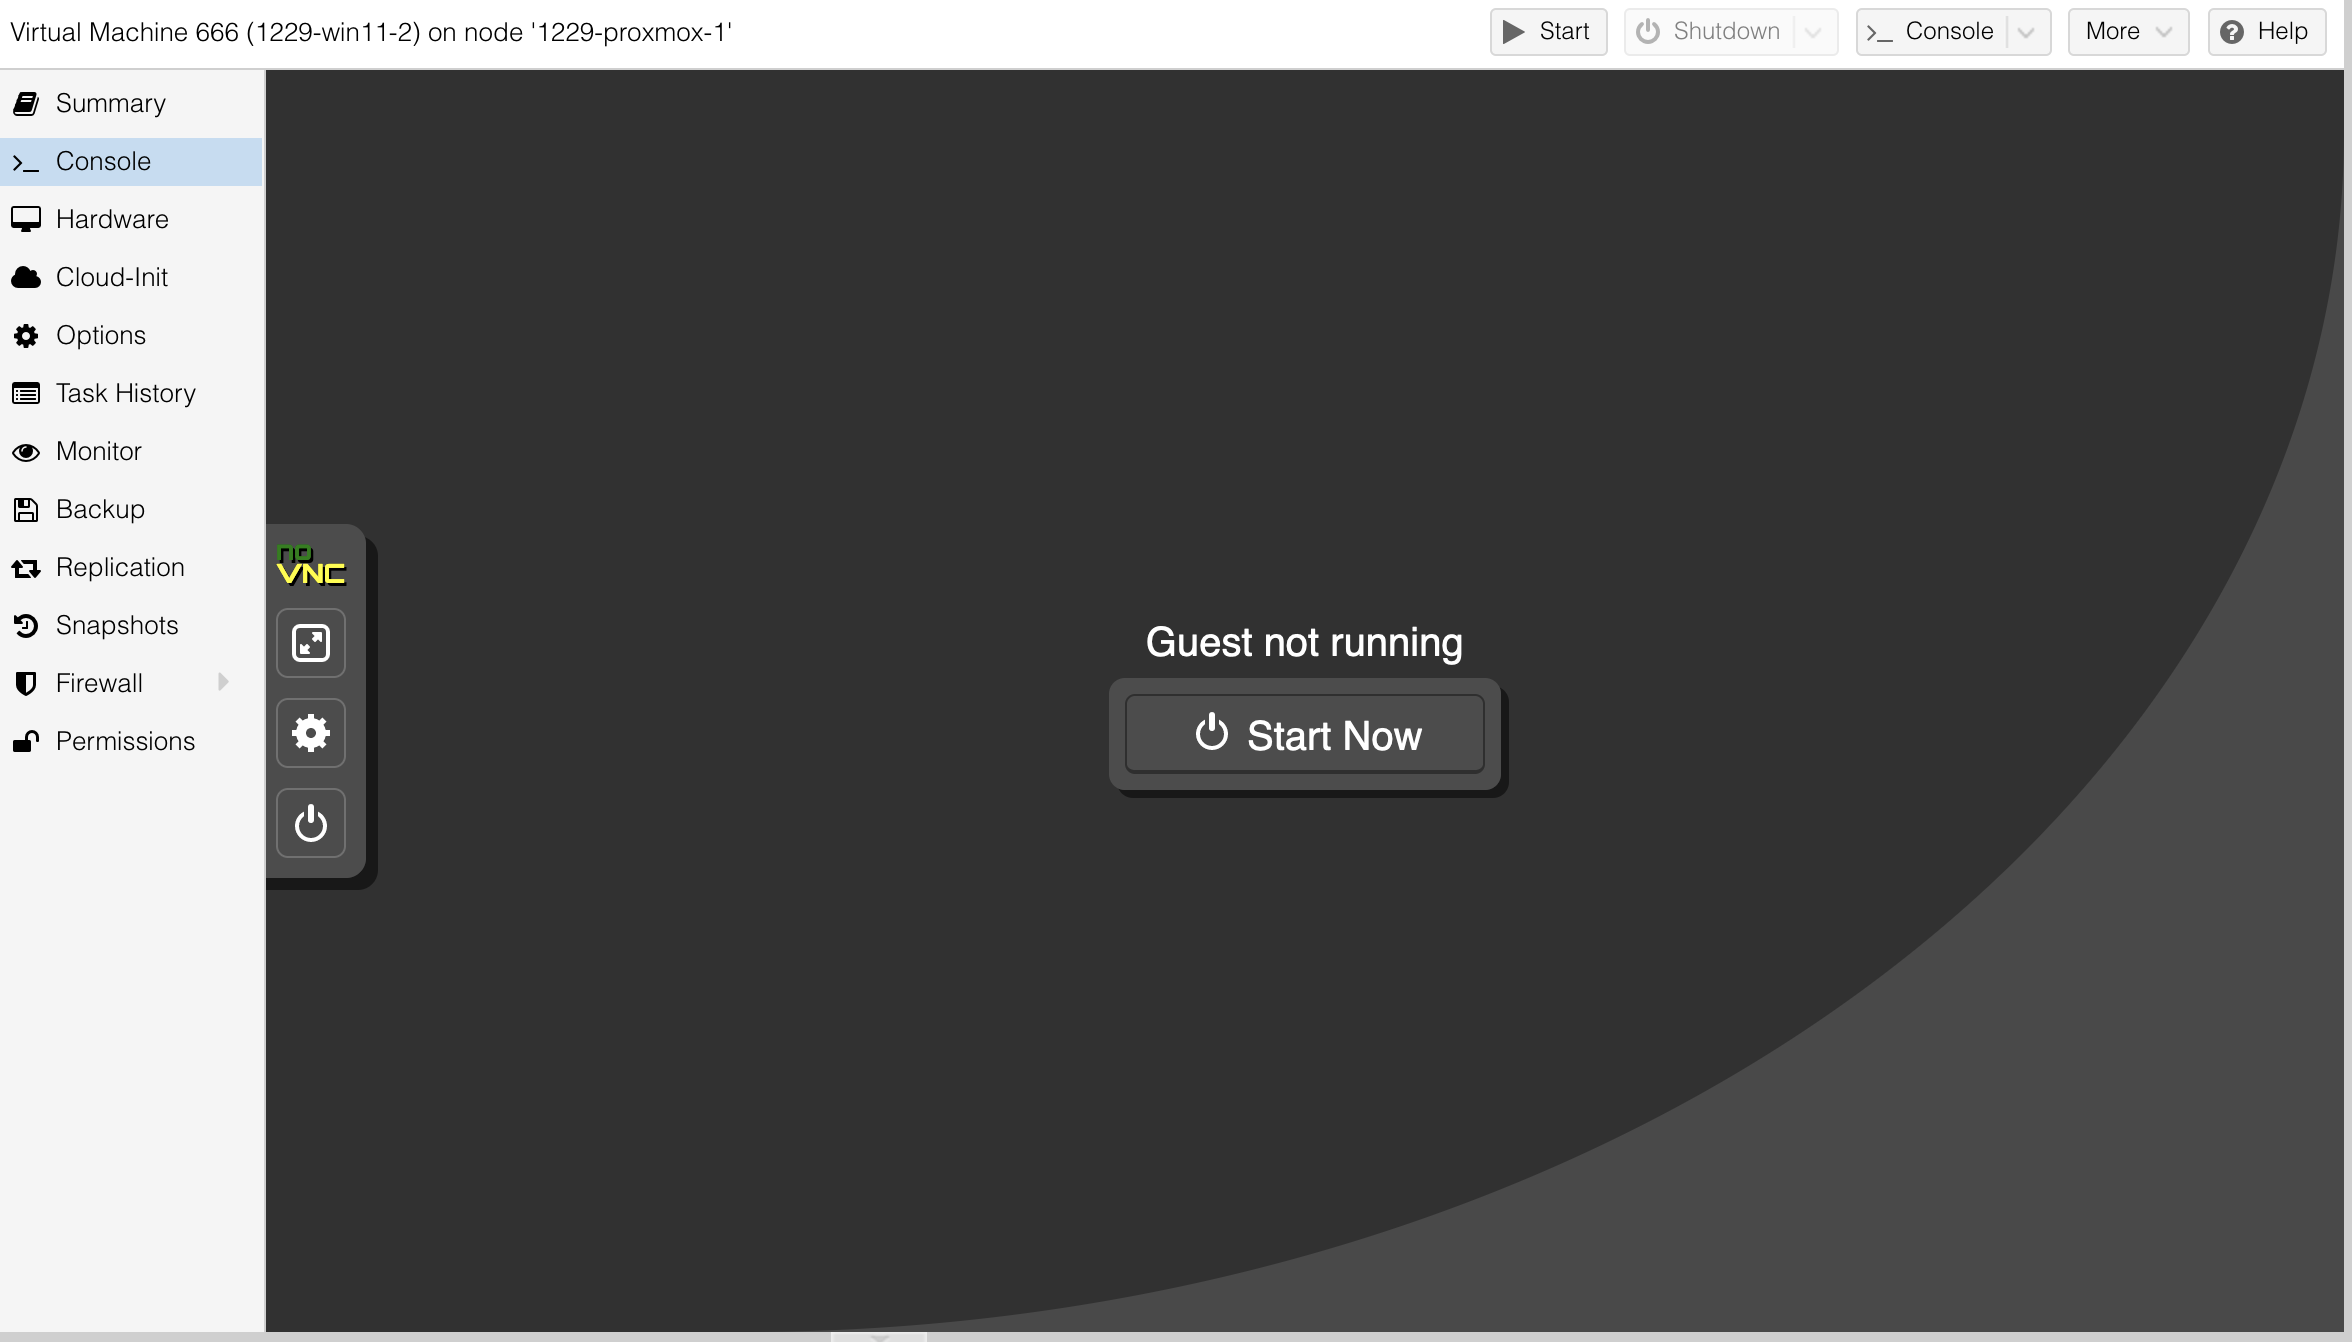
Boot the VM using the Proxmox console
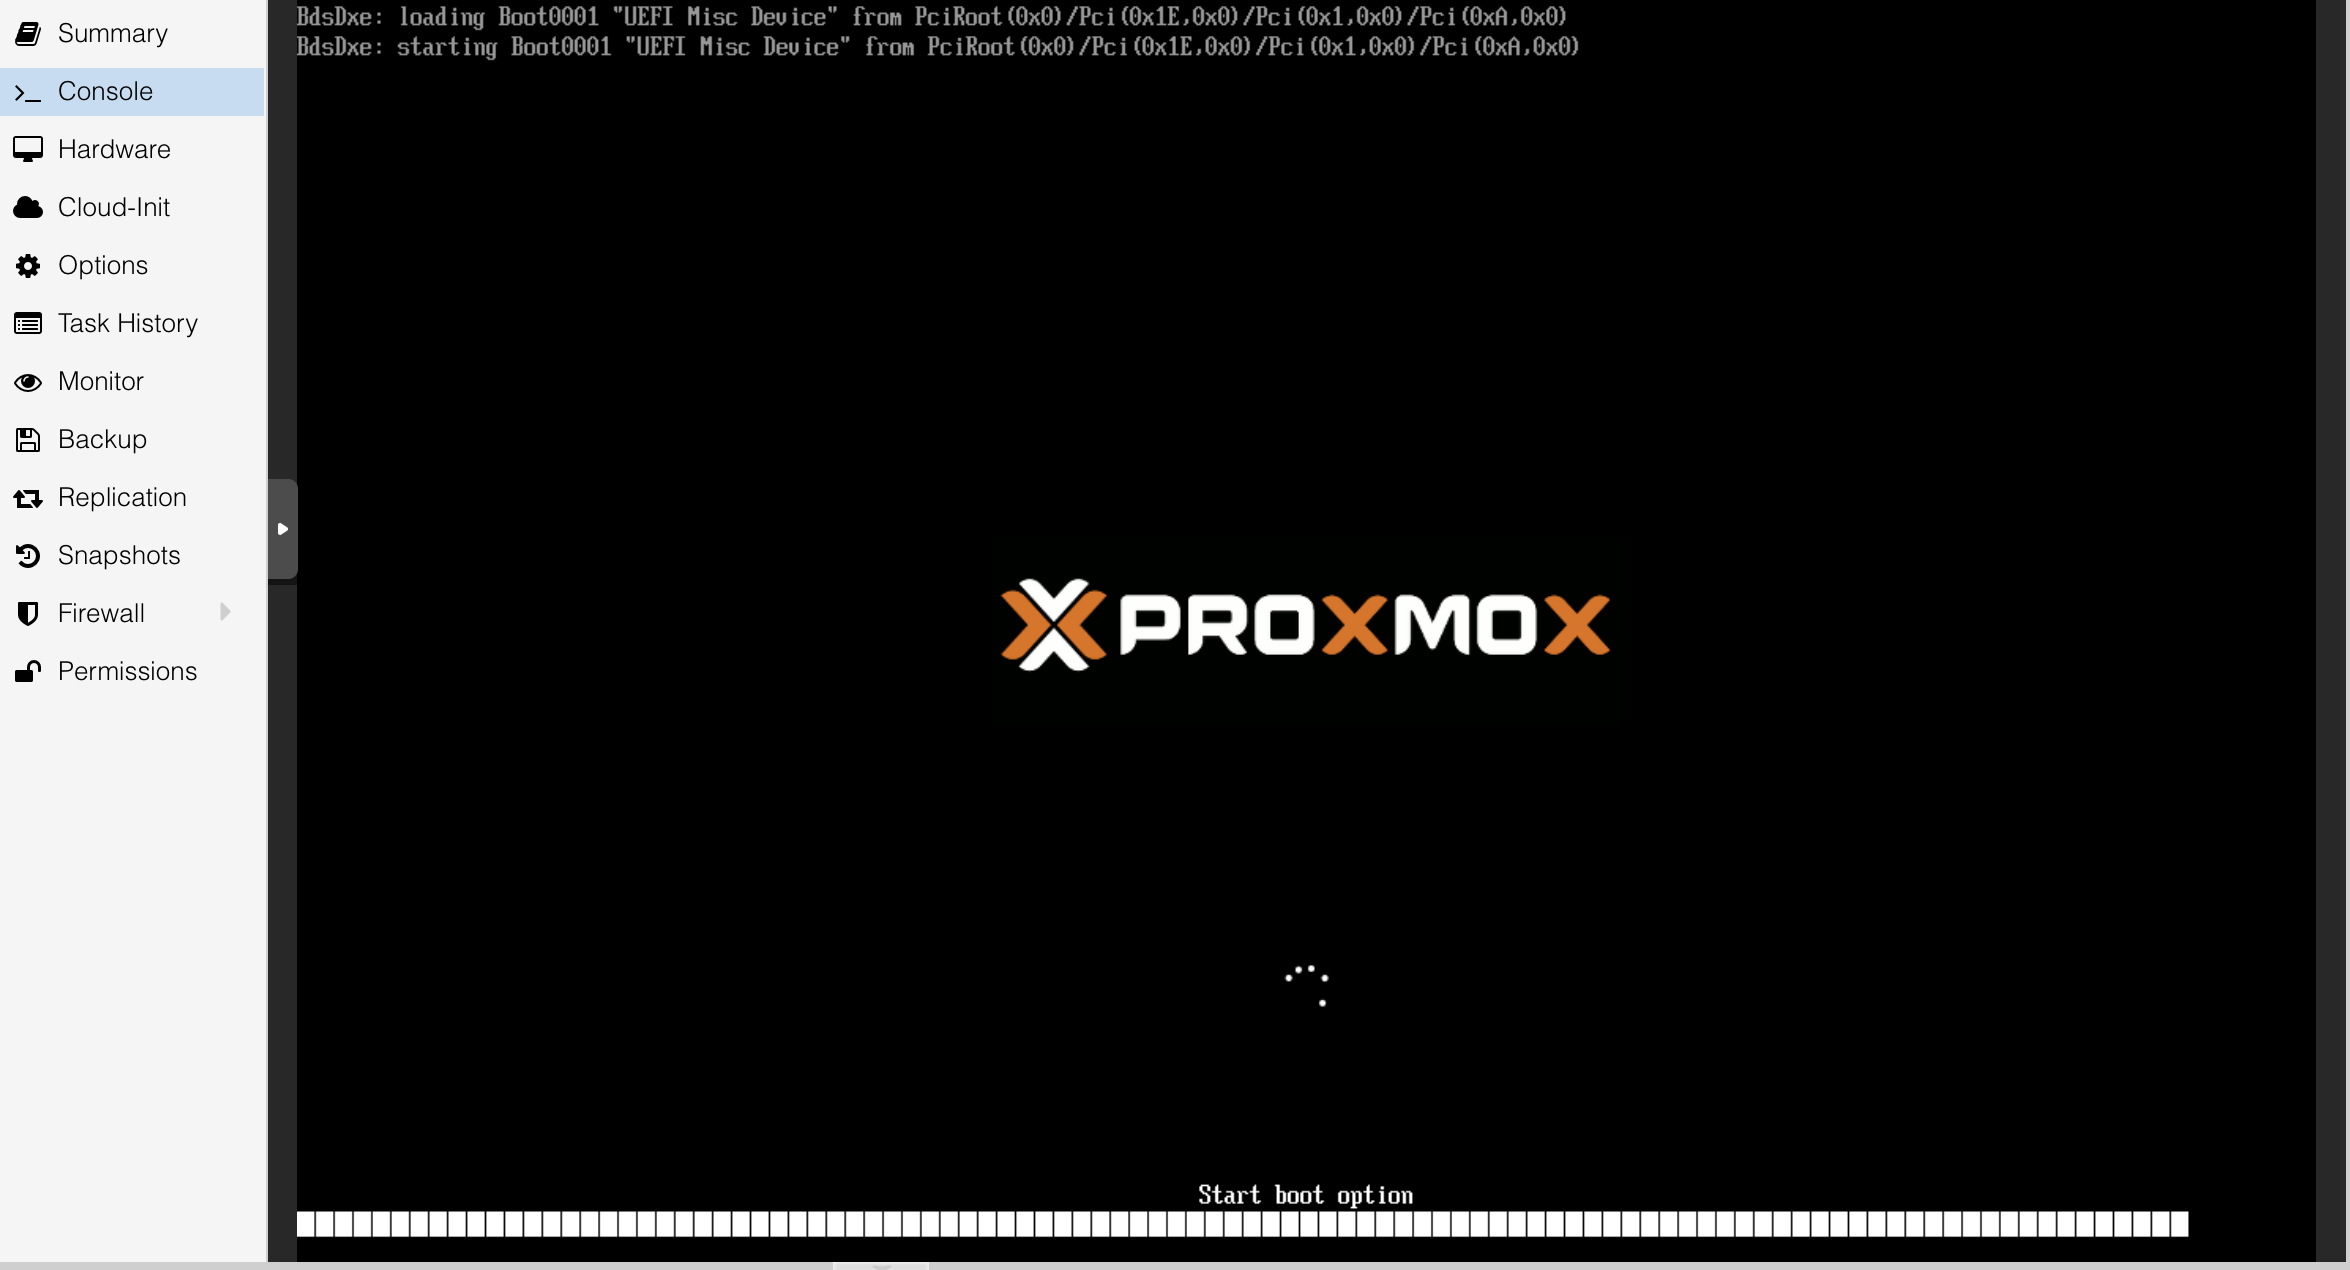
Start the boot process:
System Booting up. It takes a while and a few reboots to to fully start up:
When booted, the system automatically logs in:
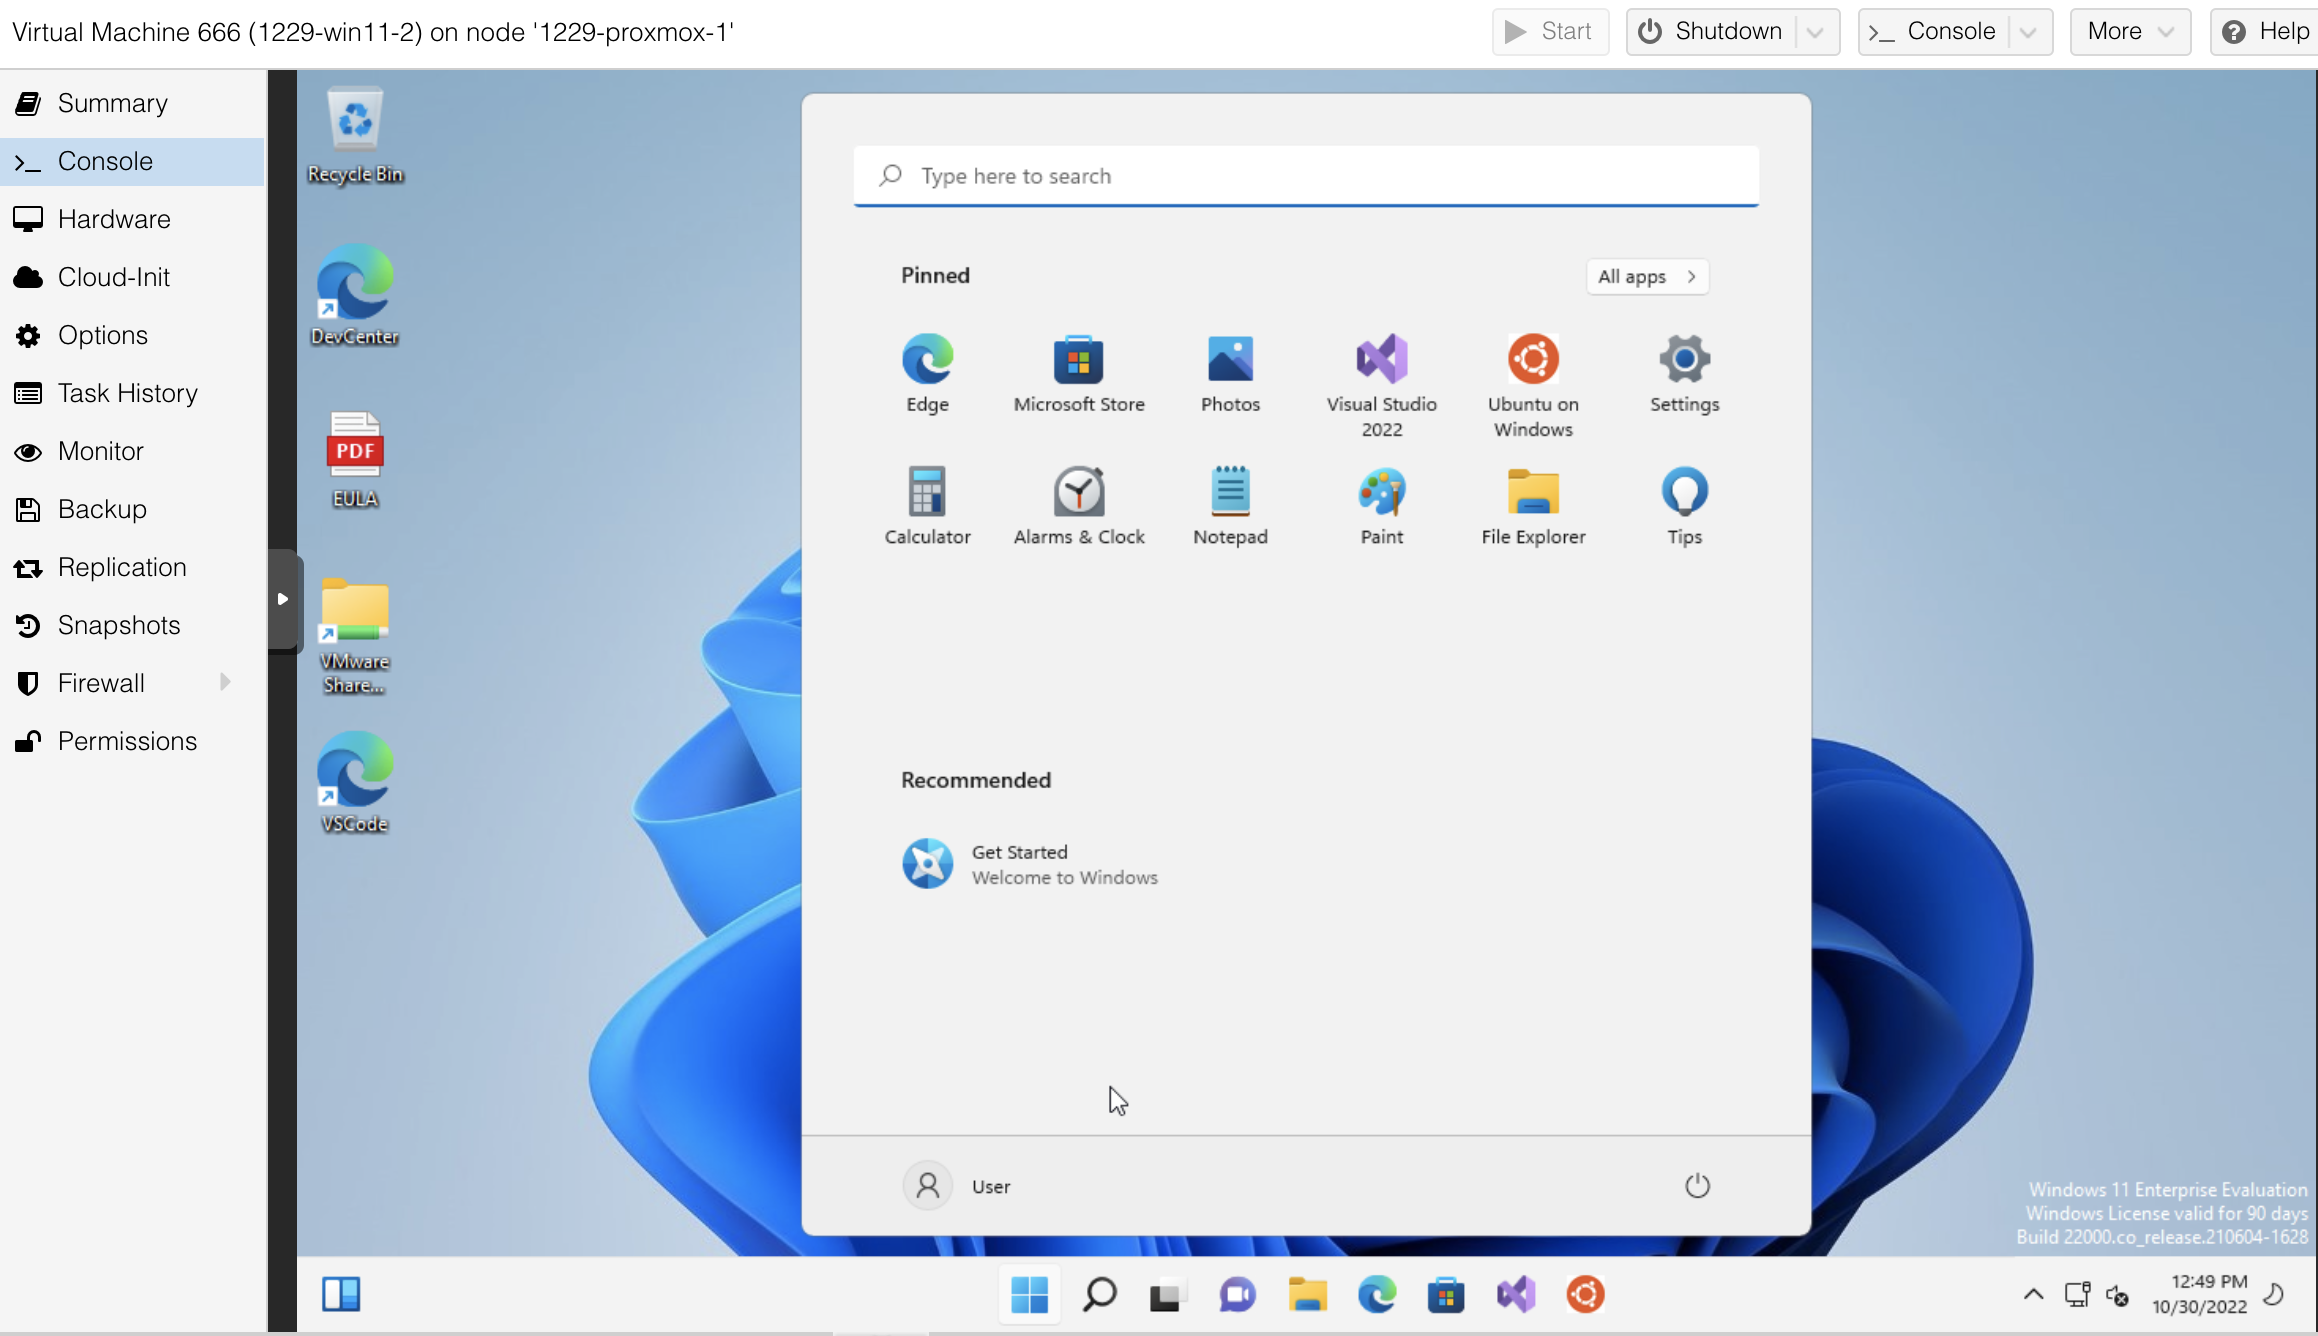
System Information and Post Configuration
- Default Username:
user - Default Password:
<unset> - Set password: Settings -> Accounts -> Sign-In Options -> Password -> Add
- Enable remote desktop: Settings -> System -> Remote Desktop -> On -> Confirm
Remote Desktop
Remote desktop to managed the new system:
